Photo Filters and Overlays
Two pages in Pix Design change the look of the photos themselves rather than the layout around them. Photo Filters holds the colour grades a guest can pick on the Filter screen. GIF/Video overlay holds transparent frames drawn on animated GIFs and event videos. By the end of this page you will have a custom filter on a booth and an overlay ready for its GIFs.
Photo Filters
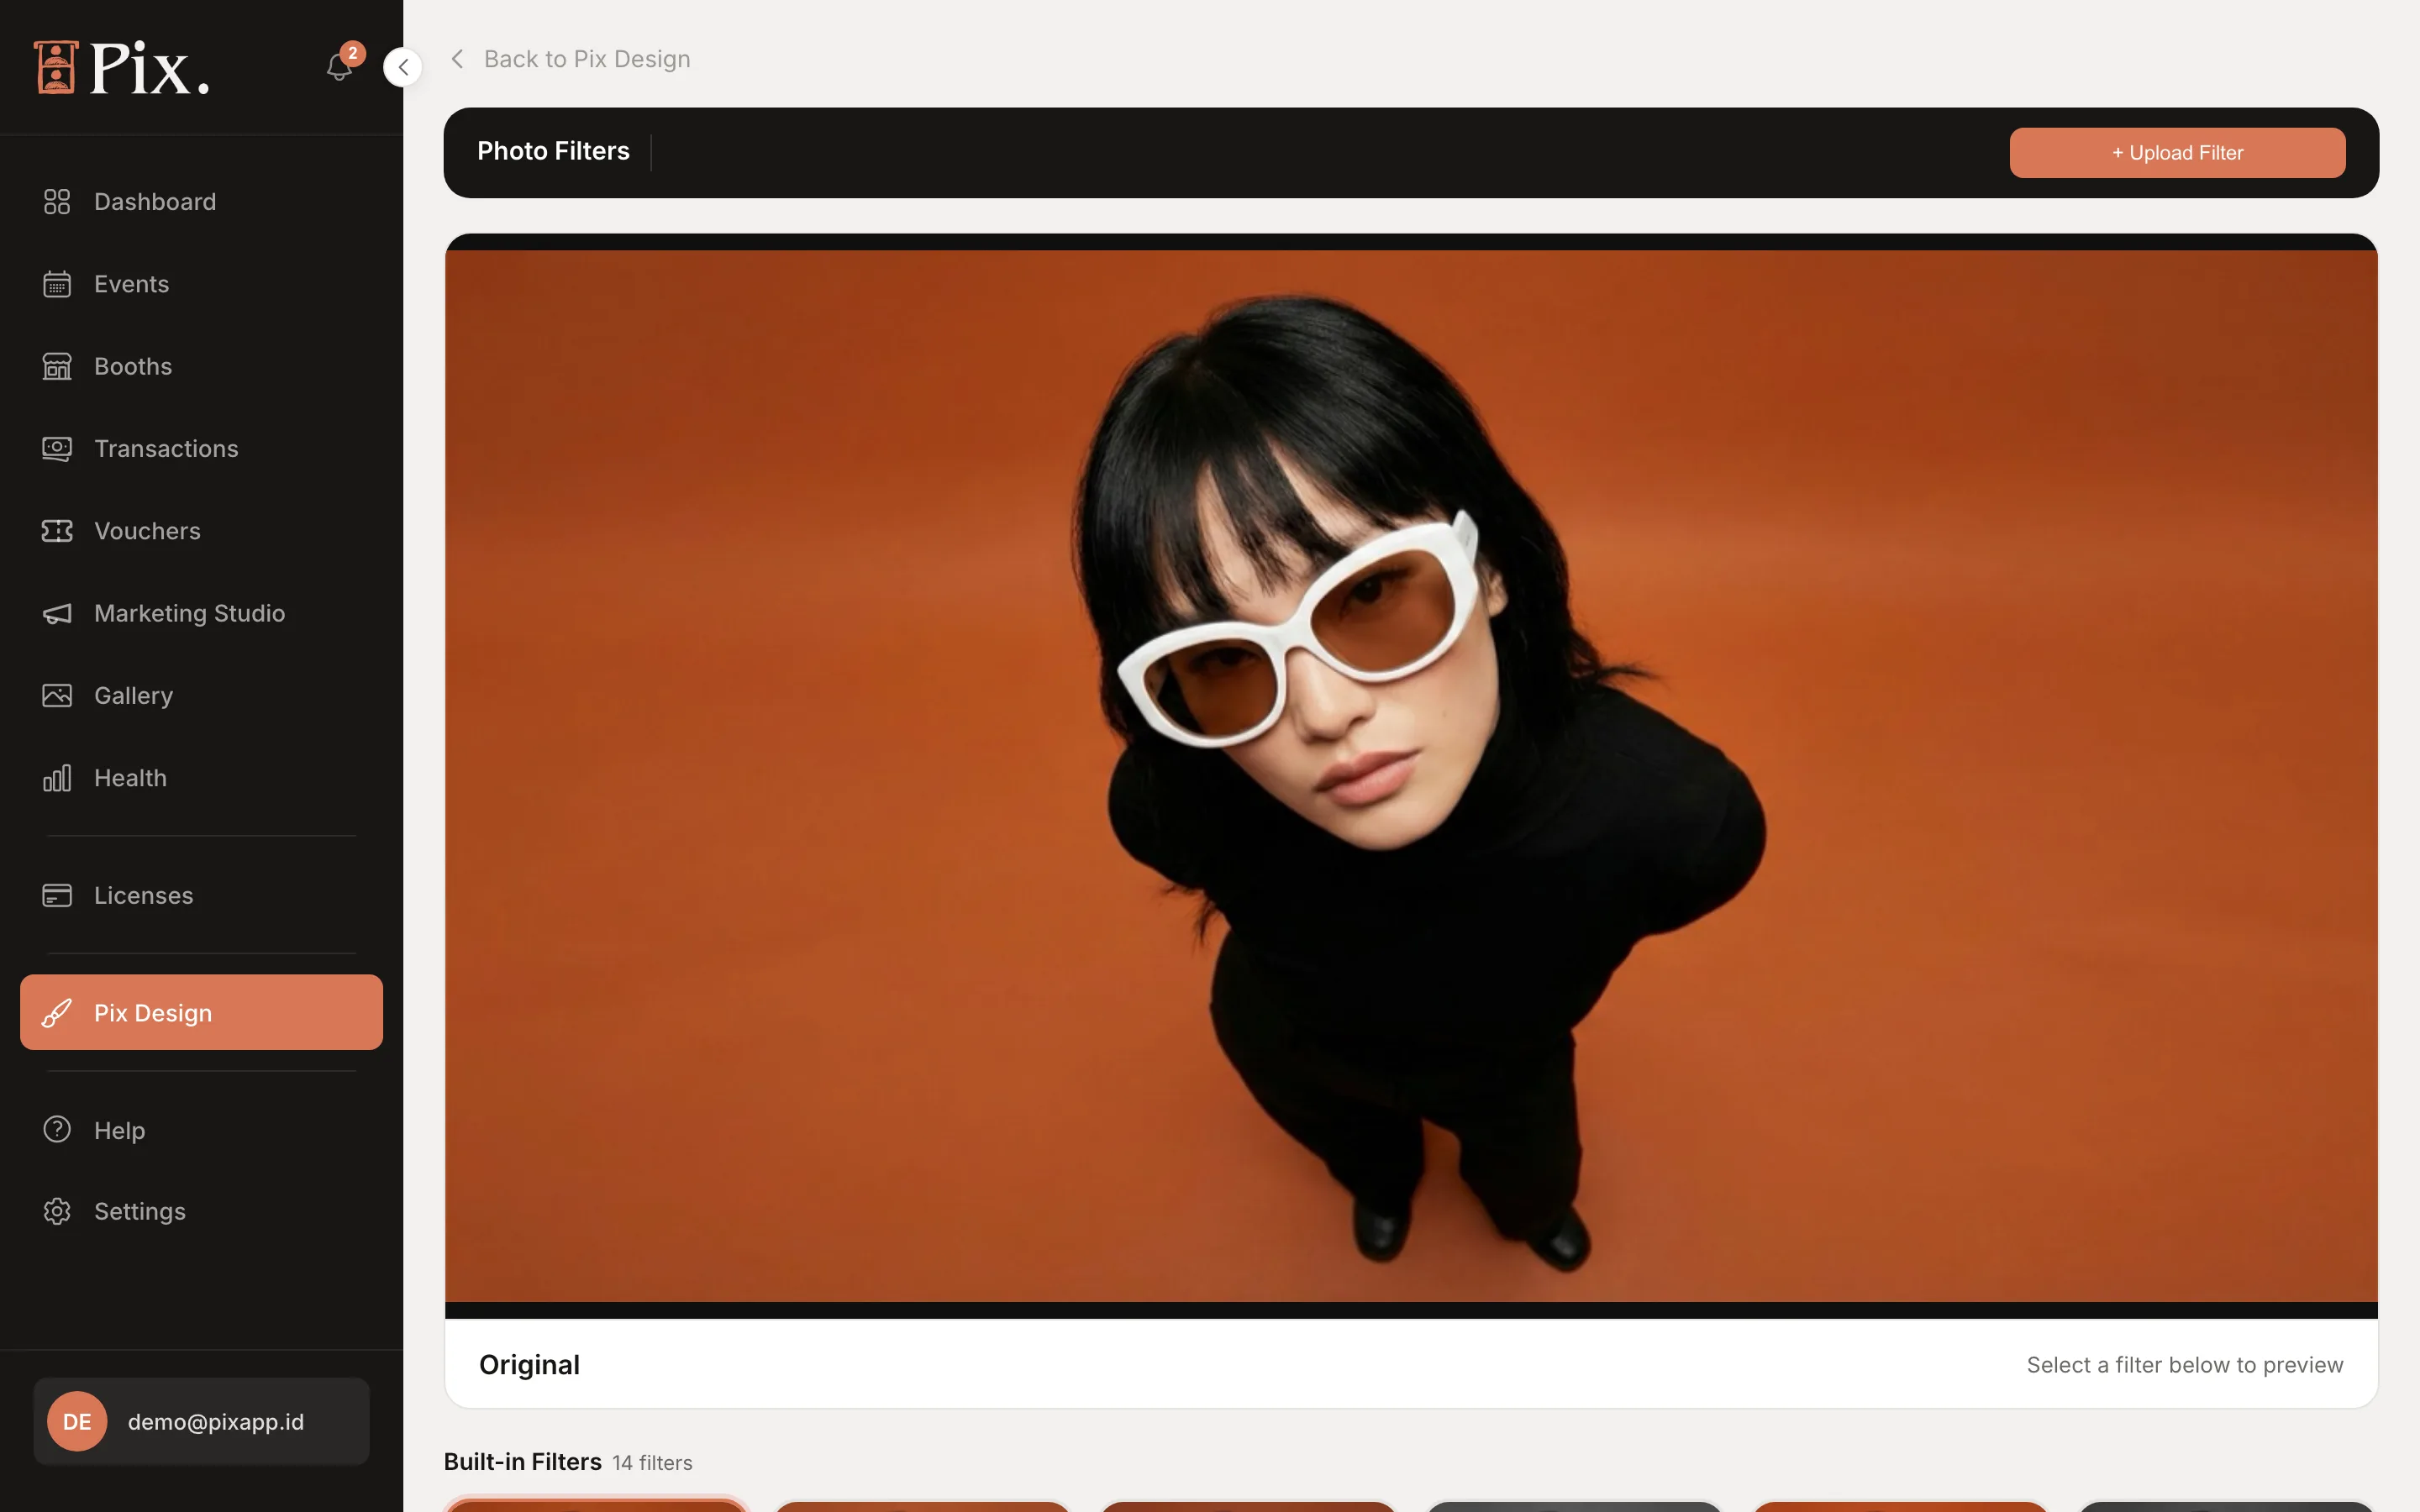
Pixture ships 14 built-in filters. You can add up to 50 of your own as .cube LUT files, the colour-grading format most photo and video tools export. A filter is applied to everything the guest takes home: the print, the animated GIF and the live photo all get the same grade.
Upload a filter
-
Open Pix Design > Photo Filters.
-
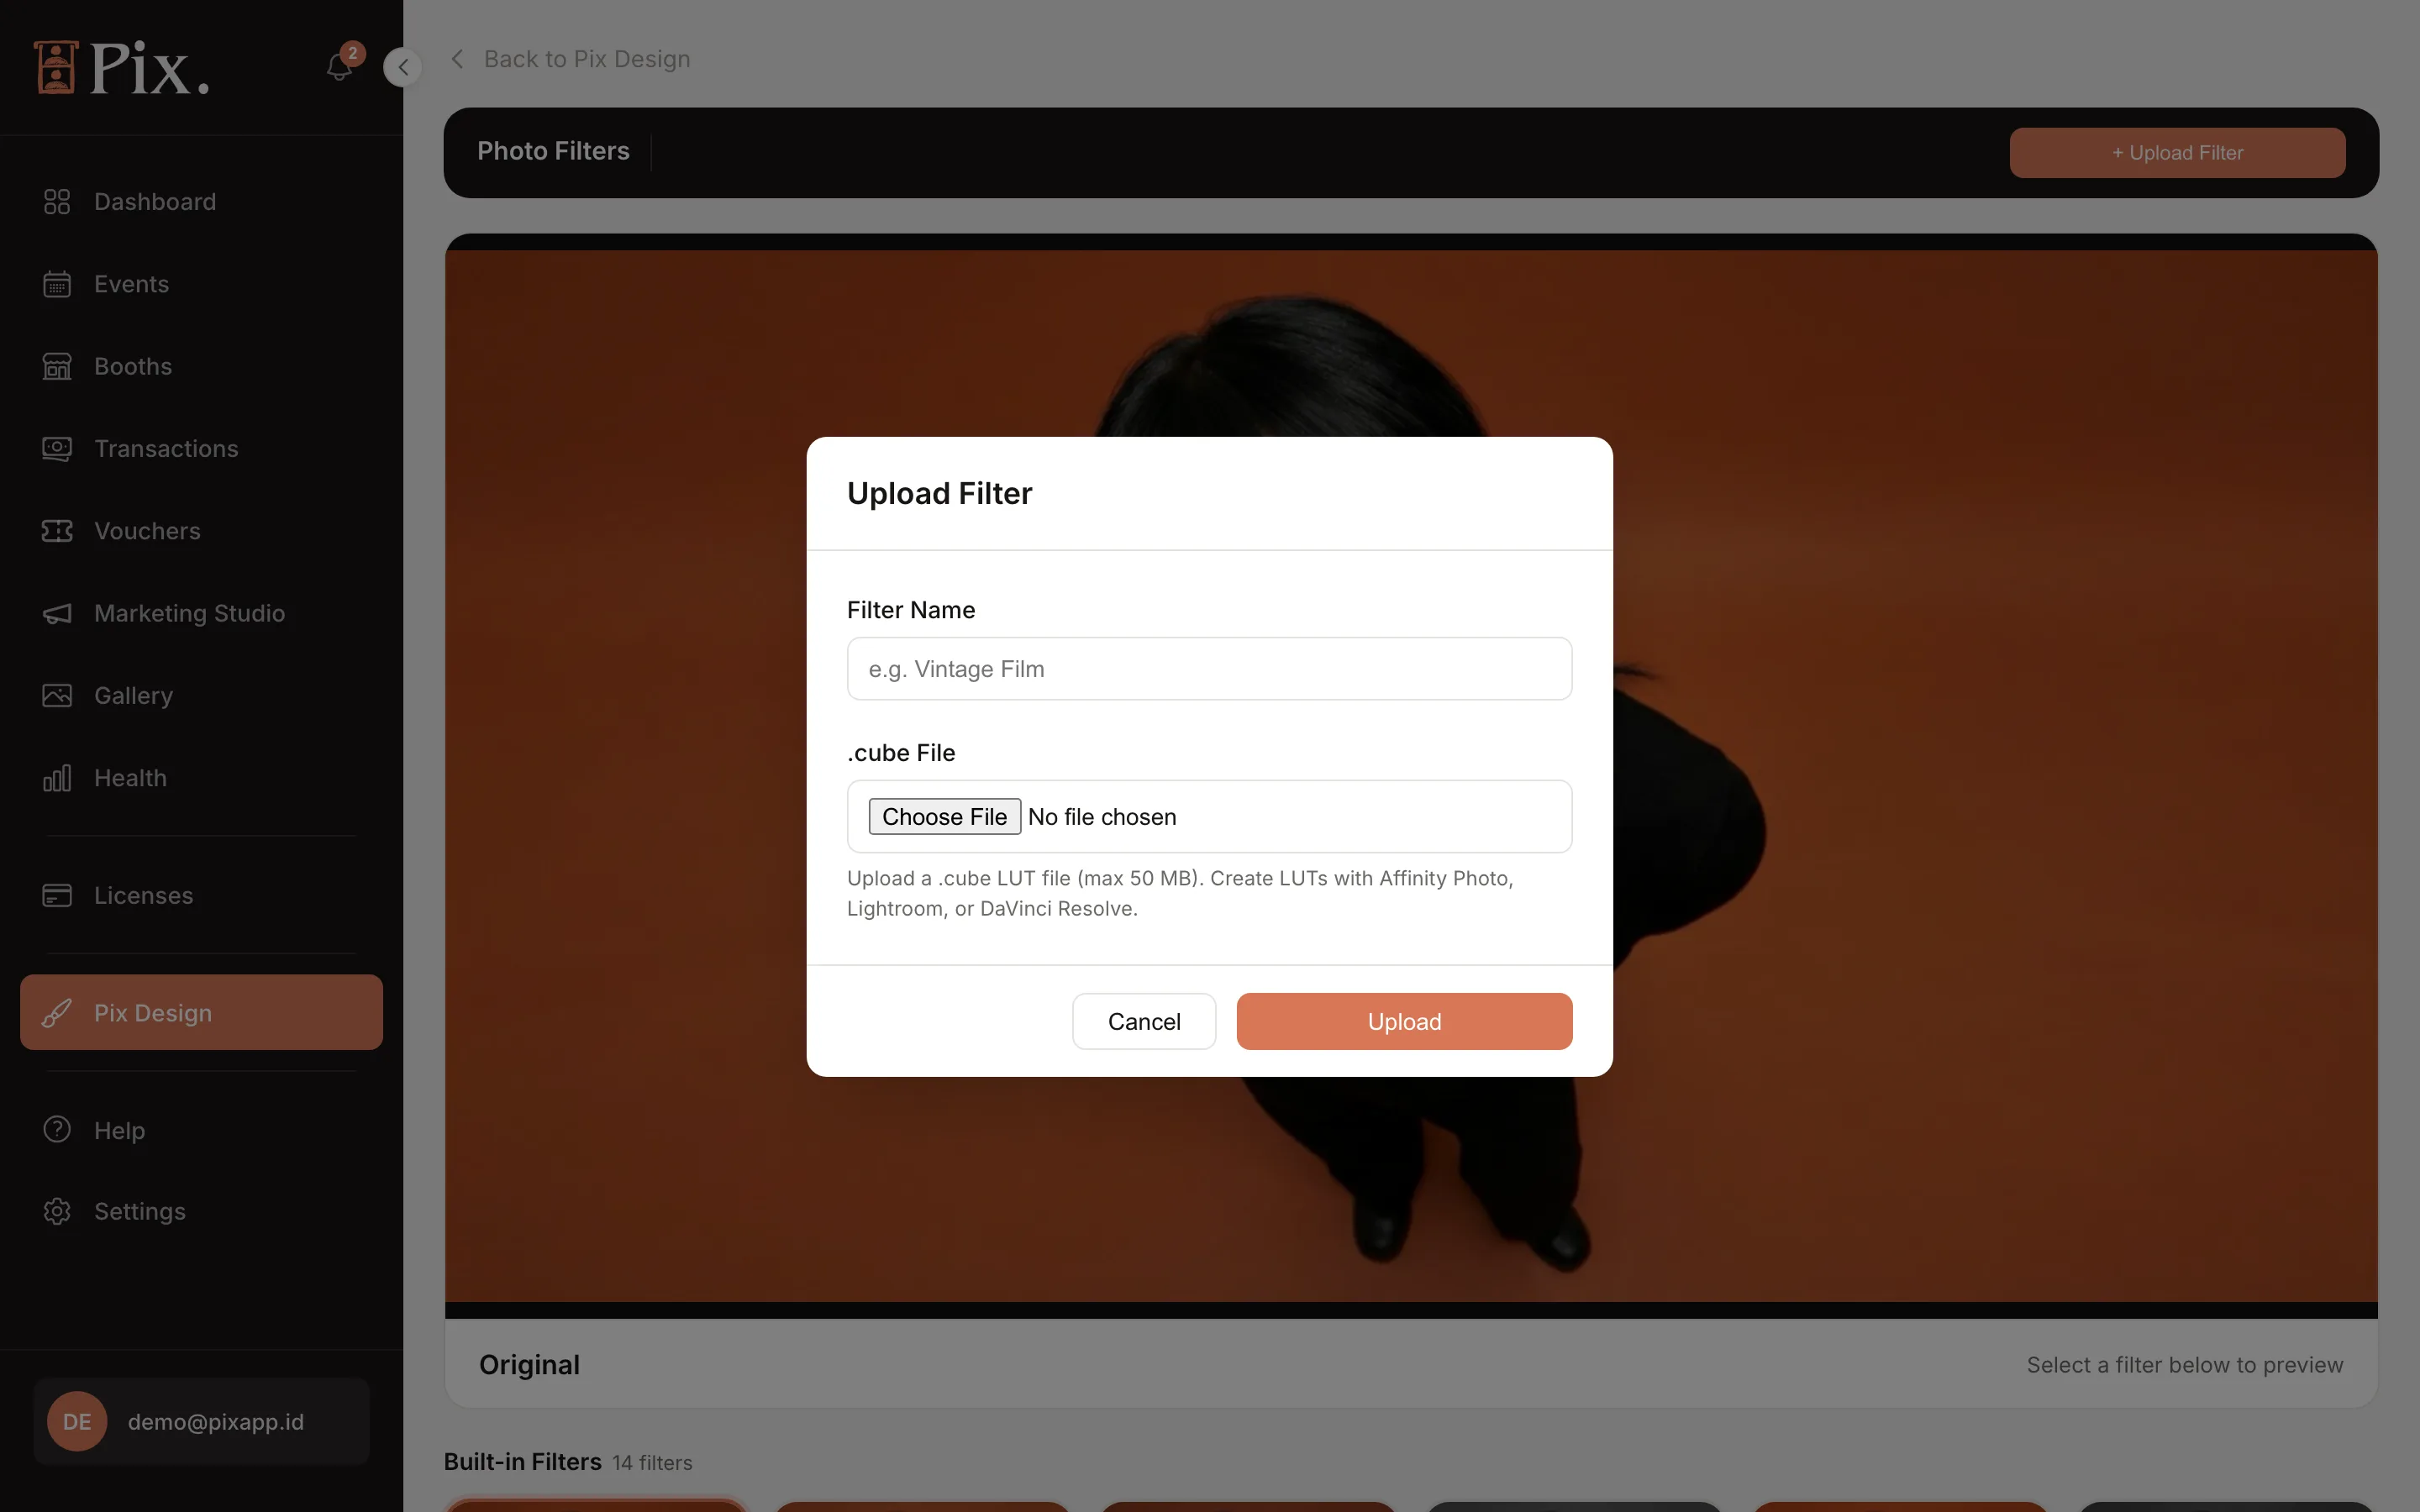
Click Upload Filter.
-
Enter a Filter Name. This is the label under the filter card on the booth, so keep it short.
-
Choose the .cube File and confirm.
The filter appears next to the built-in ones with a preview on a sample photo. Delete Filter removes a custom filter; the built-in ones stay.
Choose which filters a booth offers
By default a booth offers every filter, built-in and custom. To narrow it:
-
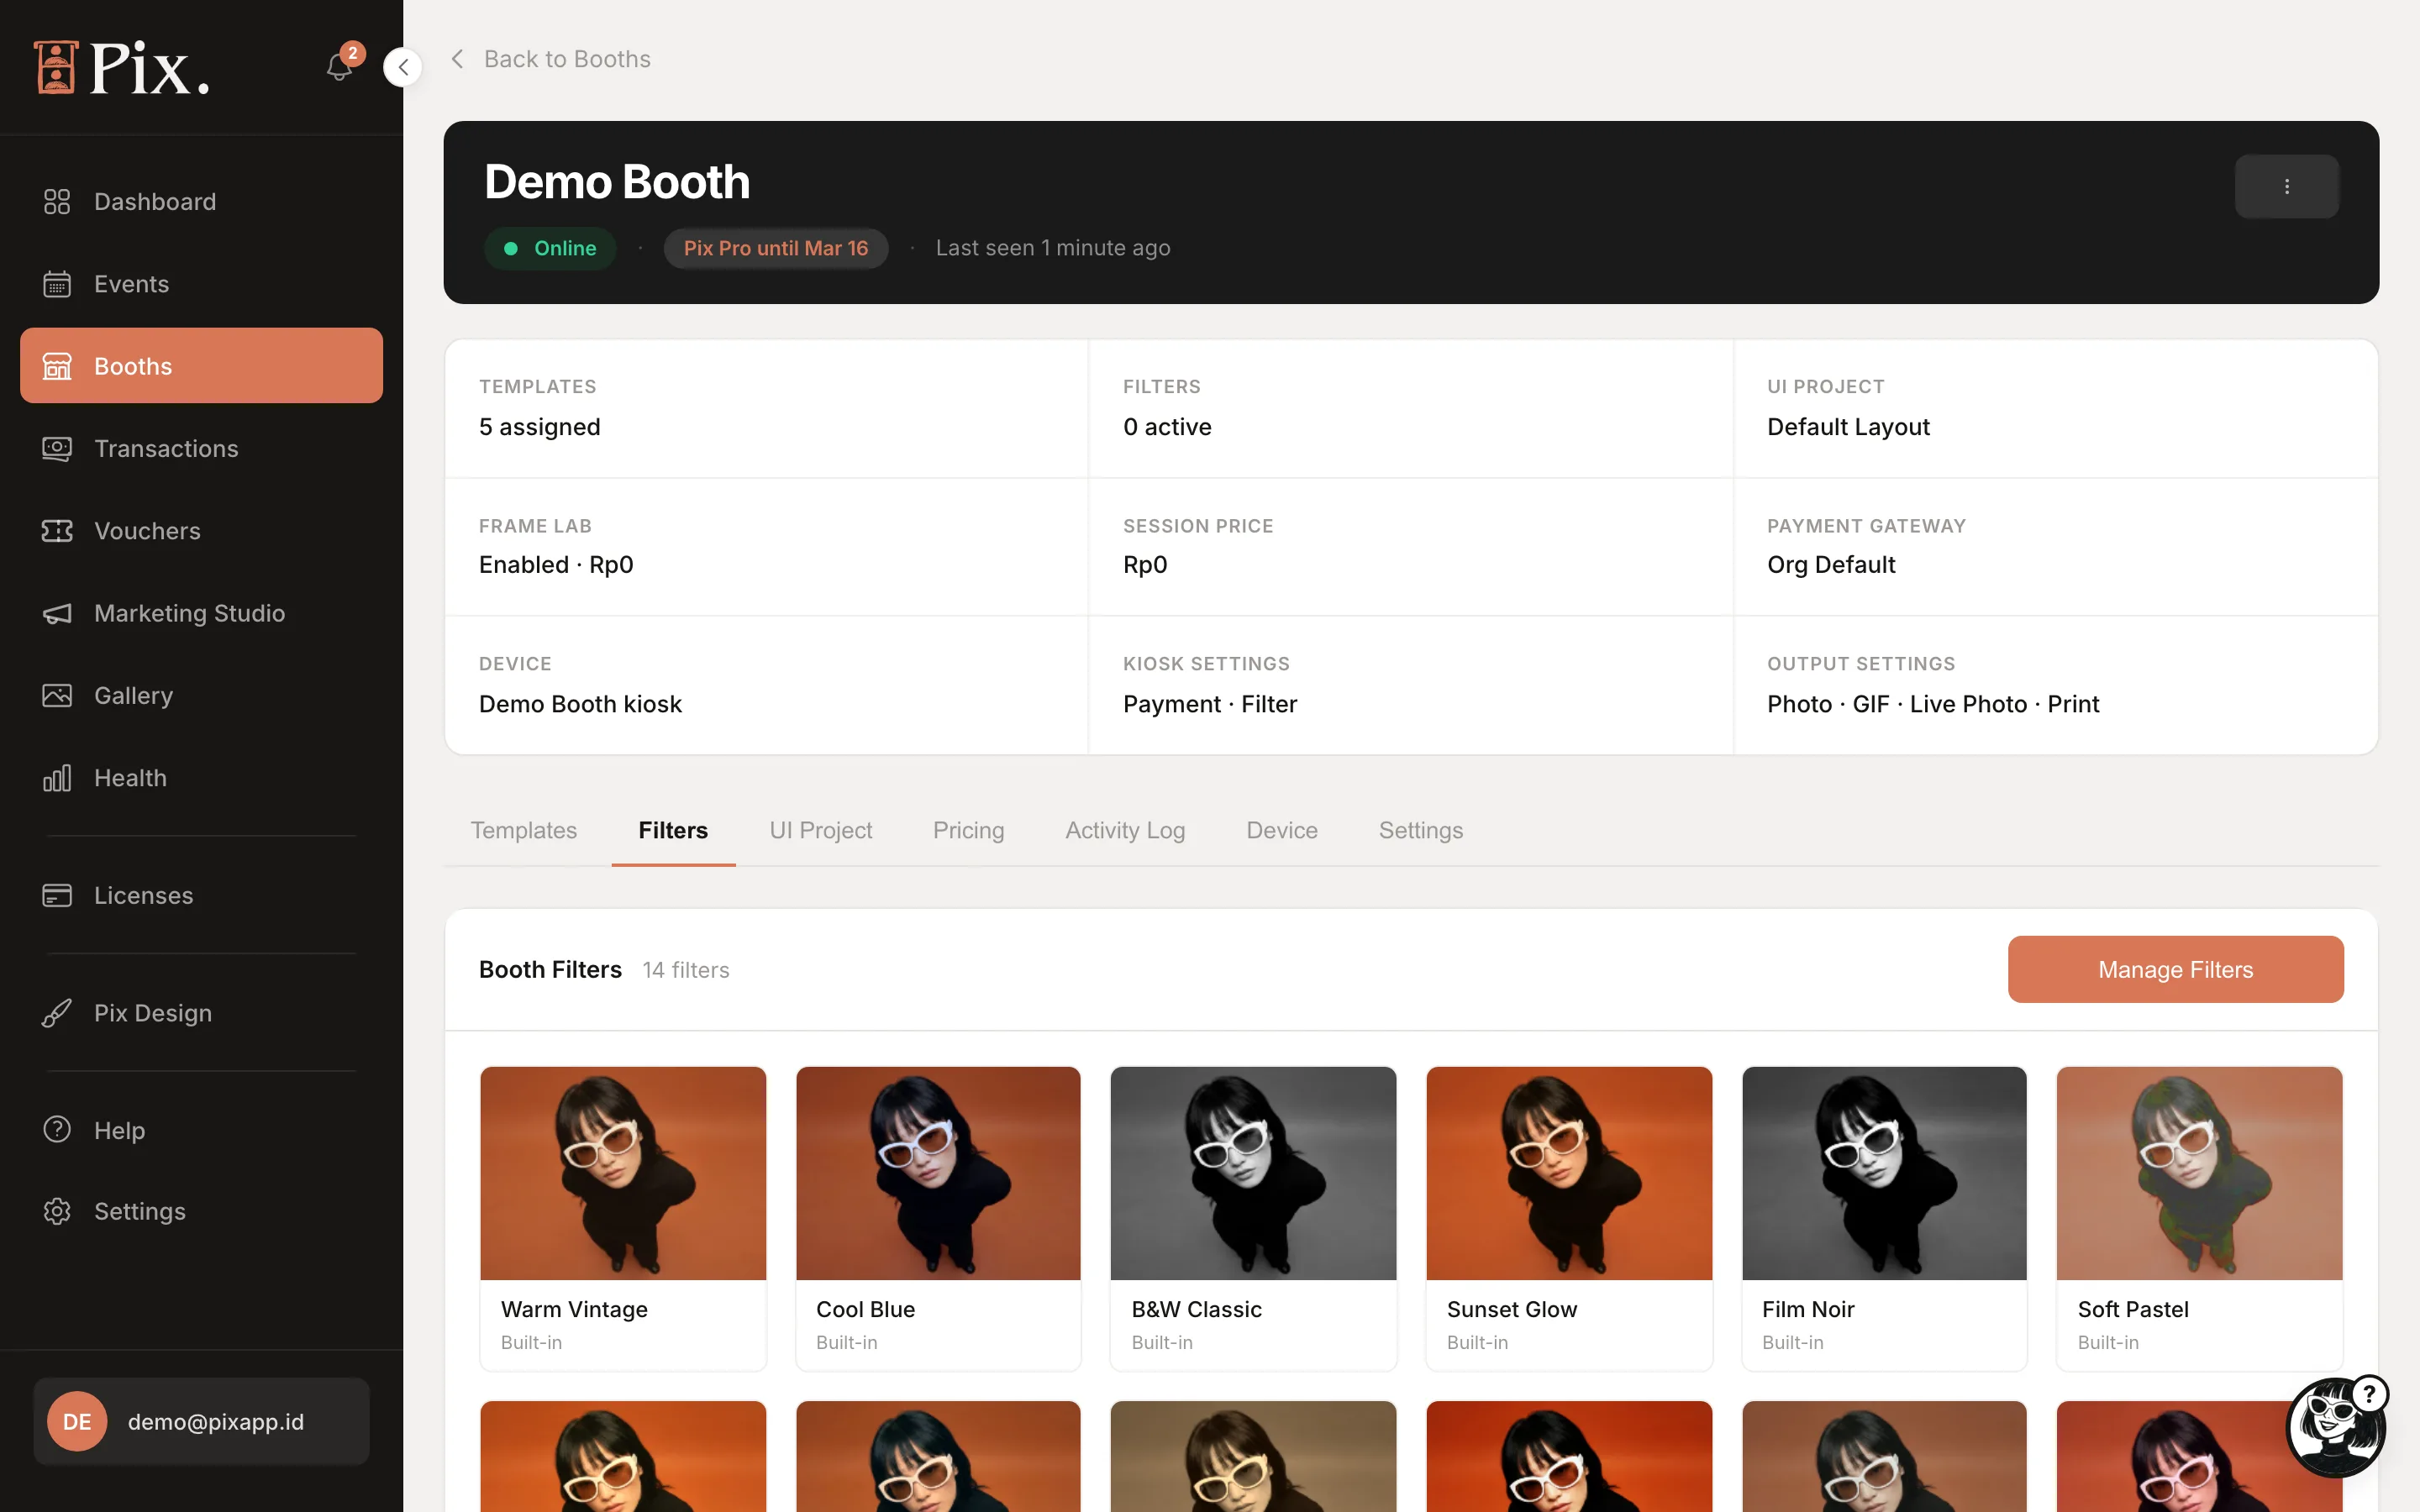
Open Booths, click the booth, then the Filters tab. The Booth Filters card shows the current set; with no explicit assignment it notes that all filters are available by default.
-
Click Manage Filters.
-
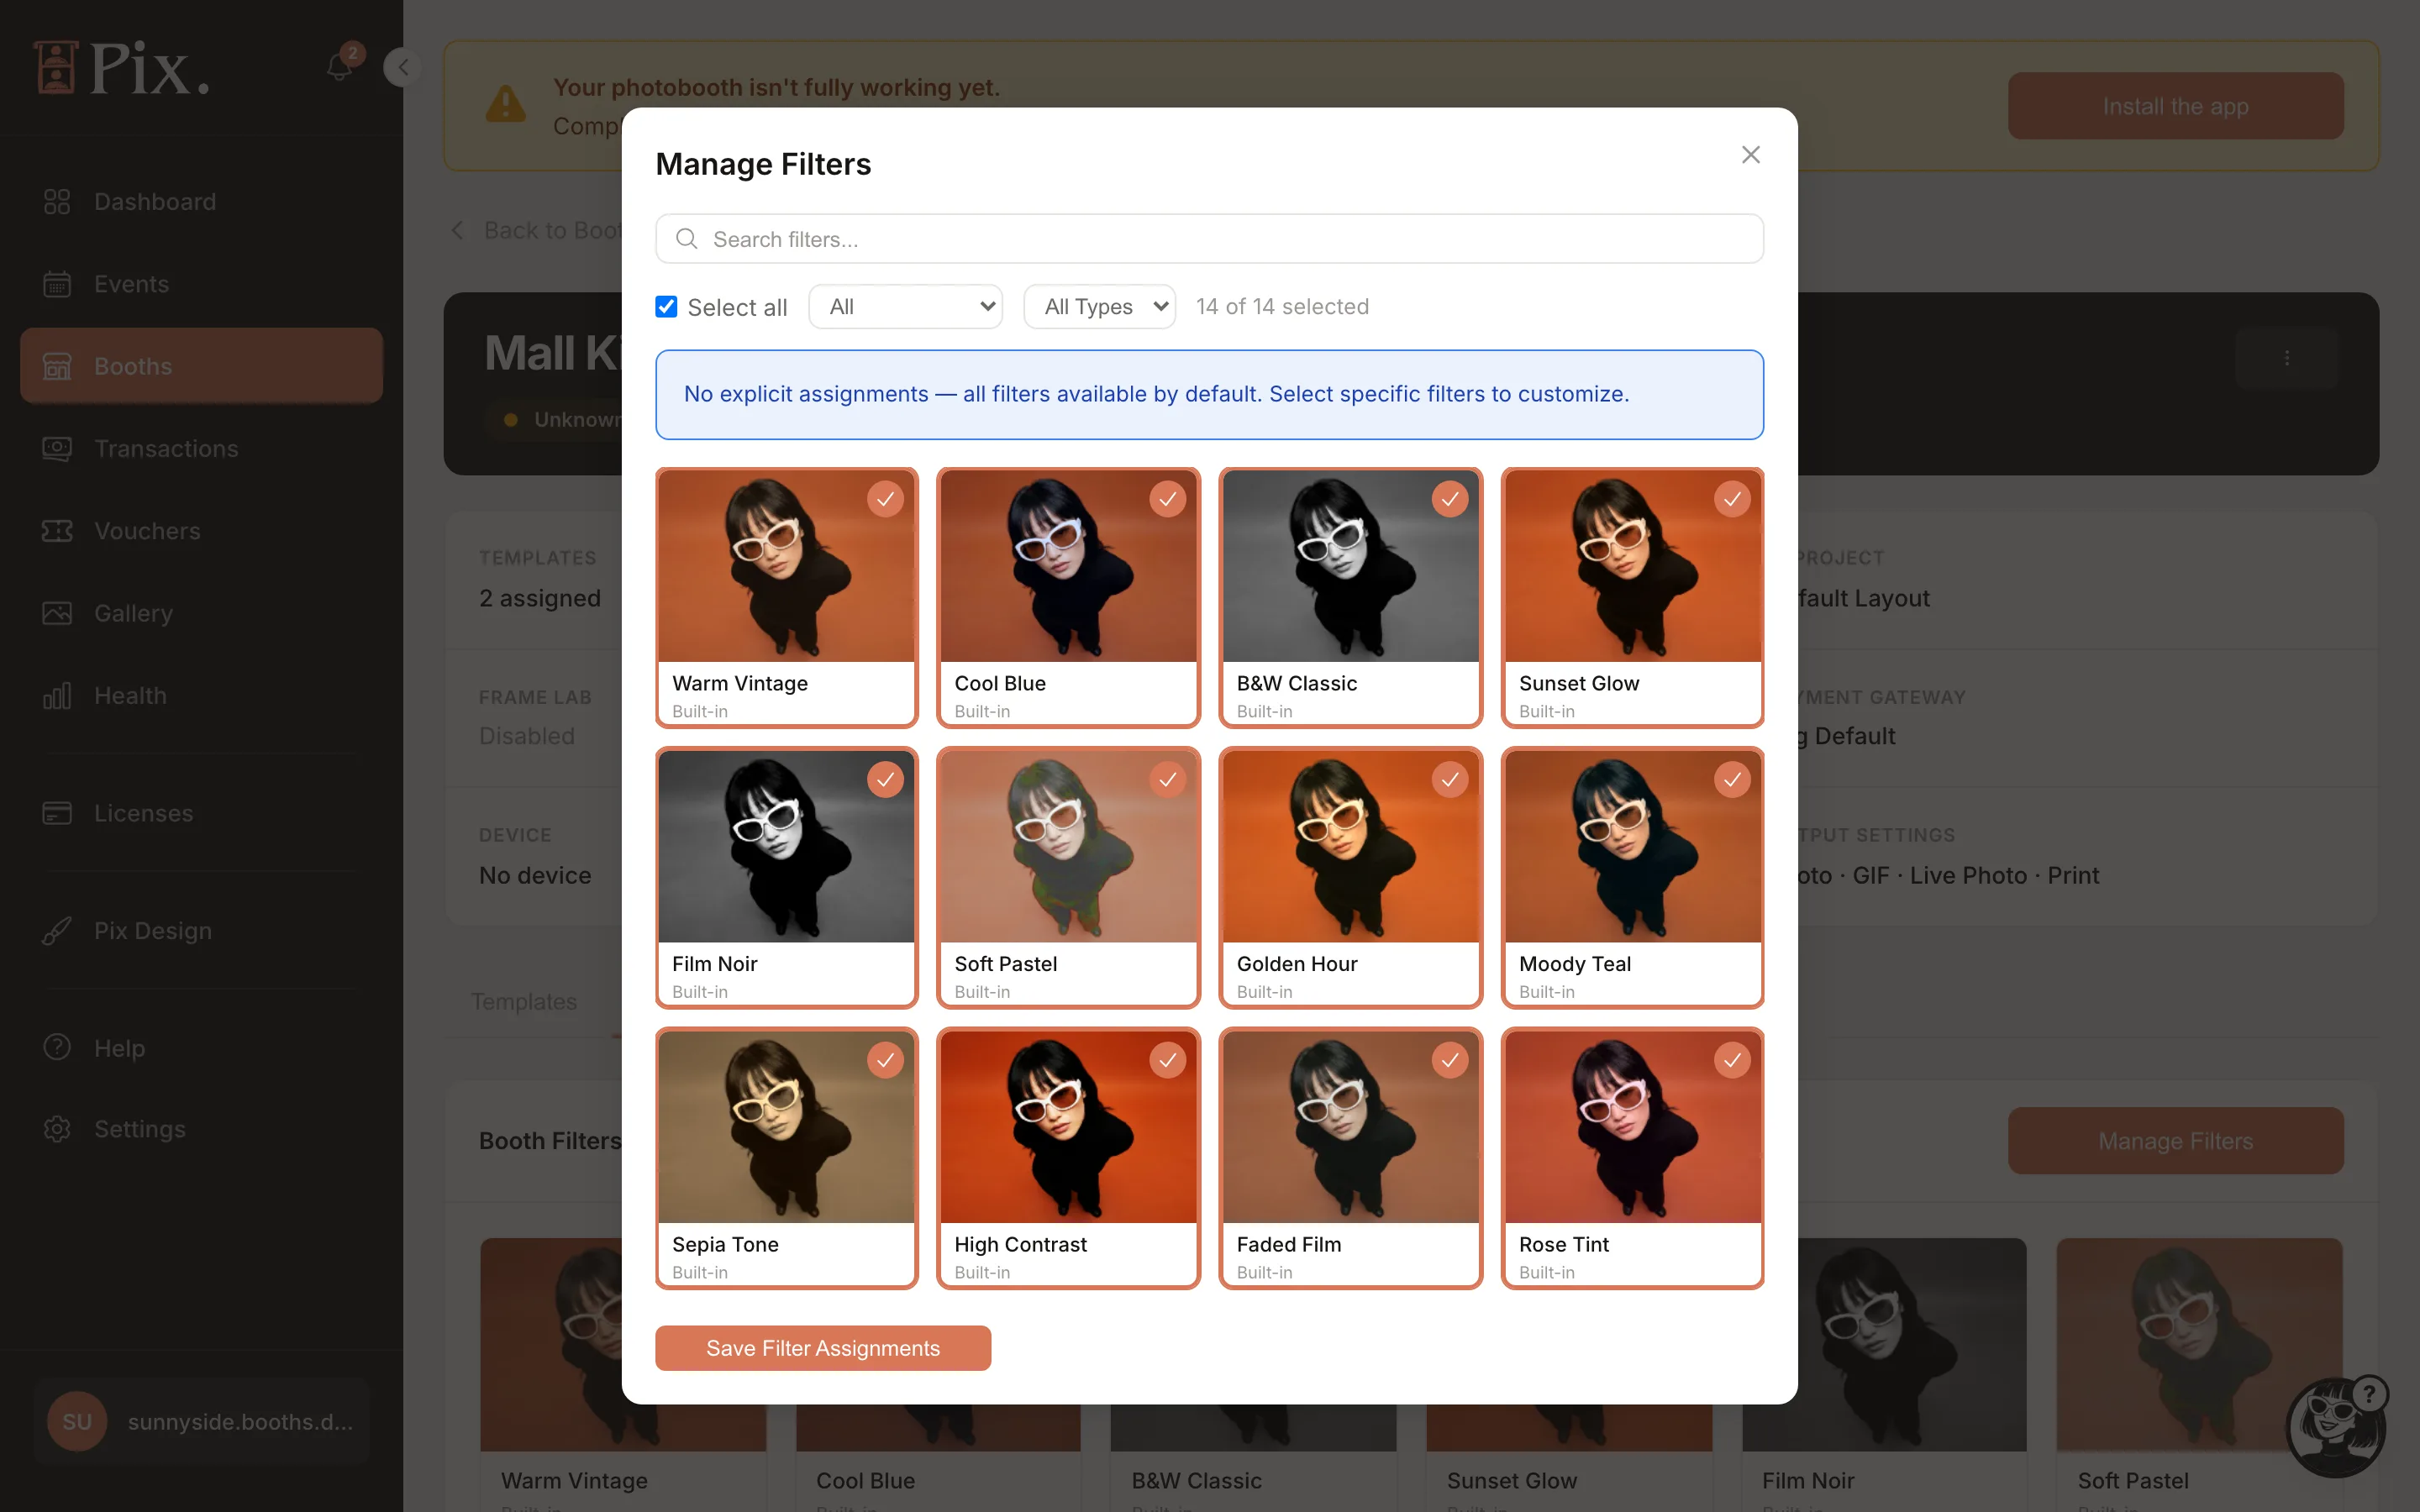
Tick the filters this booth should show. Select all ticks everything; Assigned / Not Assigned and All Types / Custom narrow the list.
-
Click Save Filter Assignments.
What the guest sees
The Filter screen comes after capture. The Filter Strip block lists the booth's filters as cards, in the grid you shaped in the UI Editor, and the Filter Preview block shows the guest's photo with the chosen filter applied. The screen can be turned off with Enabled in session flow, in which case photos go out unfiltered. See UI Editor and Filters on the booth.
A brand look usually needs one or two filters, not fourteen. Assign a short set per booth so the Filter screen stays quick to use.
GIF/Video Overlay
An overlay is a transparent PNG drawn over every frame of a session's animated GIF, and over the guest video at an event in Video or 360 Slow-mo mode. Use it for a frame, a logo corner or an event name.
Add an overlay
- Open Pix Design > GIF/Video overlay.
- Click + Add overlay.
- Choose the Transparent PNG, give it a Name, and pick the Orientation: Landscape (1280 x 720) or Portrait (720 x 1280). Make the PNG that exact size; the transparent area is where the photos show through.
- Confirm. Delete removes an overlay you no longer need.
Choose where it is used
- Per booth: Booths > booth > Settings, pick the overlay under GIF overlay and click Save. Every session GIF from that booth carries it.
- Per event: on the event's Setup tab, pick the Image overlay. The event's GIFs and videos carry it while the event runs. Free template packs from Pixture bring a matching overlay of their own.
Match the orientation to the booth's camera framing: a landscape booth needs a landscape overlay.
Pix Starter
Both pages open on Pix Starter, but saving in Pix Design needs Pix Pro, so uploading a filter or an overlay is a Pix Pro action. The built-in filters are available to every booth.