Booths
A booth is one photobooth station: a place, a computer and the templates, design and prices it runs. Booths are free profiles, so create one per station or venue. What a booth can do depends on the computer paired to it: Pix Pro, watermarked on Pix Starter, or blocked when a Pix Pro account has more computers than devices.
The Booths List
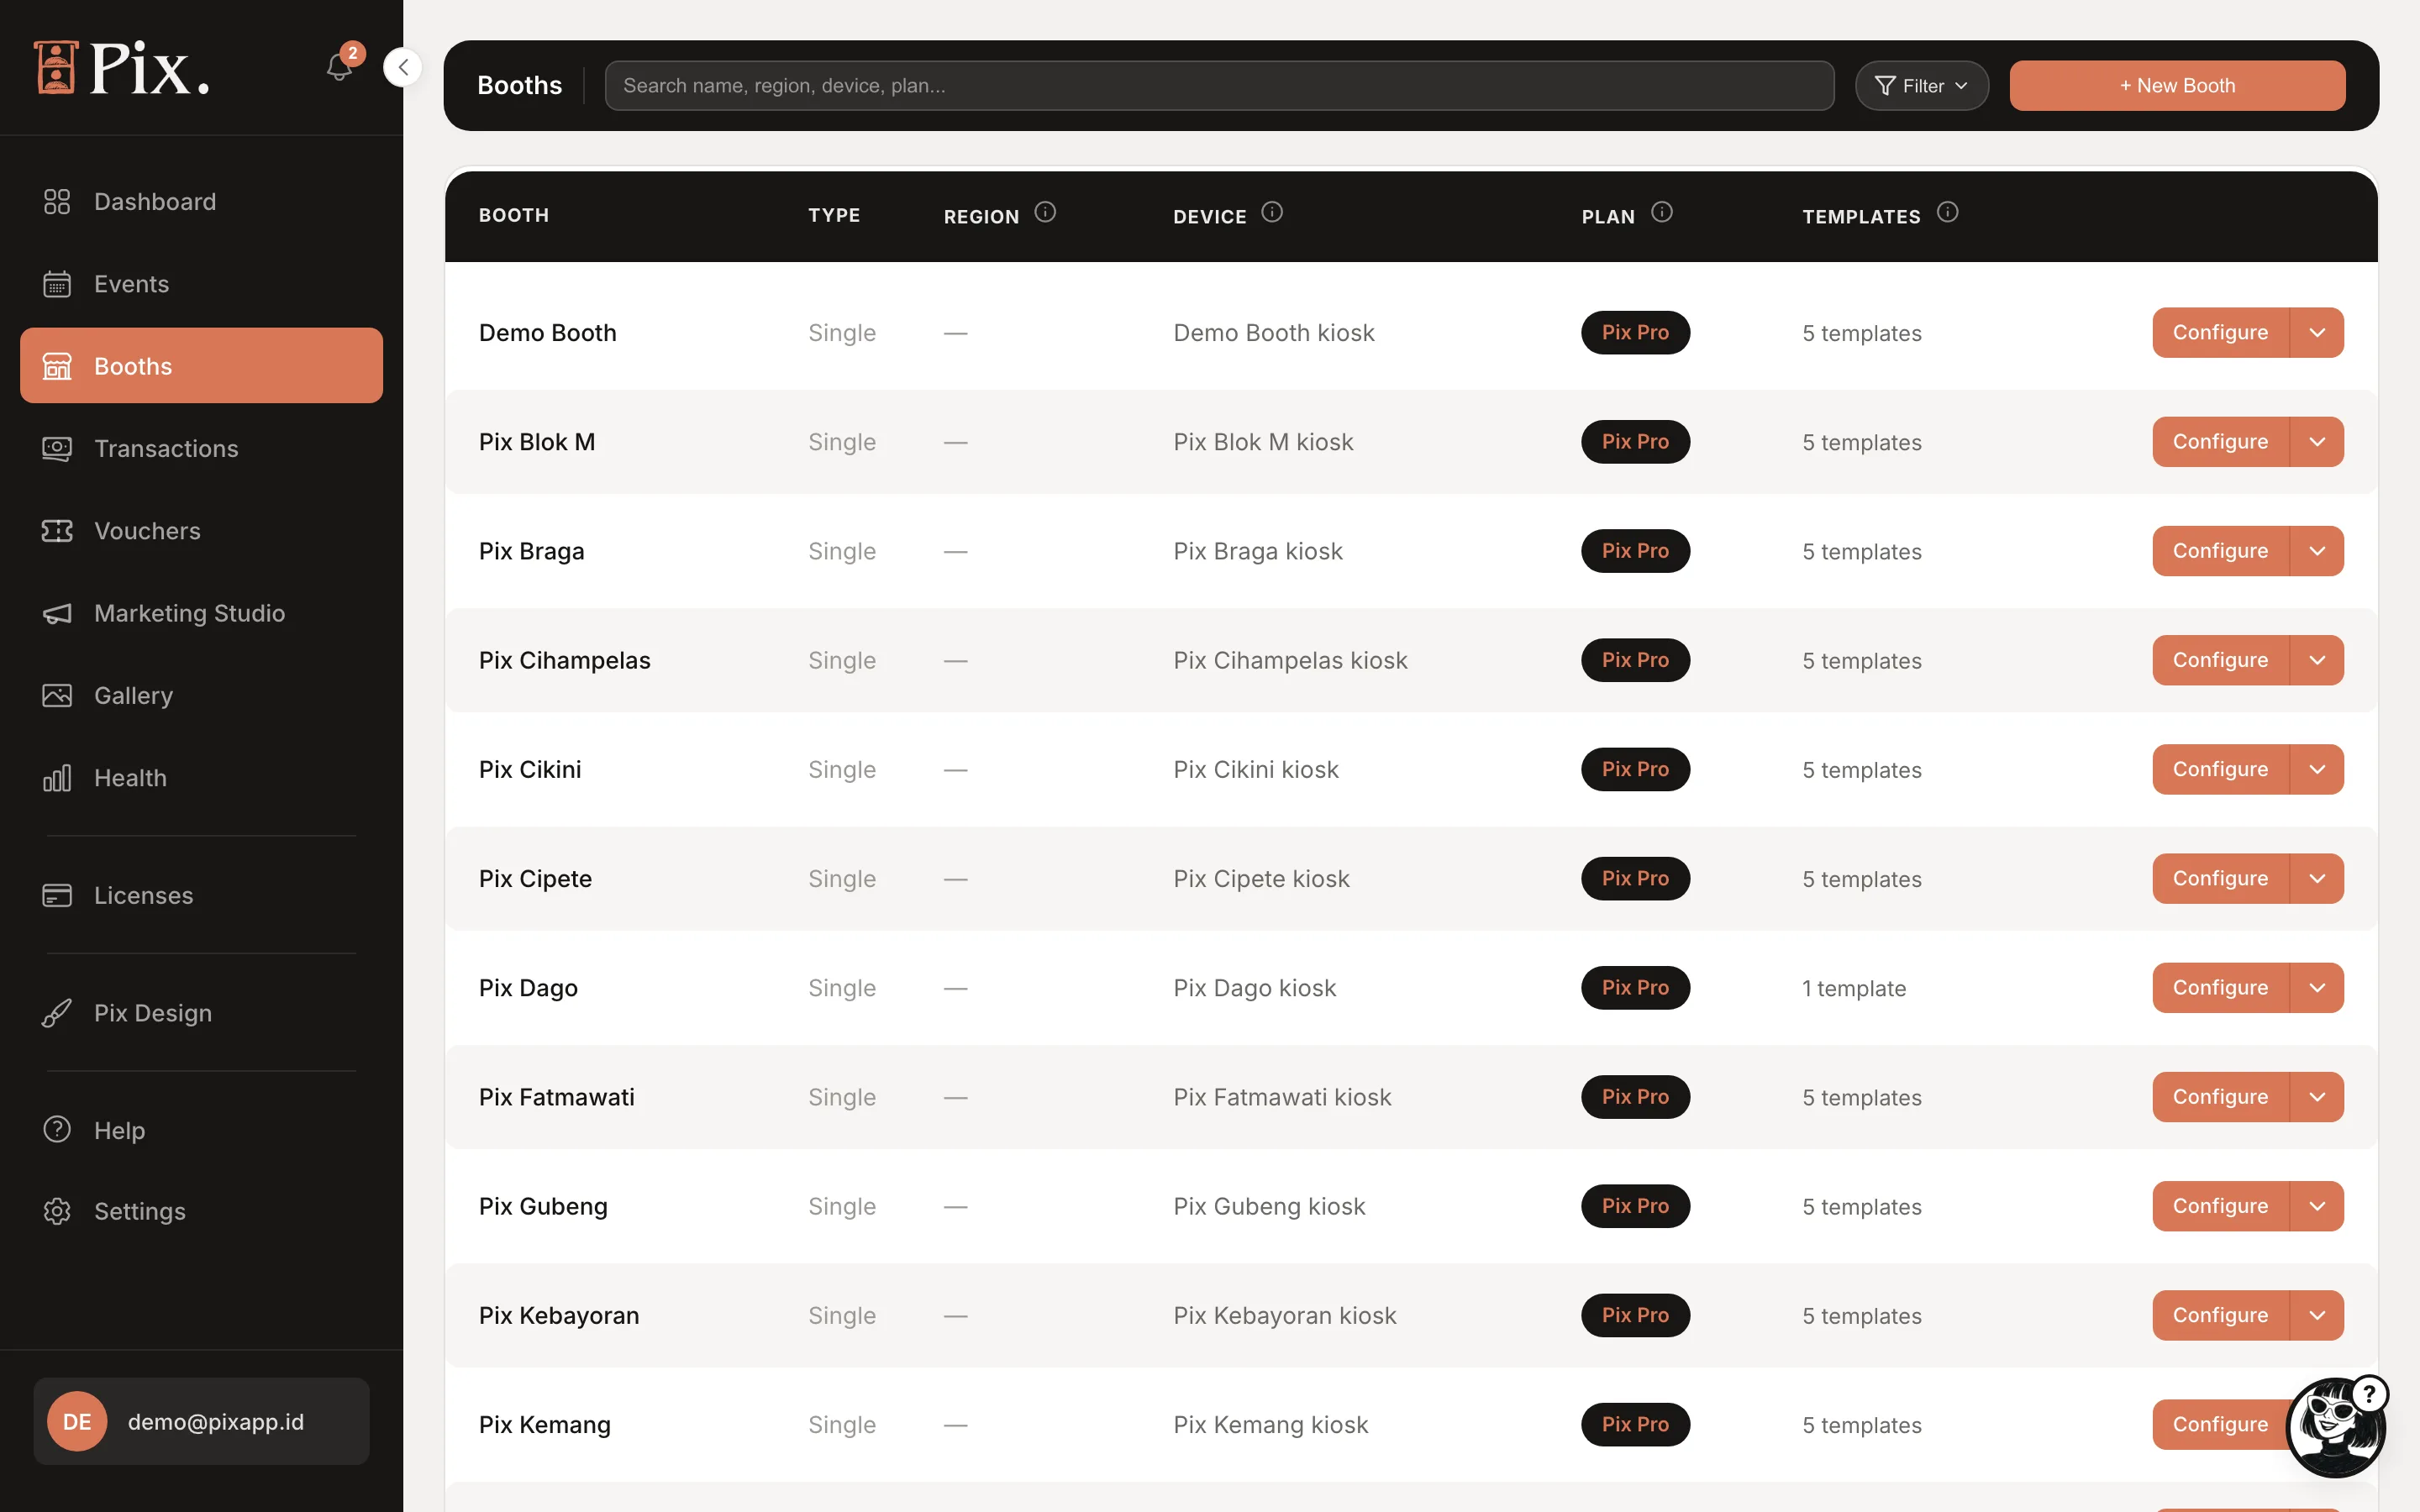
| Column | What it shows |
|---|---|
| BOOTH | Name and location |
| TYPE | Single or Multi-Booth |
| REGION | The region set on the booth's Settings tab |
| DEVICE | The paired computer, or nothing |
| PLAN | Pix Pro, Blocked, Watermarked, or a dash when no computer is linked |
| TEMPLATES | How many templates are assigned |
Search by name, region, device or plan. Filter narrows by region, status (Online or Offline) and plan. Each row has Configure, which opens the booth page, and a chevron with Rename, Unlink device and Delete booth.
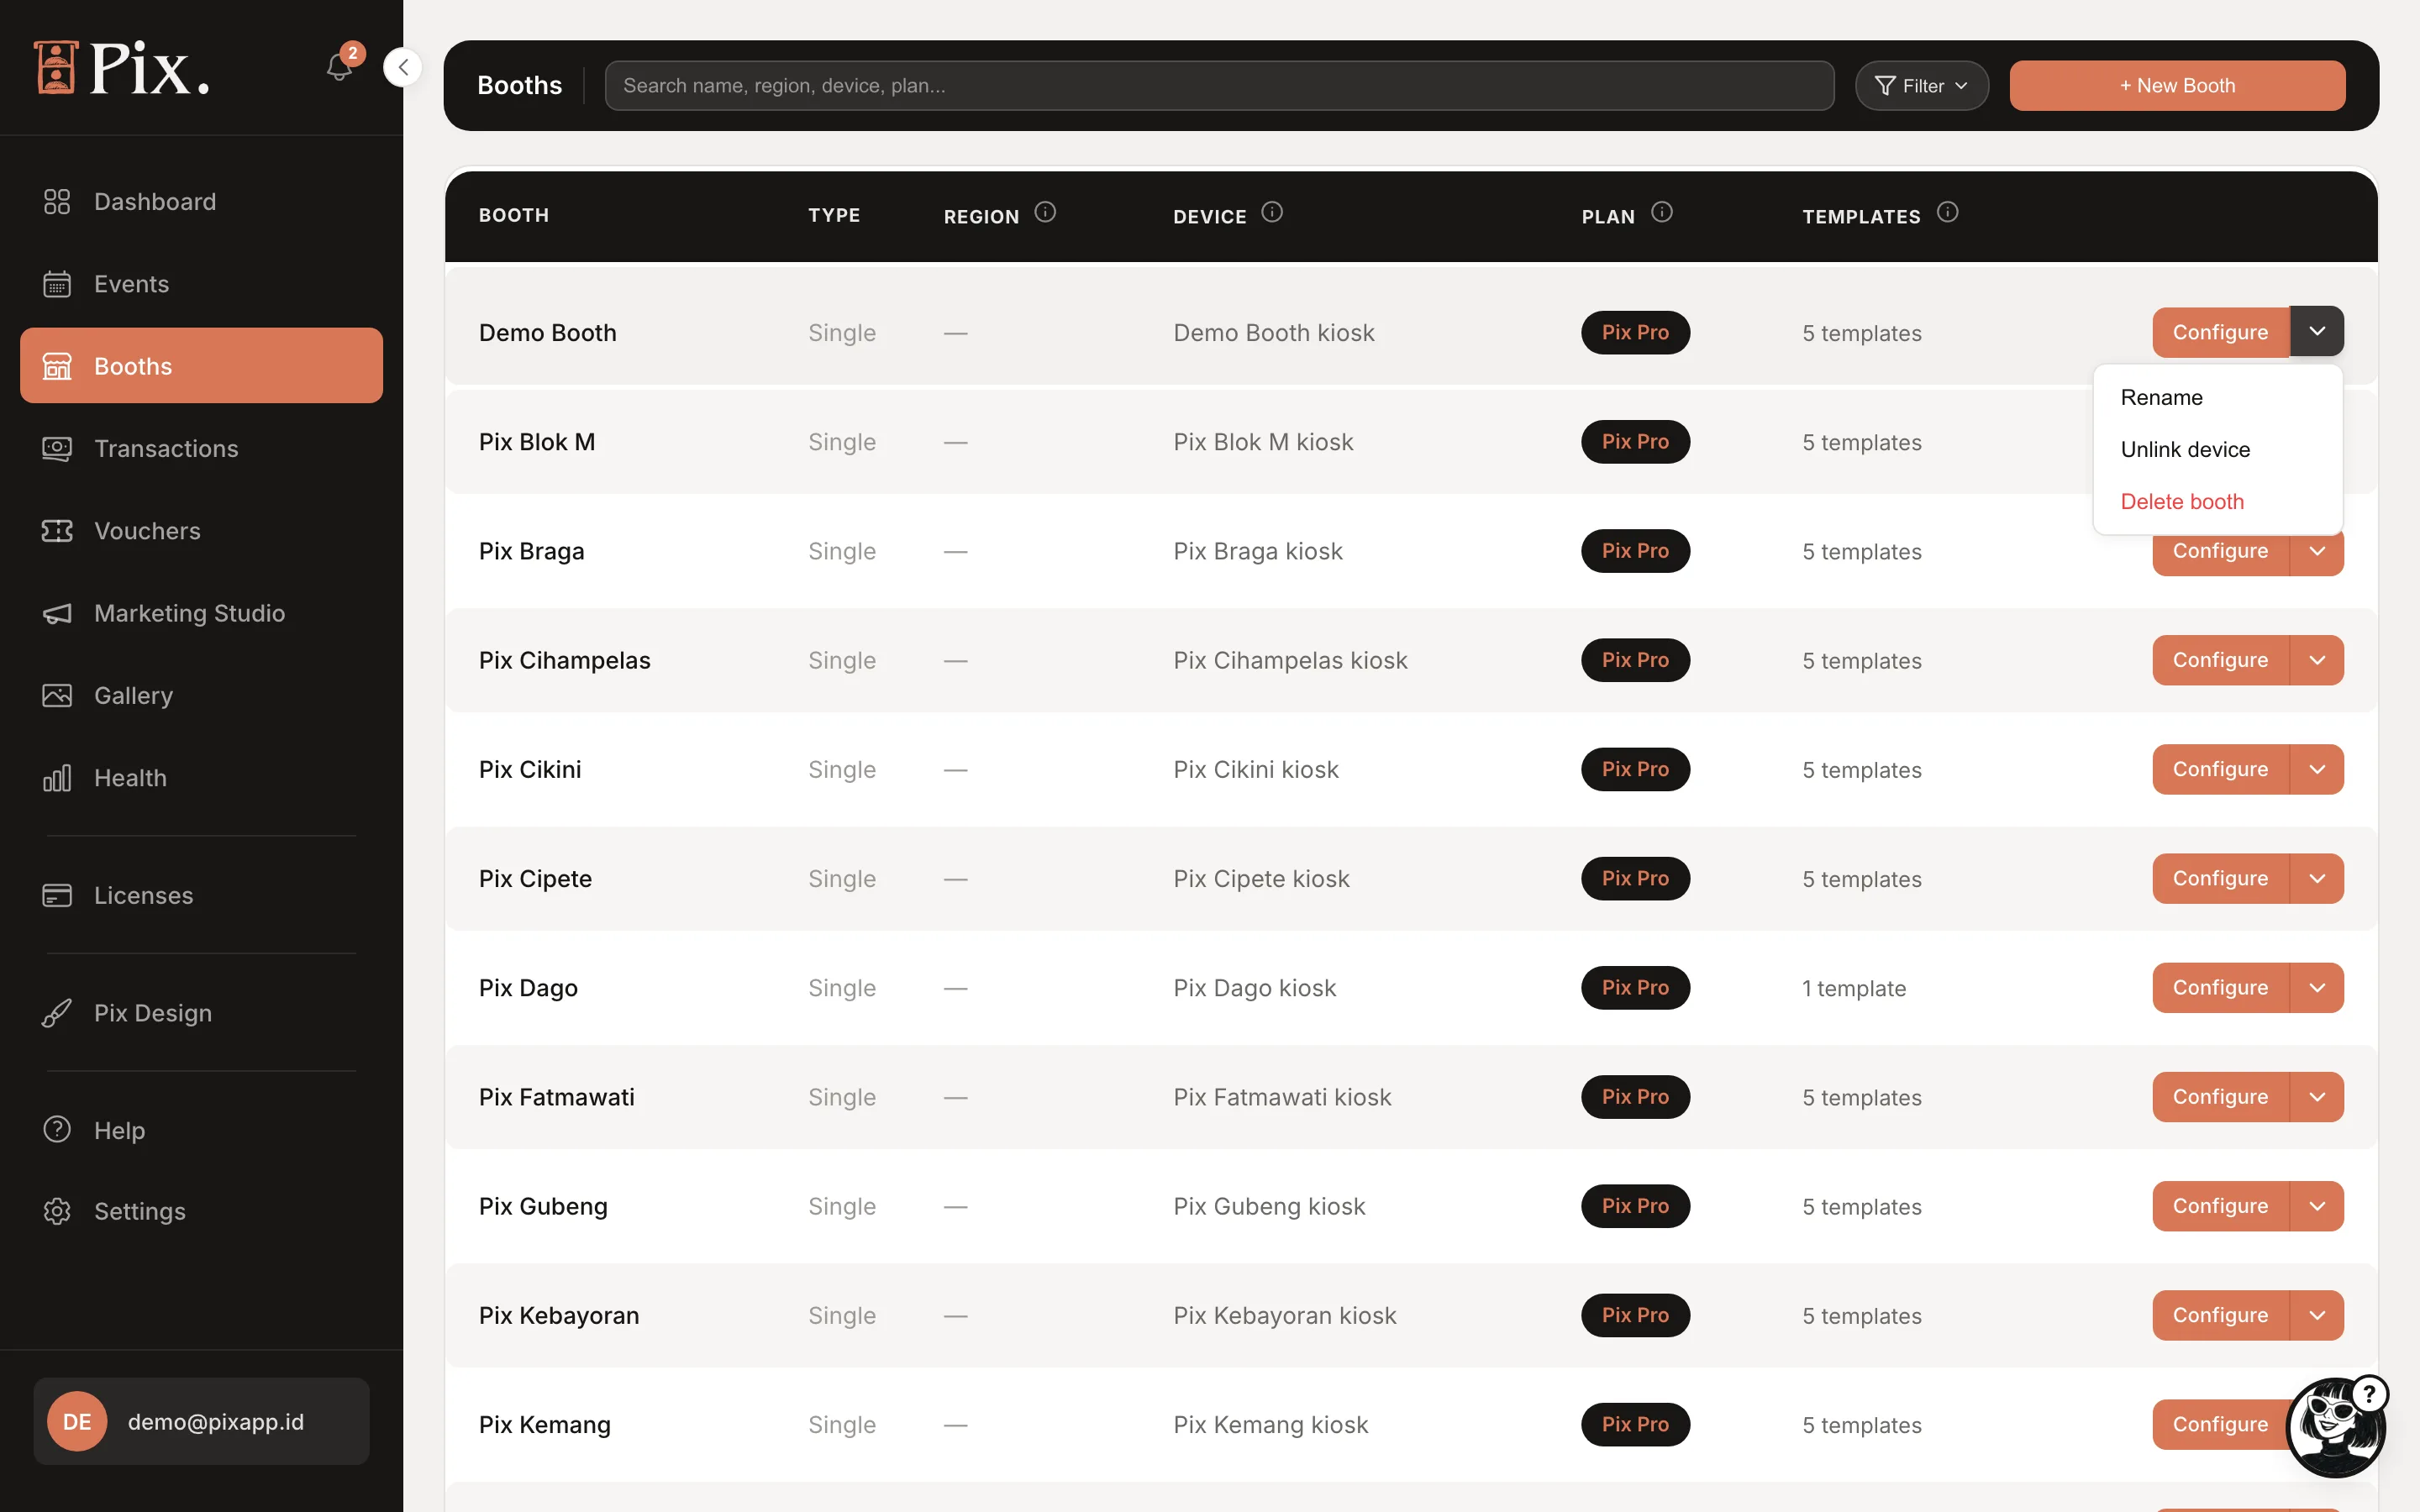
Delete booth takes two steps: Send verification code, then the 6-digit code from your email and Delete. Photo sessions already captured stay in Gallery and Transactions. A booth whose computer is running Pix Pro cannot be deleted; deactivate that computer on the Devices page first.
Creating a Booth
- Click + New Booth.
- On the Single booth tab, enter a Booth Name and an optional Location. Name it by place, not by plan: "Grand Mall L2" ages better than "Pro Booth 1".
- Click Create.
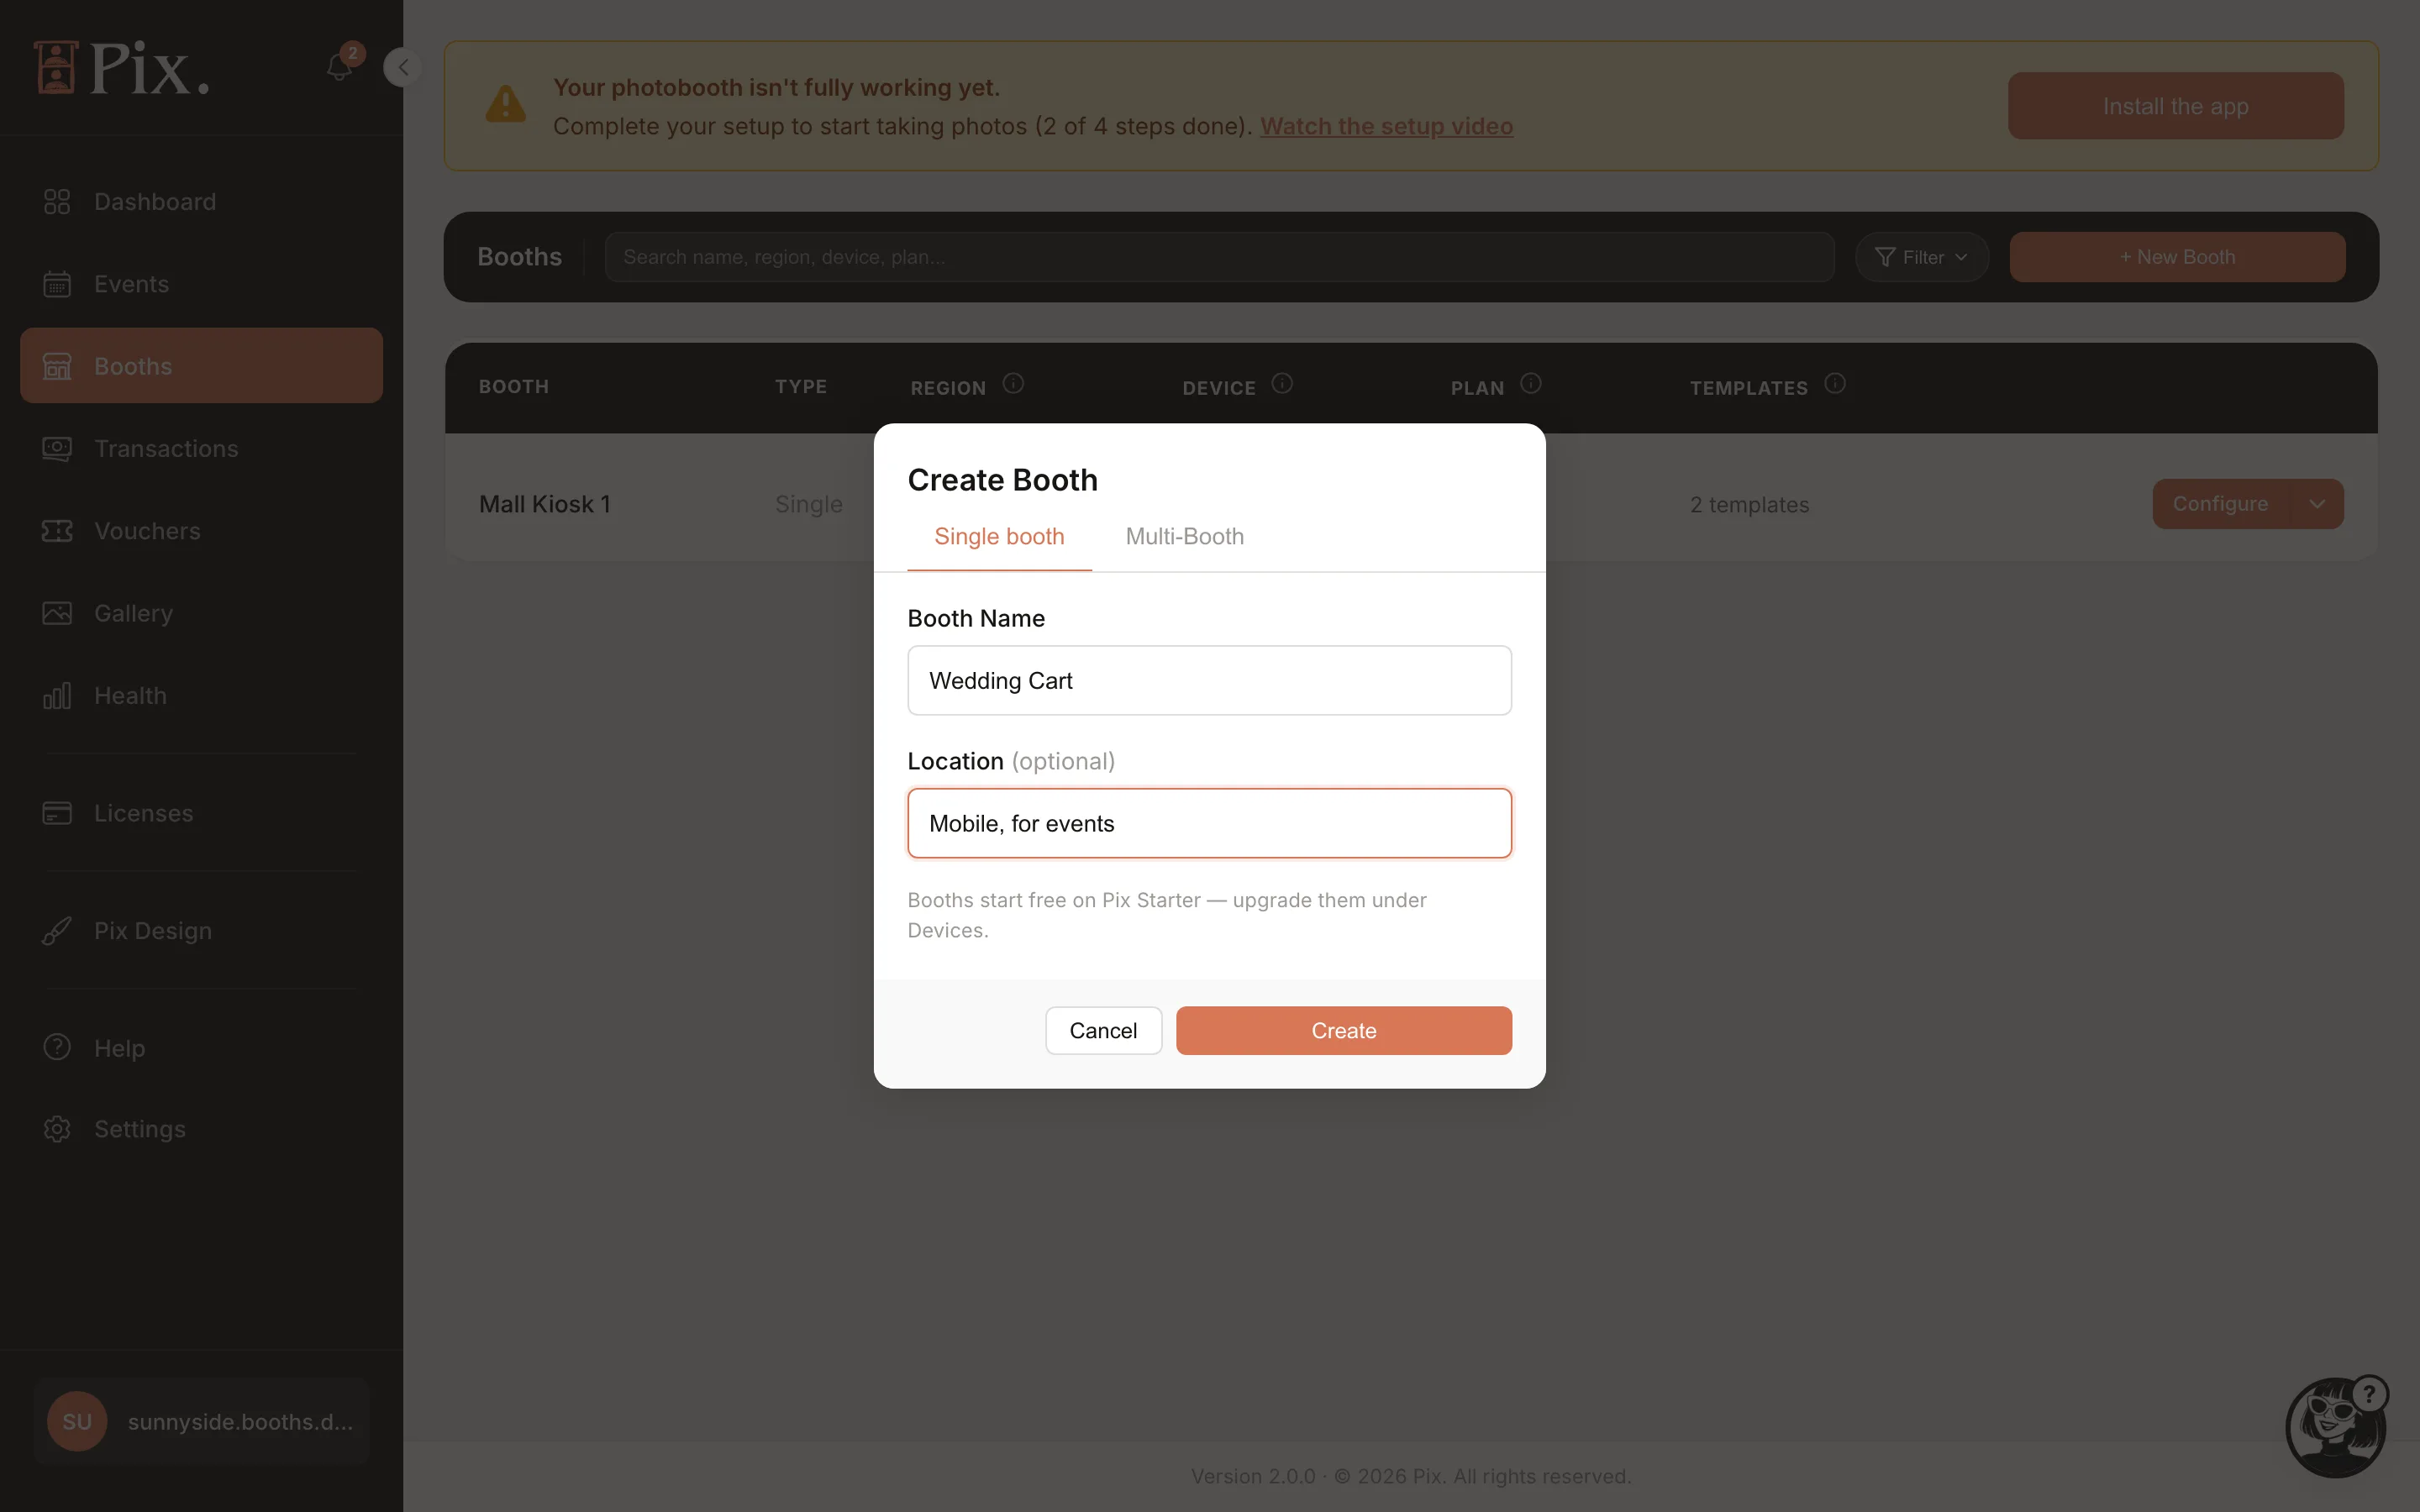
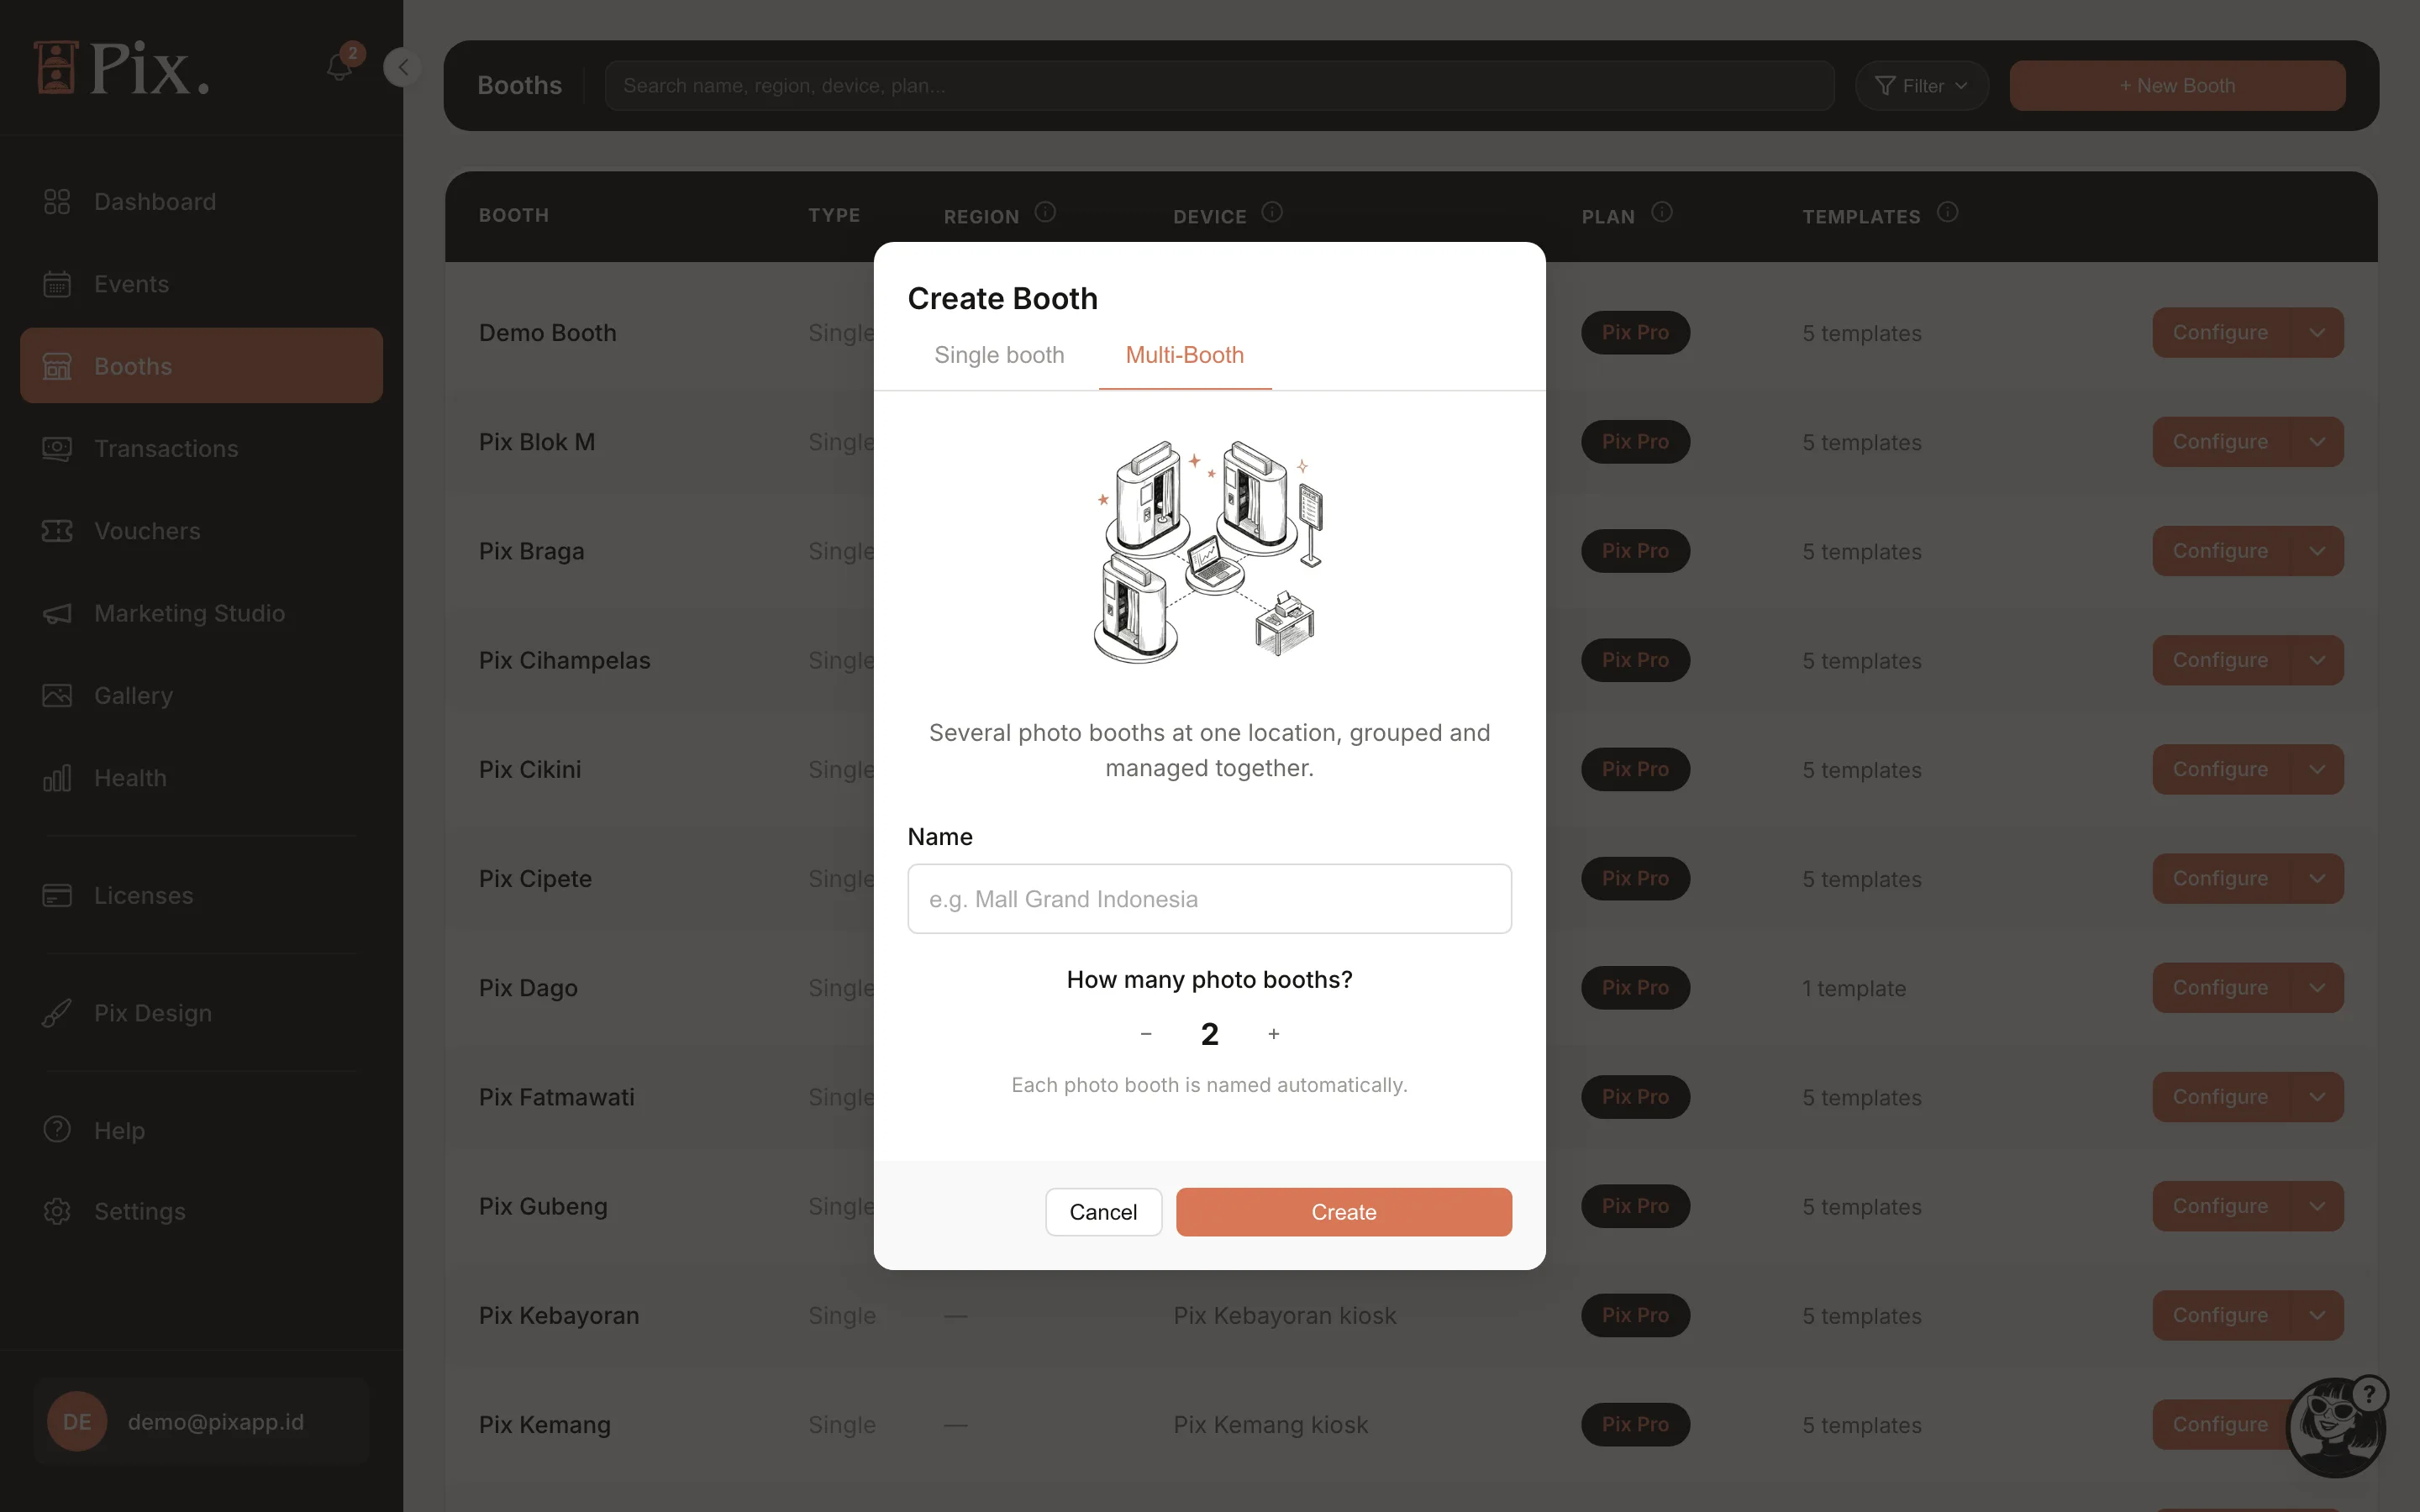
The Multi-Booth tab creates a group instead: a Name and How many photo booths?. A group is several booths at one venue sharing a queue and, if you want, a central cashier. Its page has the tabs Photo Booths, Templates, UI Project, Queue (Set up shared queue, Open TV view), Cashier (Pay at the booth or Central cashier, with products) and Settings, plus Save for all booths. See Multi-Booth Setup.
The Booth Page
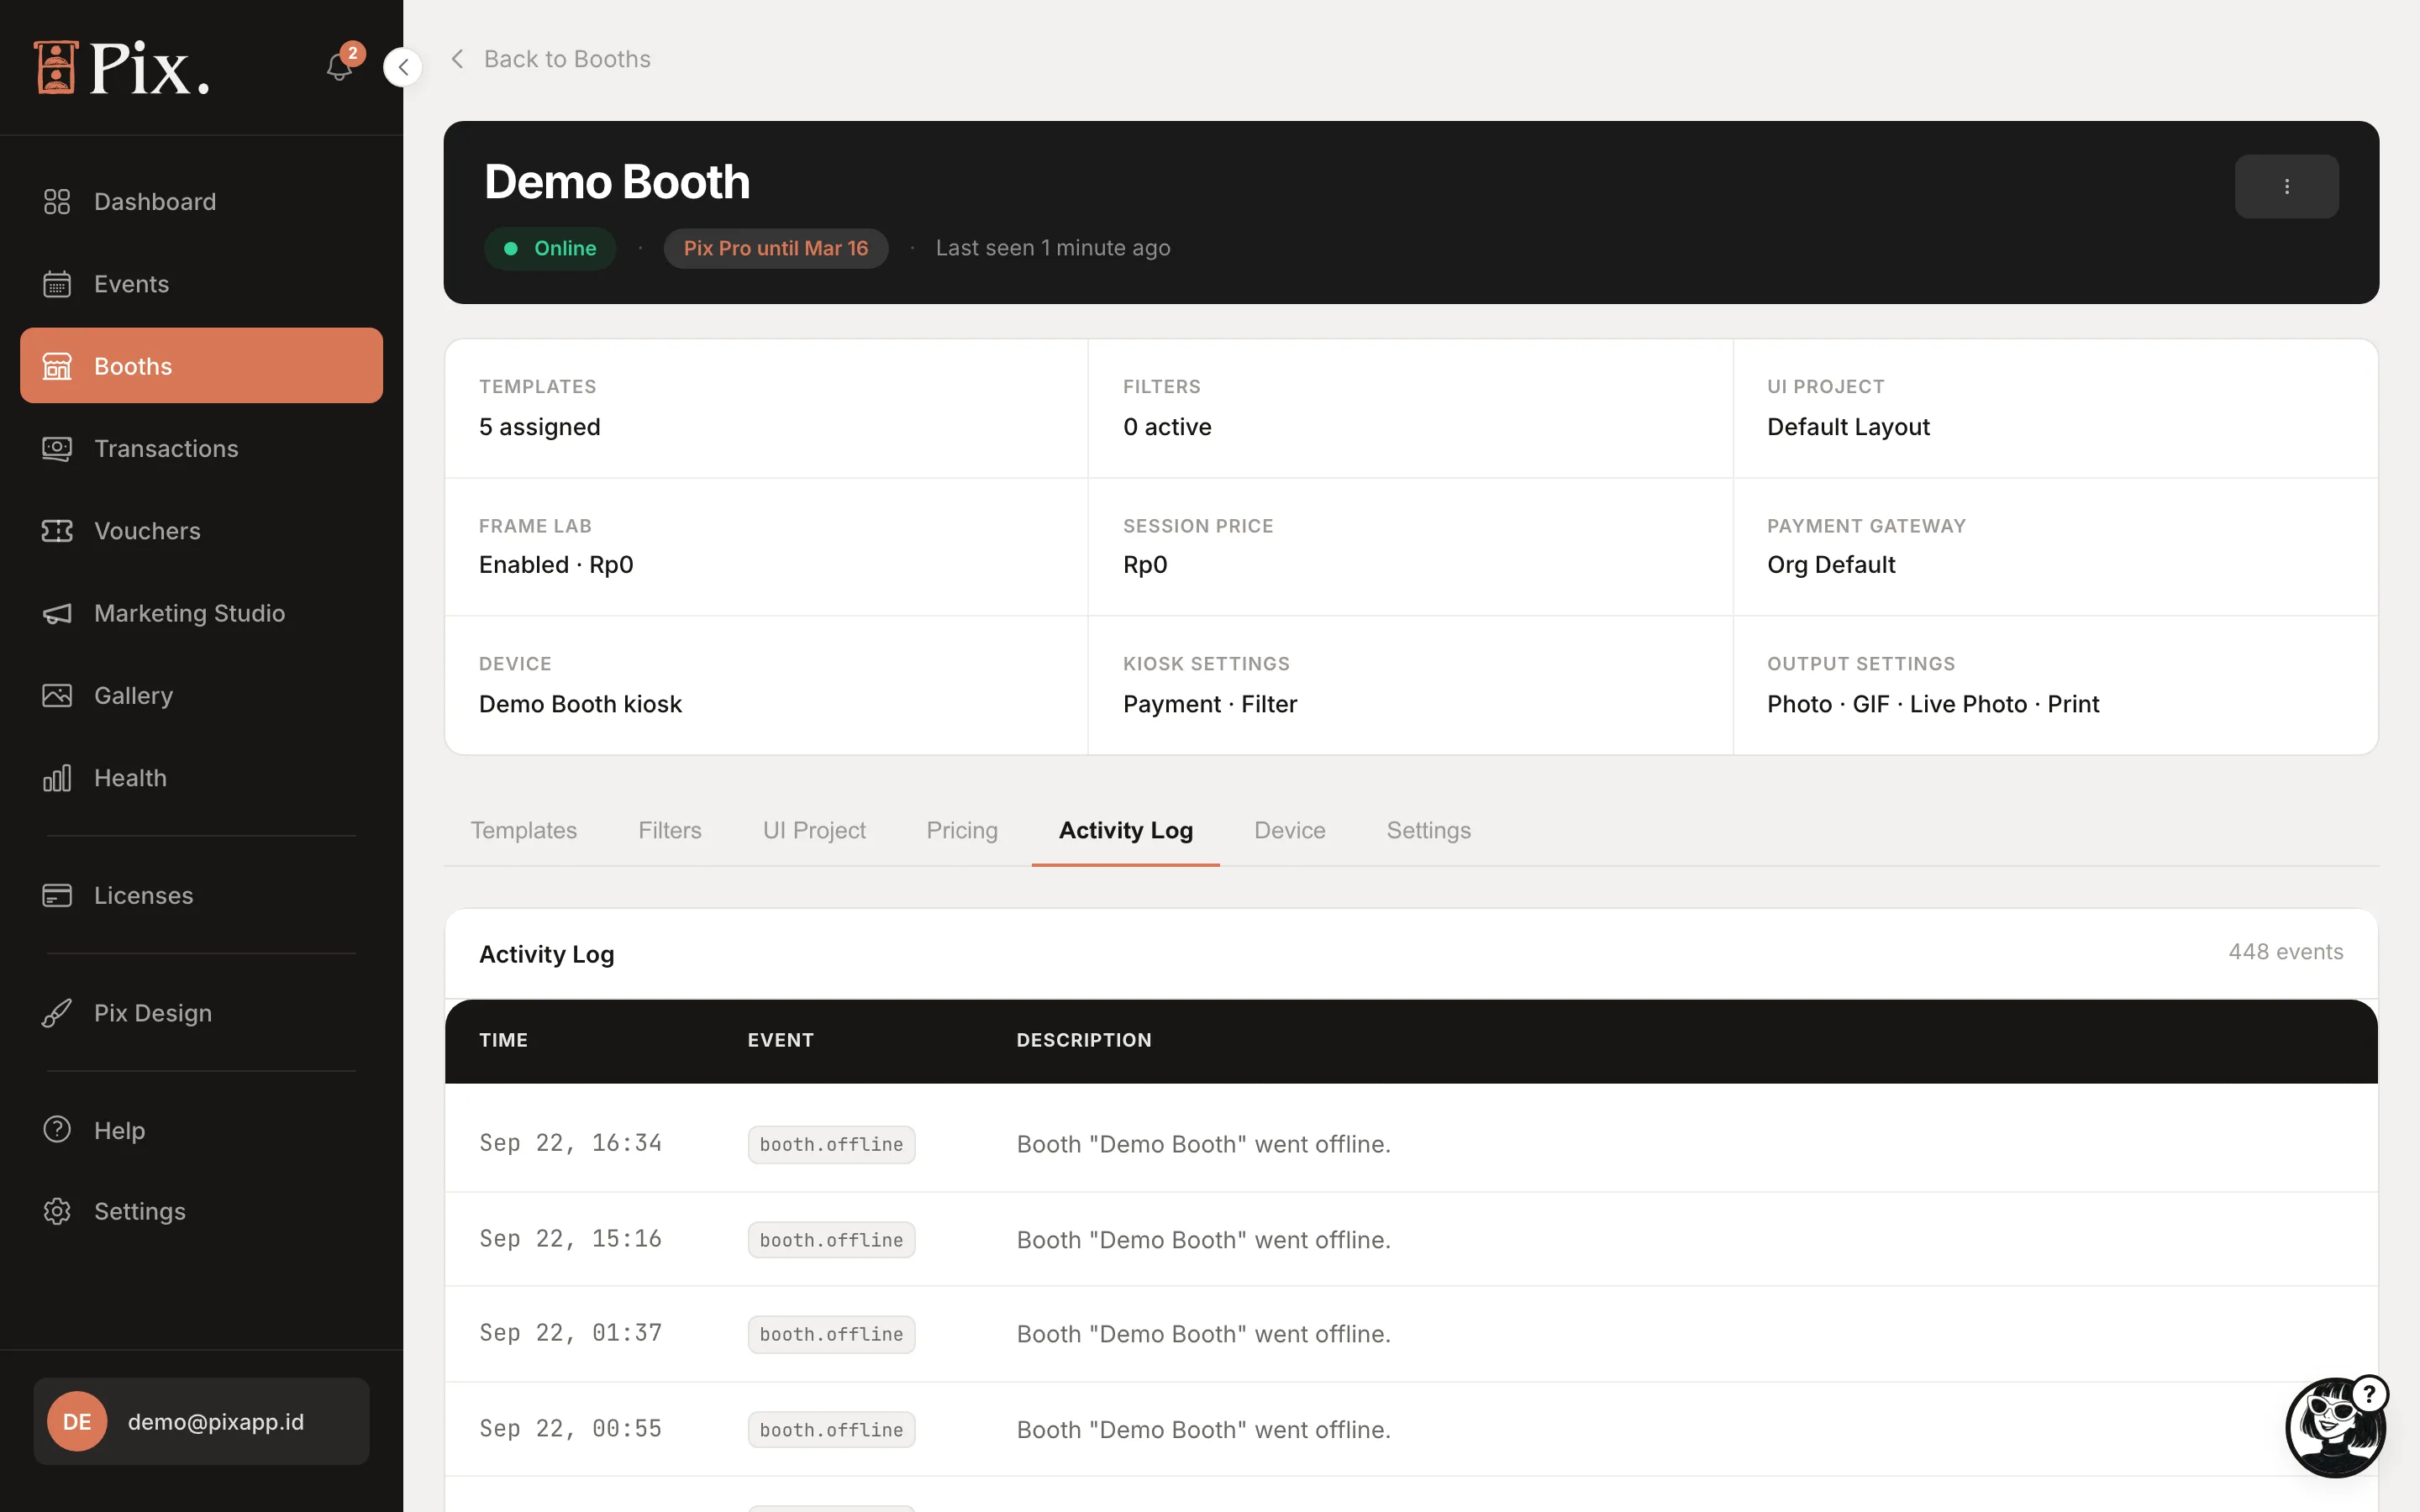
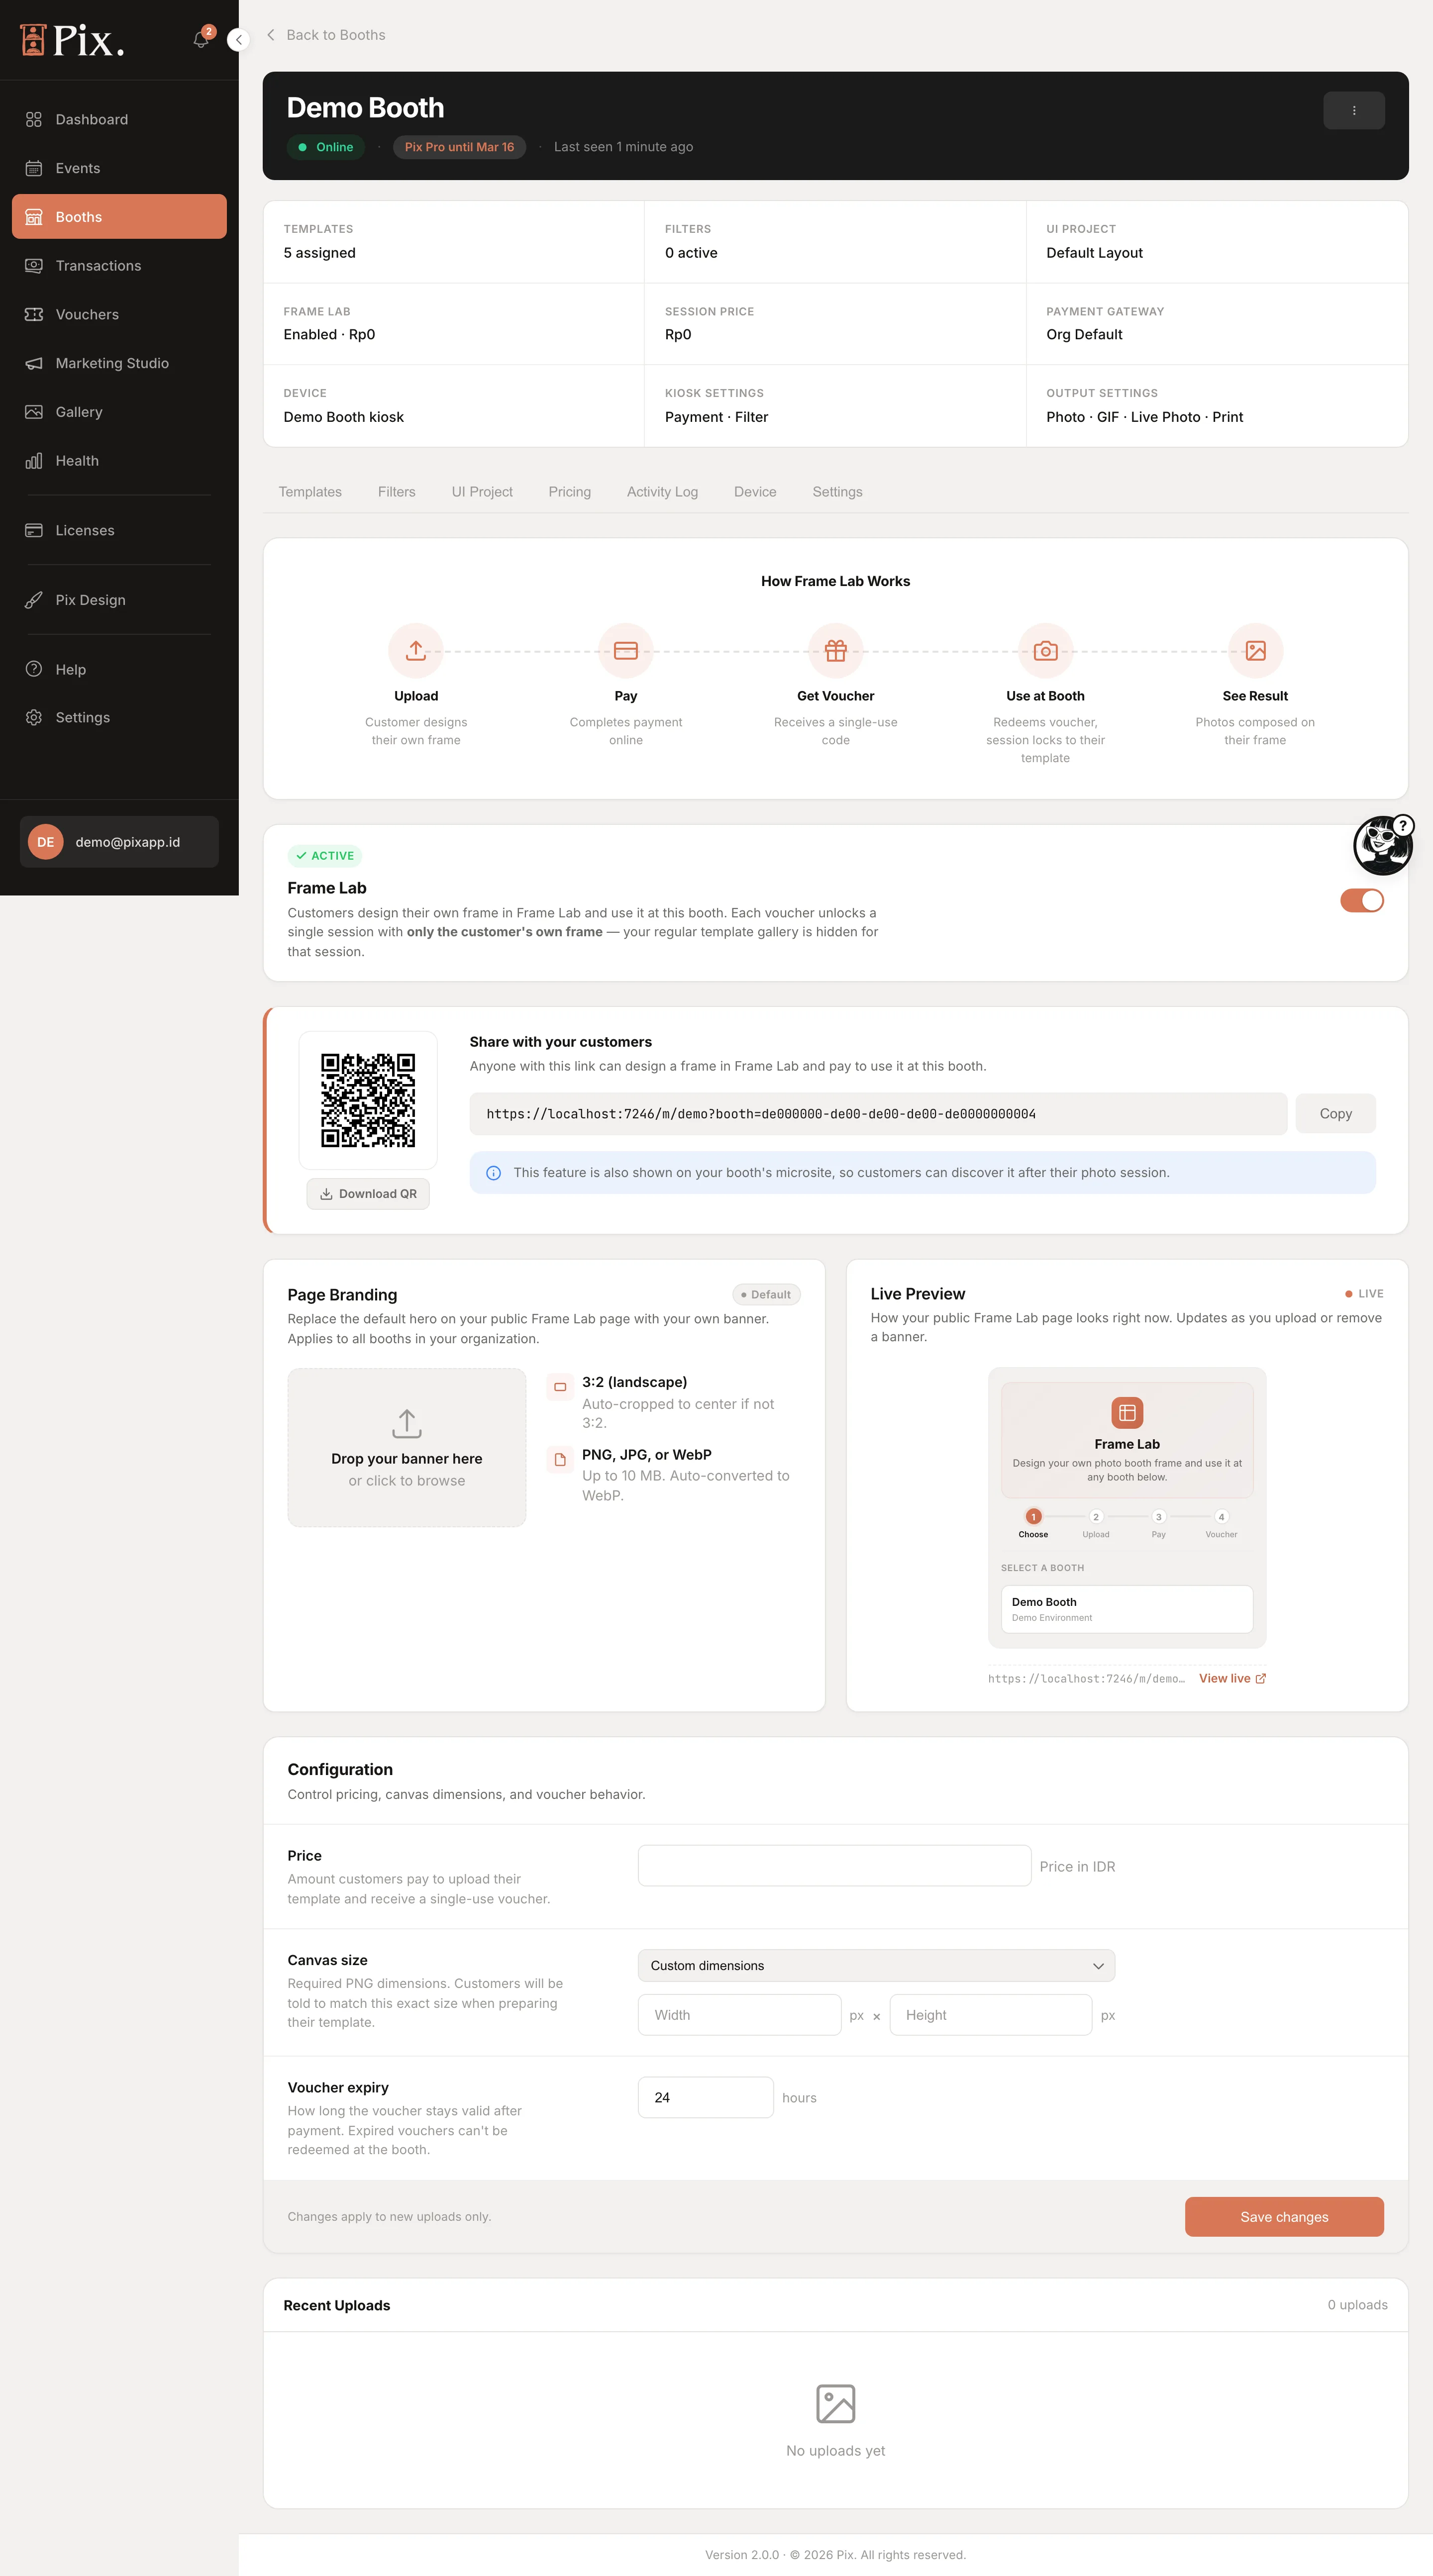
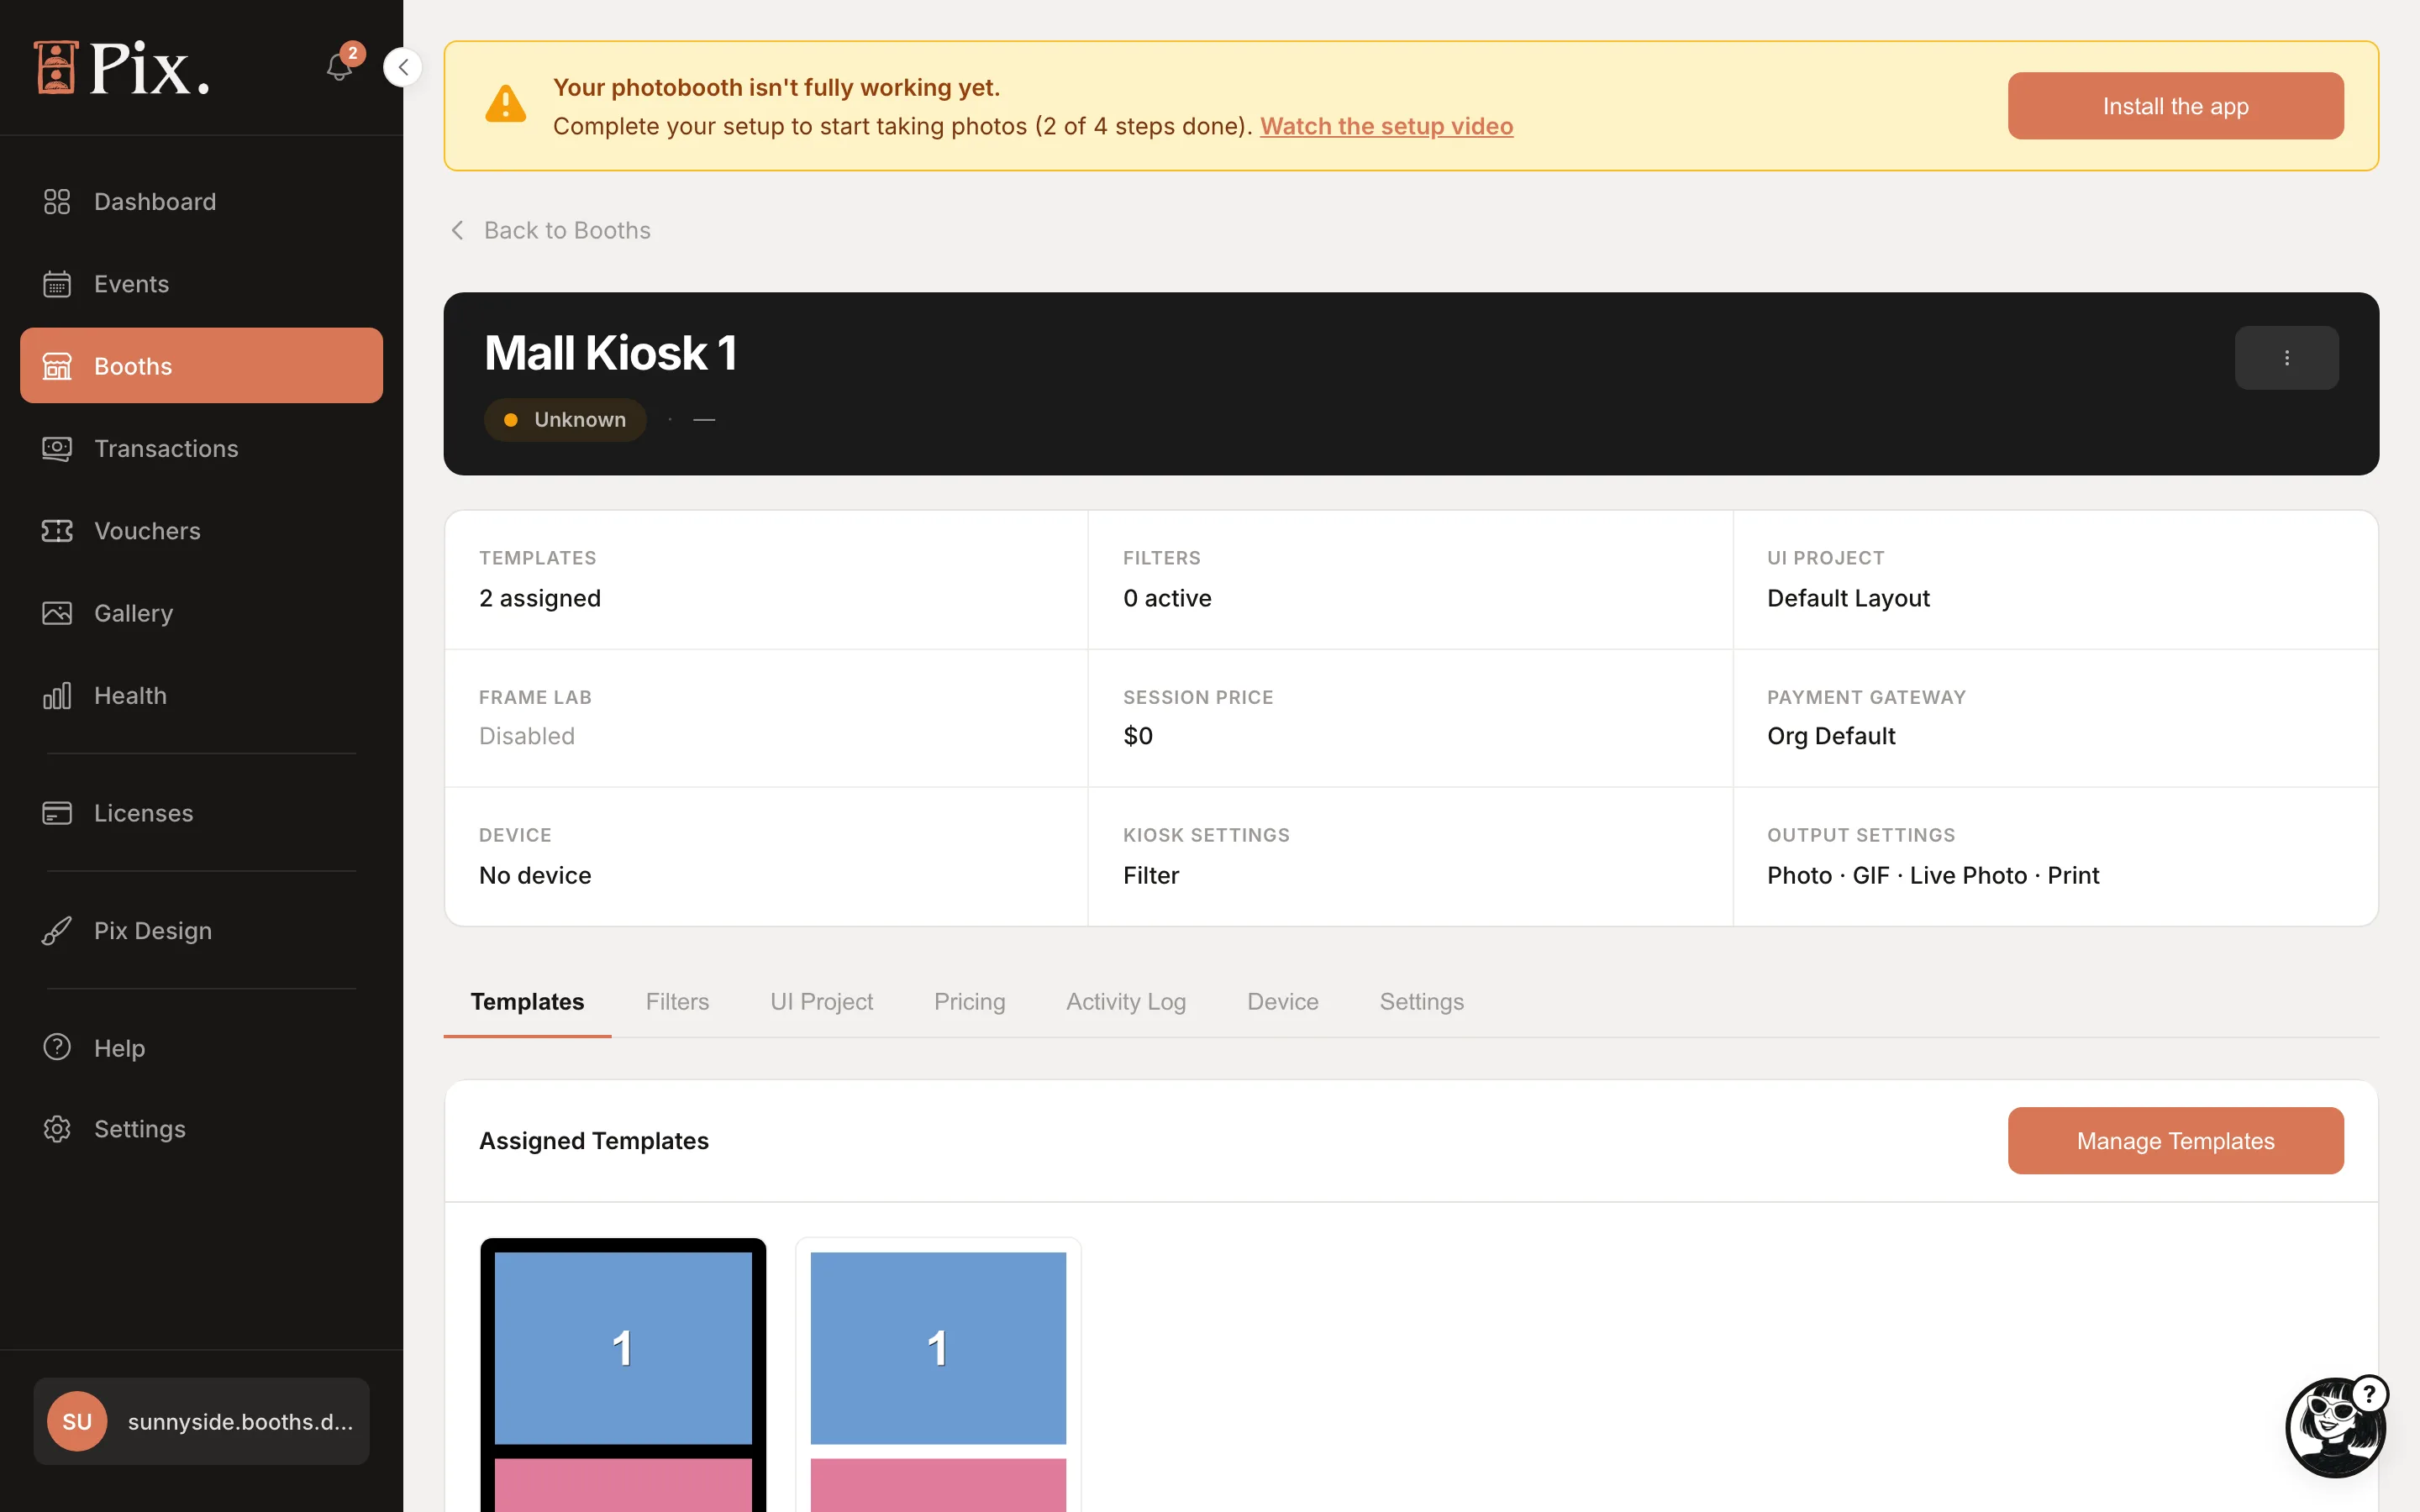
The header shows the status pill (Online when the computer has checked in within the last 12 minutes, Offline when it has not, Unknown when no computer is paired), the plan badge ("Pix Pro until", "Event Pass until", "Trial until", Watermarked, Blocked, or a dash), "Last seen", and a menu with Rename Booth. The property grid below jumps to each part of the setup: Templates, Filters, UI Project, Frame Lab, Session Price, Payment Gateway, Device, Booth Settings and Output Settings.
Templates
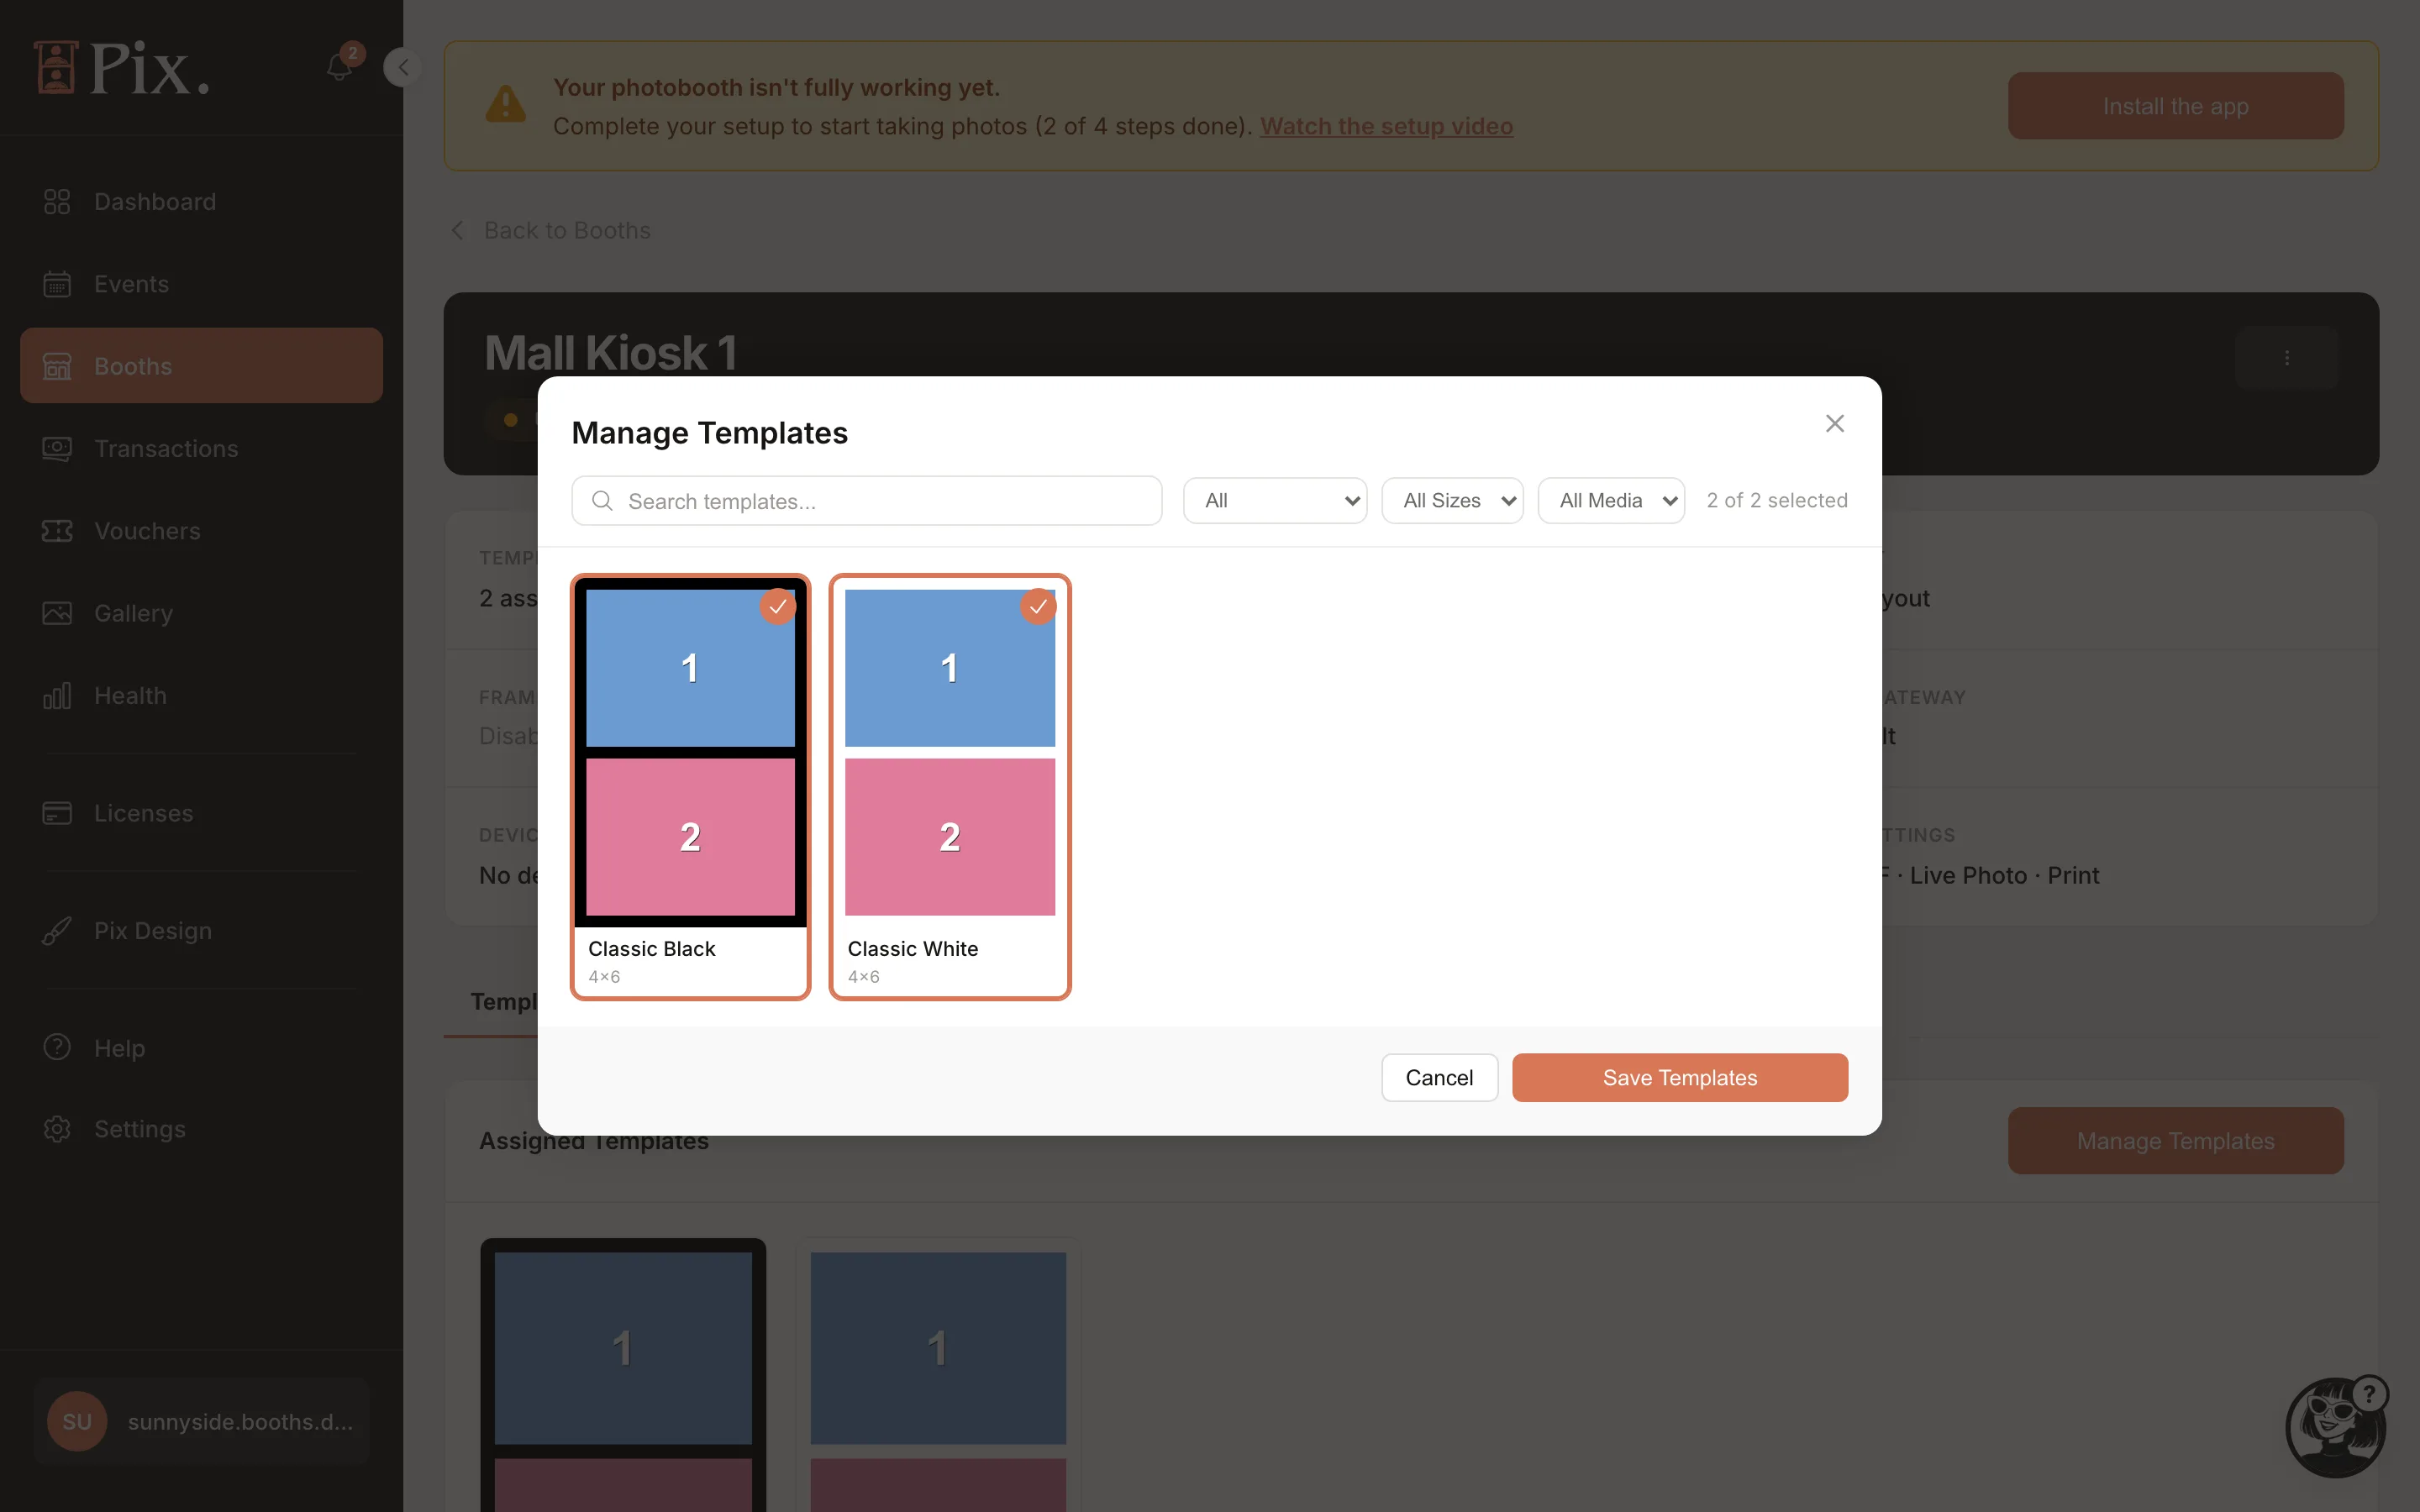
Assigned Templates, with a category filter and Manage Templates. The modal filters Assigned / Not Assigned, categories, sizes and media; tick the templates and click Save Templates. See Assigning Templates.
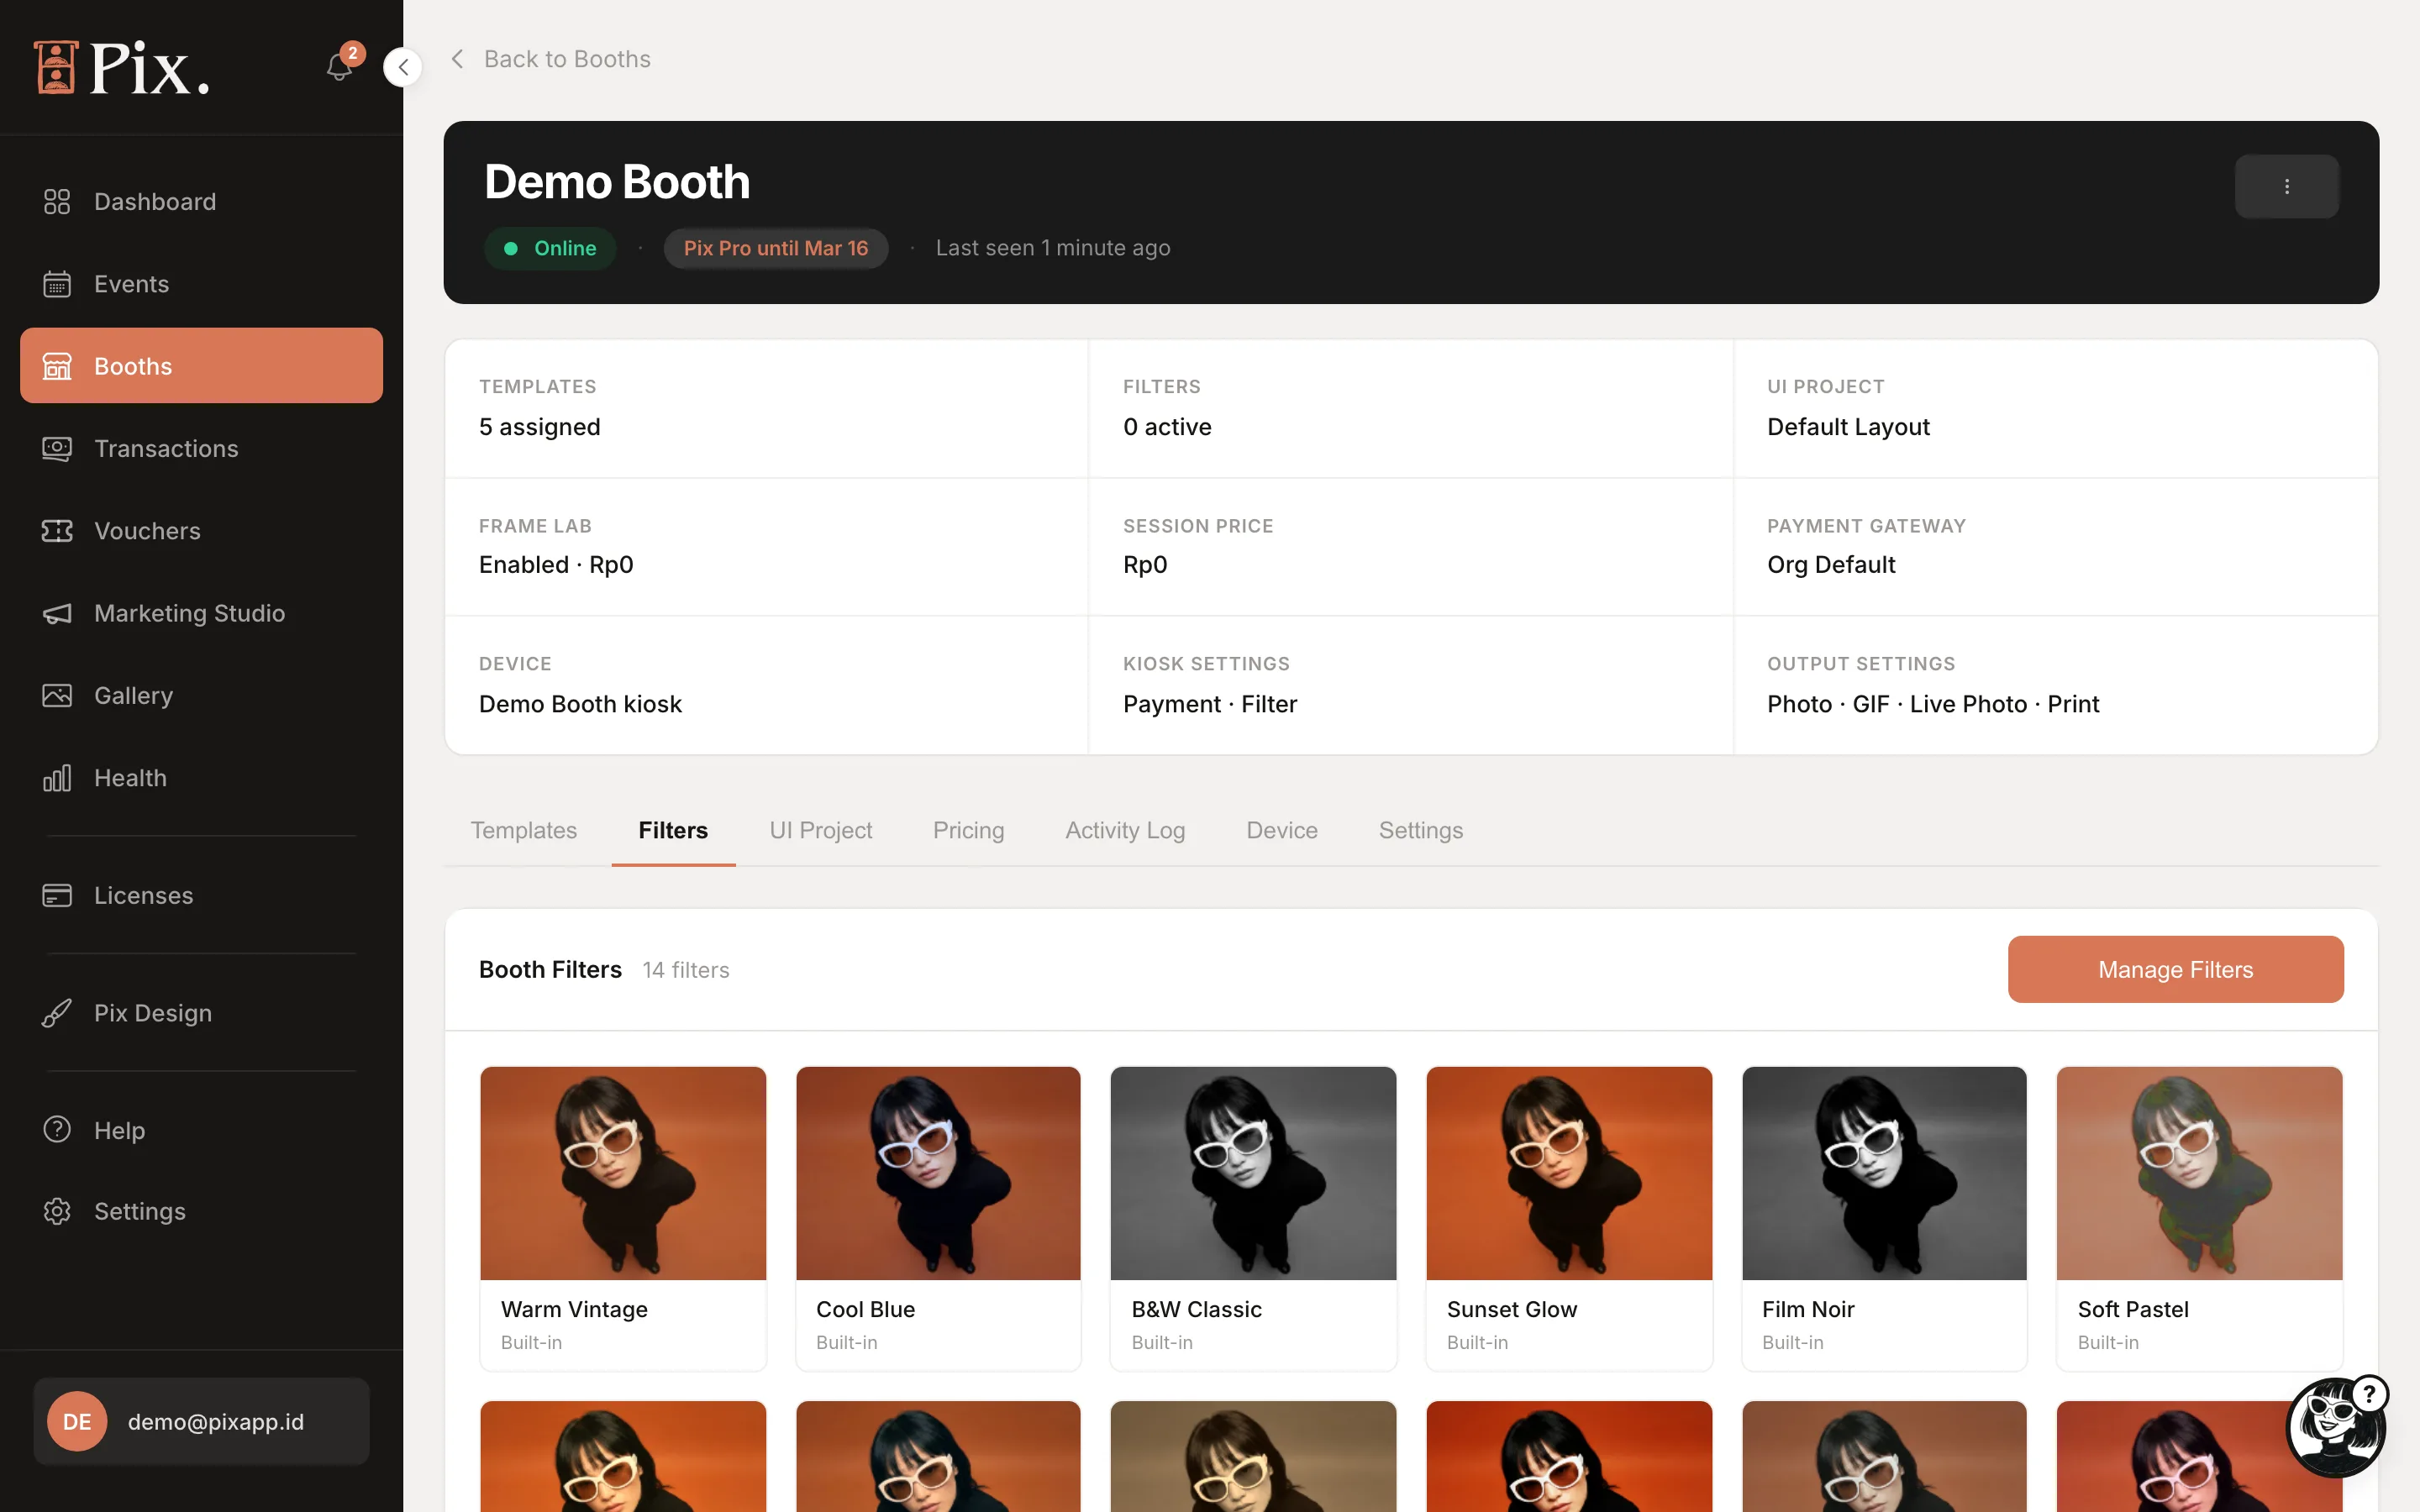
Filters
Booth Filters and Manage Filters: Select all, Assigned / Not Assigned, All Types / Custom, then Save Filter Assignments. With no explicit assignment, every filter is available on the booth.
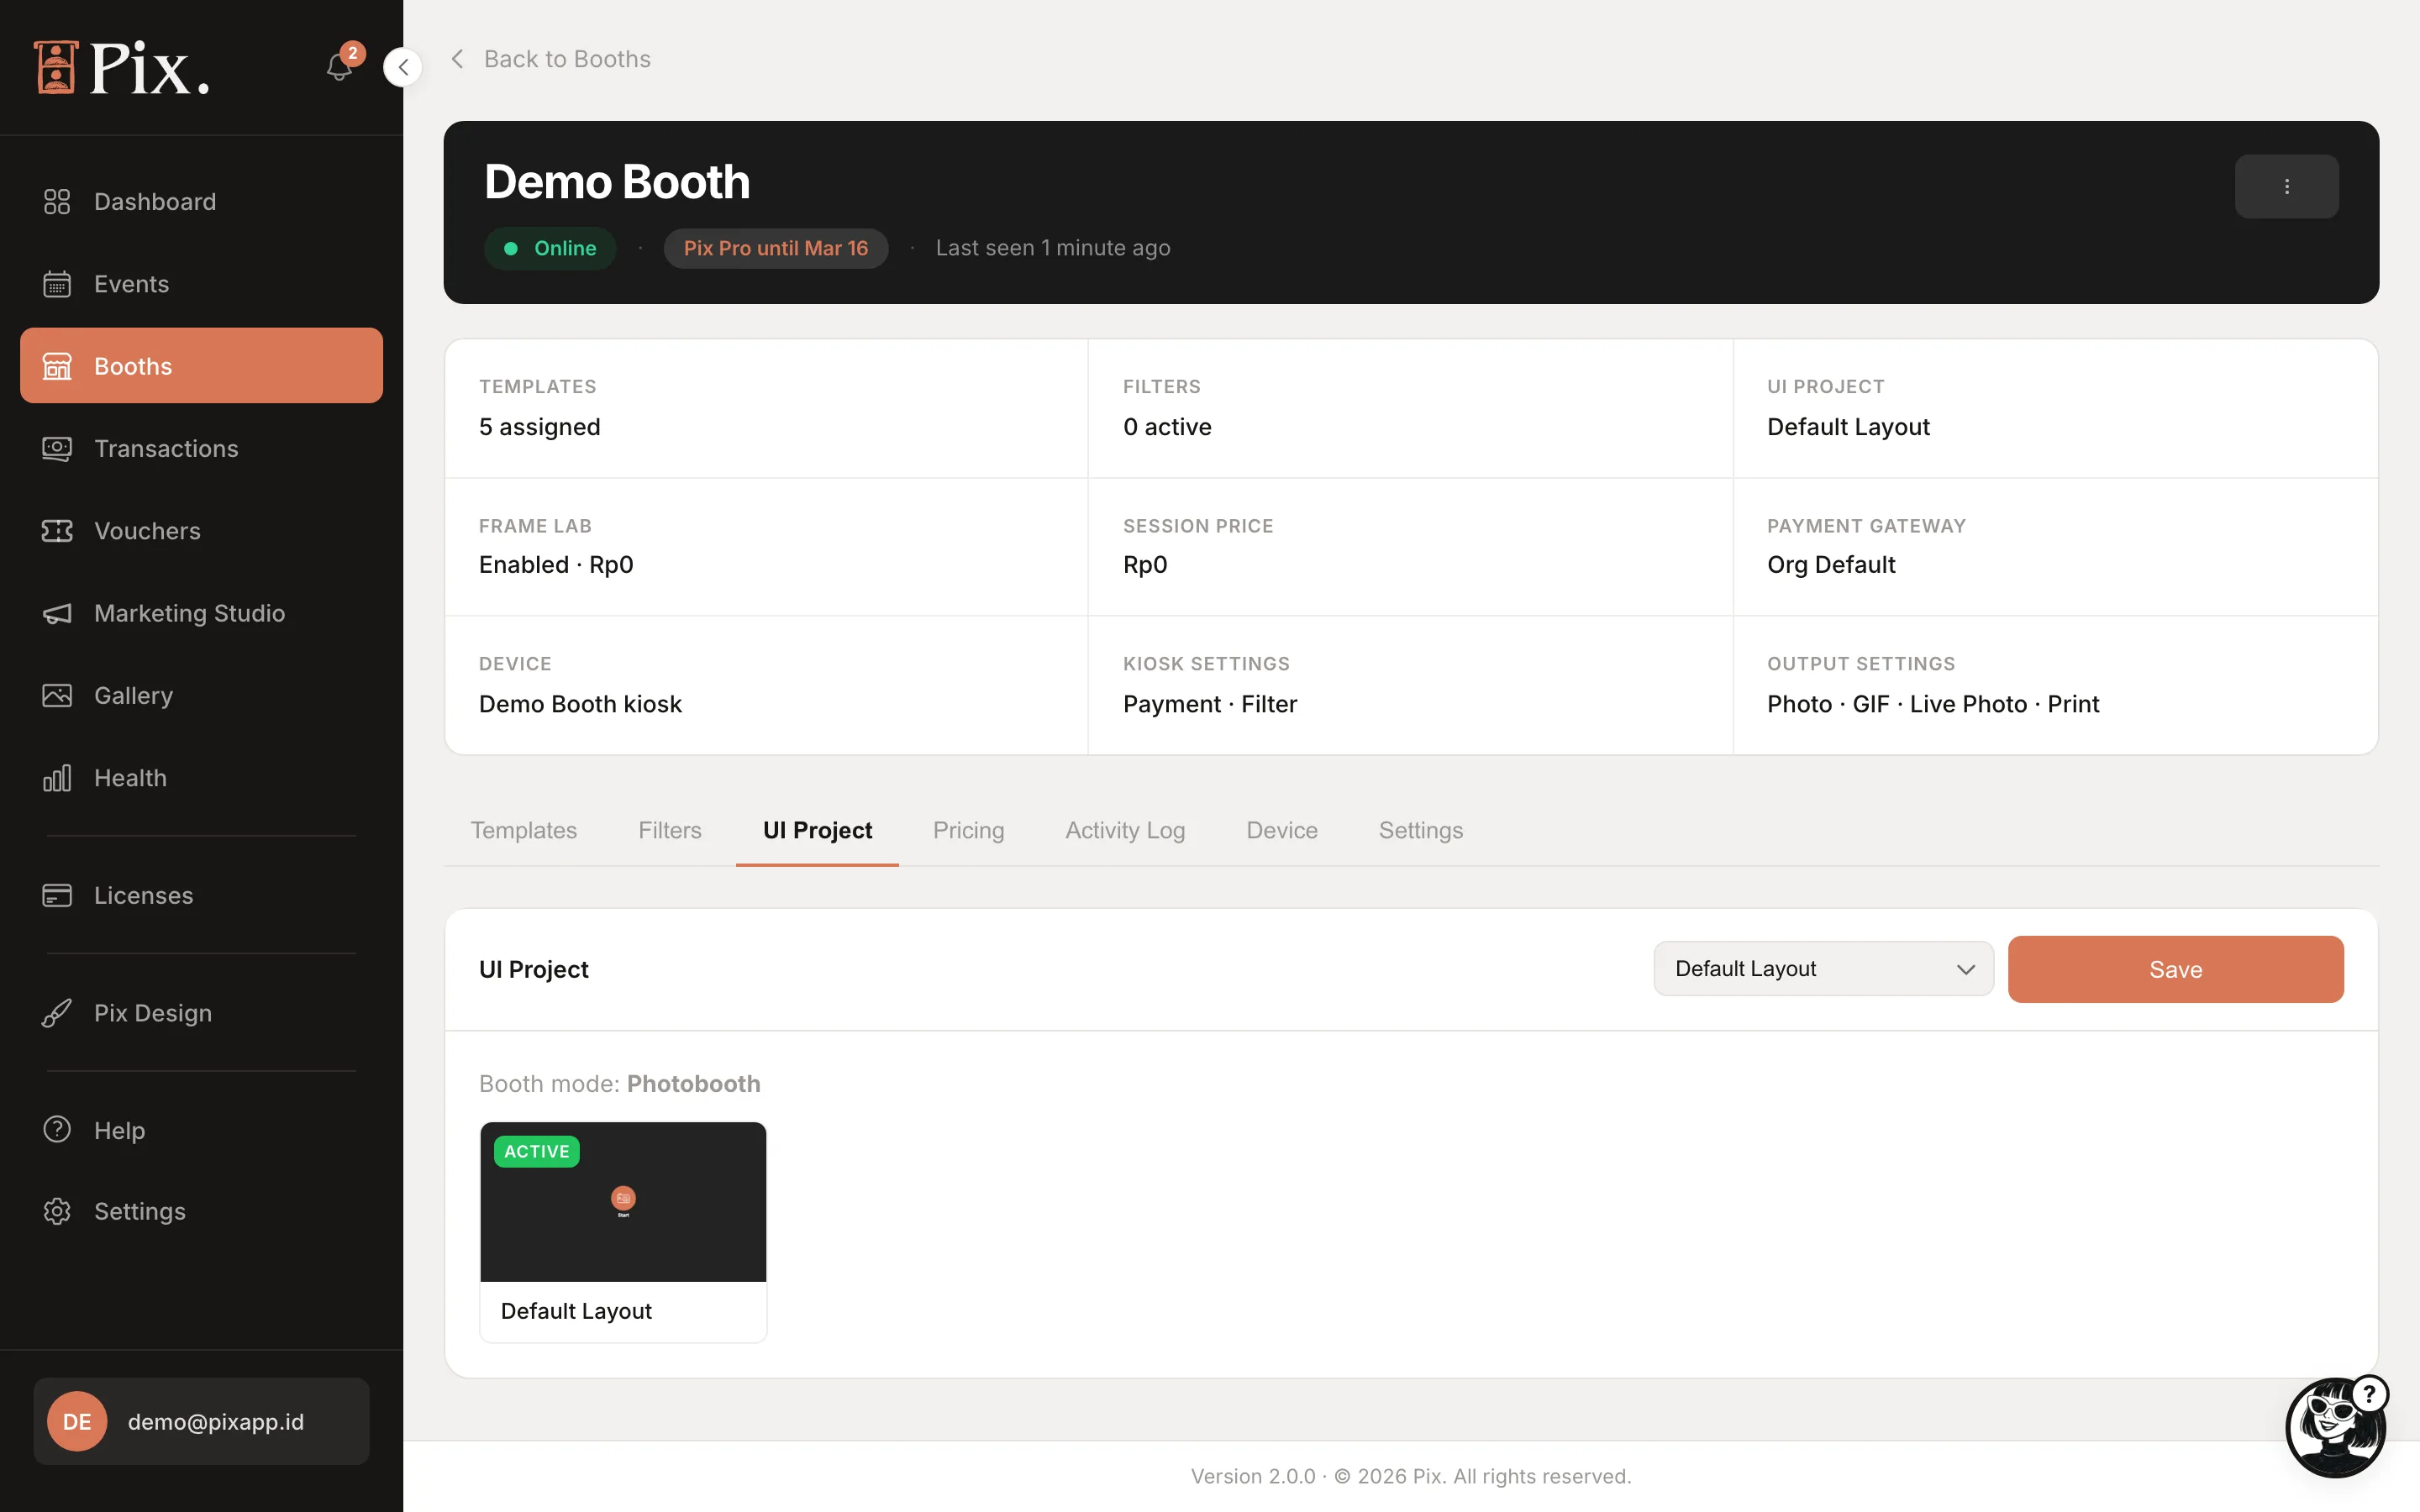
UI Project
The screen design this booth runs, grouped by Photobooth mode, Studio mode and Simple mode. Pick one and click Save; the tab then shows "Booth mode". Studio mode needs Pix Desktop App 1.1.98 or newer. See UI Editor and Studio Sessions.
Pricing
Session price, packages, print format, timeout, extra prints, tax and fees, and the Payment on this booth switch. See Booth Pricing.
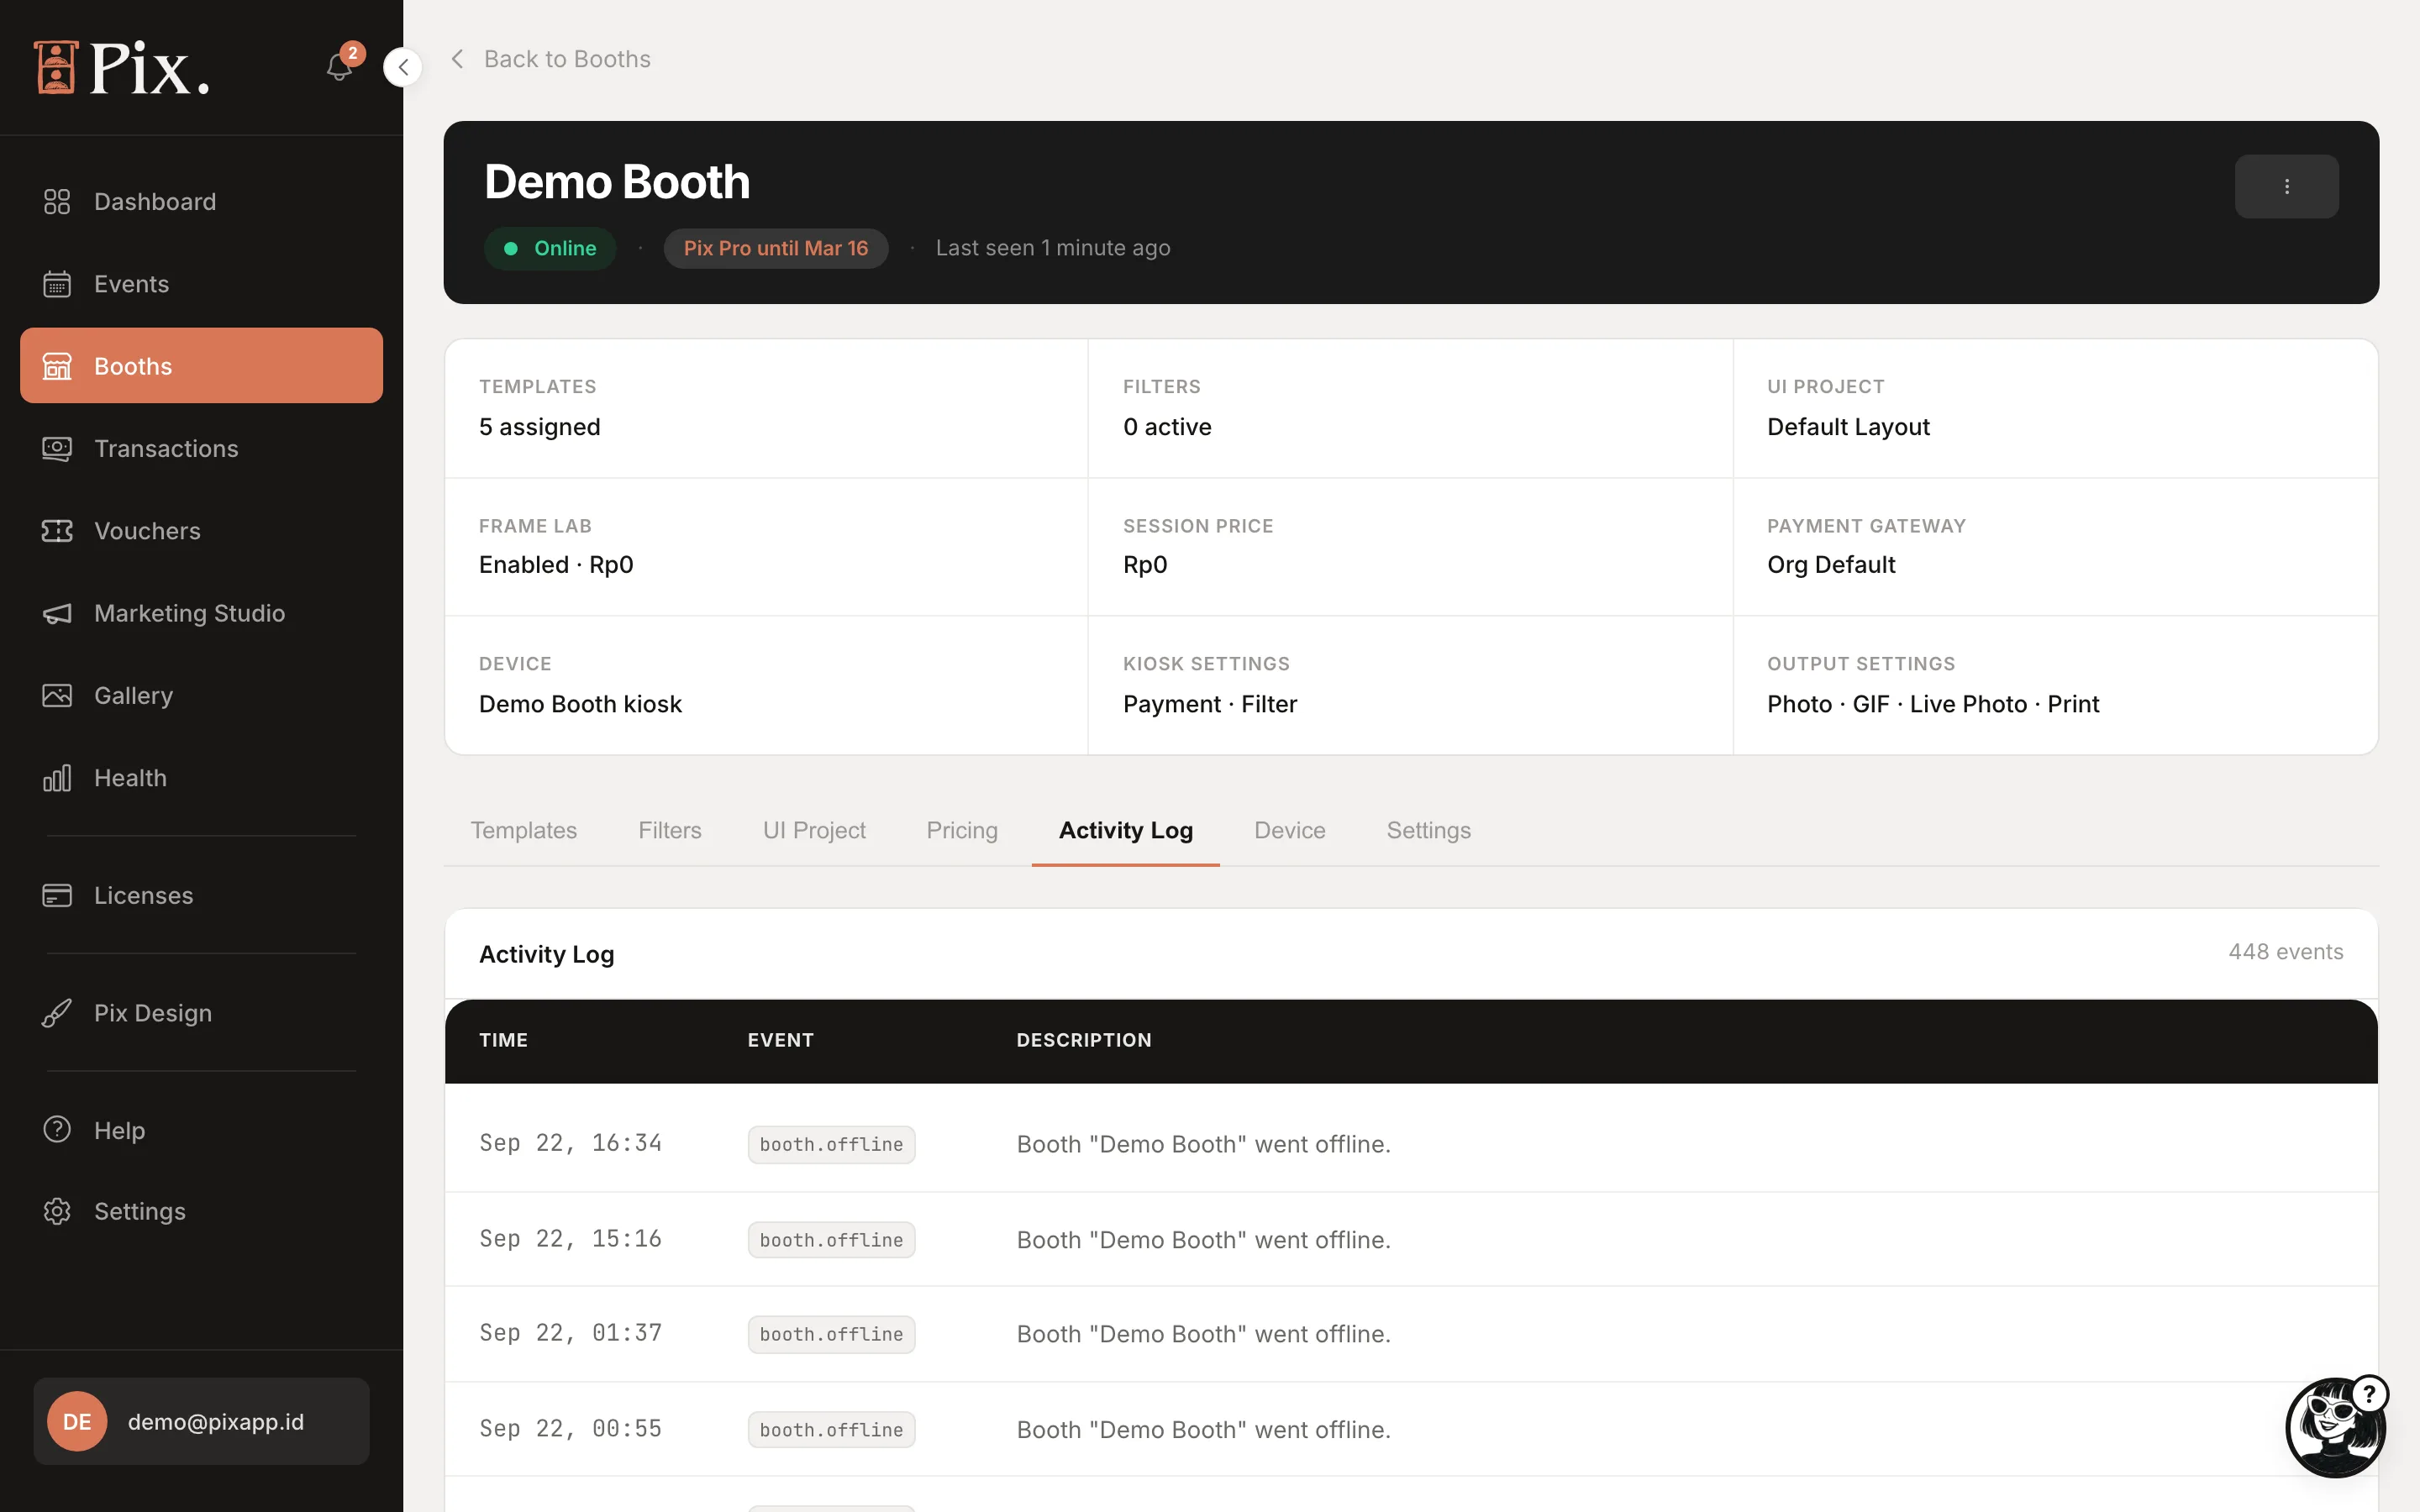
Activity Log
Time, Event and Description for everything that happened on this booth: pairing, online and offline changes, settings saved.
Device
Pair, rename, unlink or remove the computer. See Devices and Pairing.
Settings
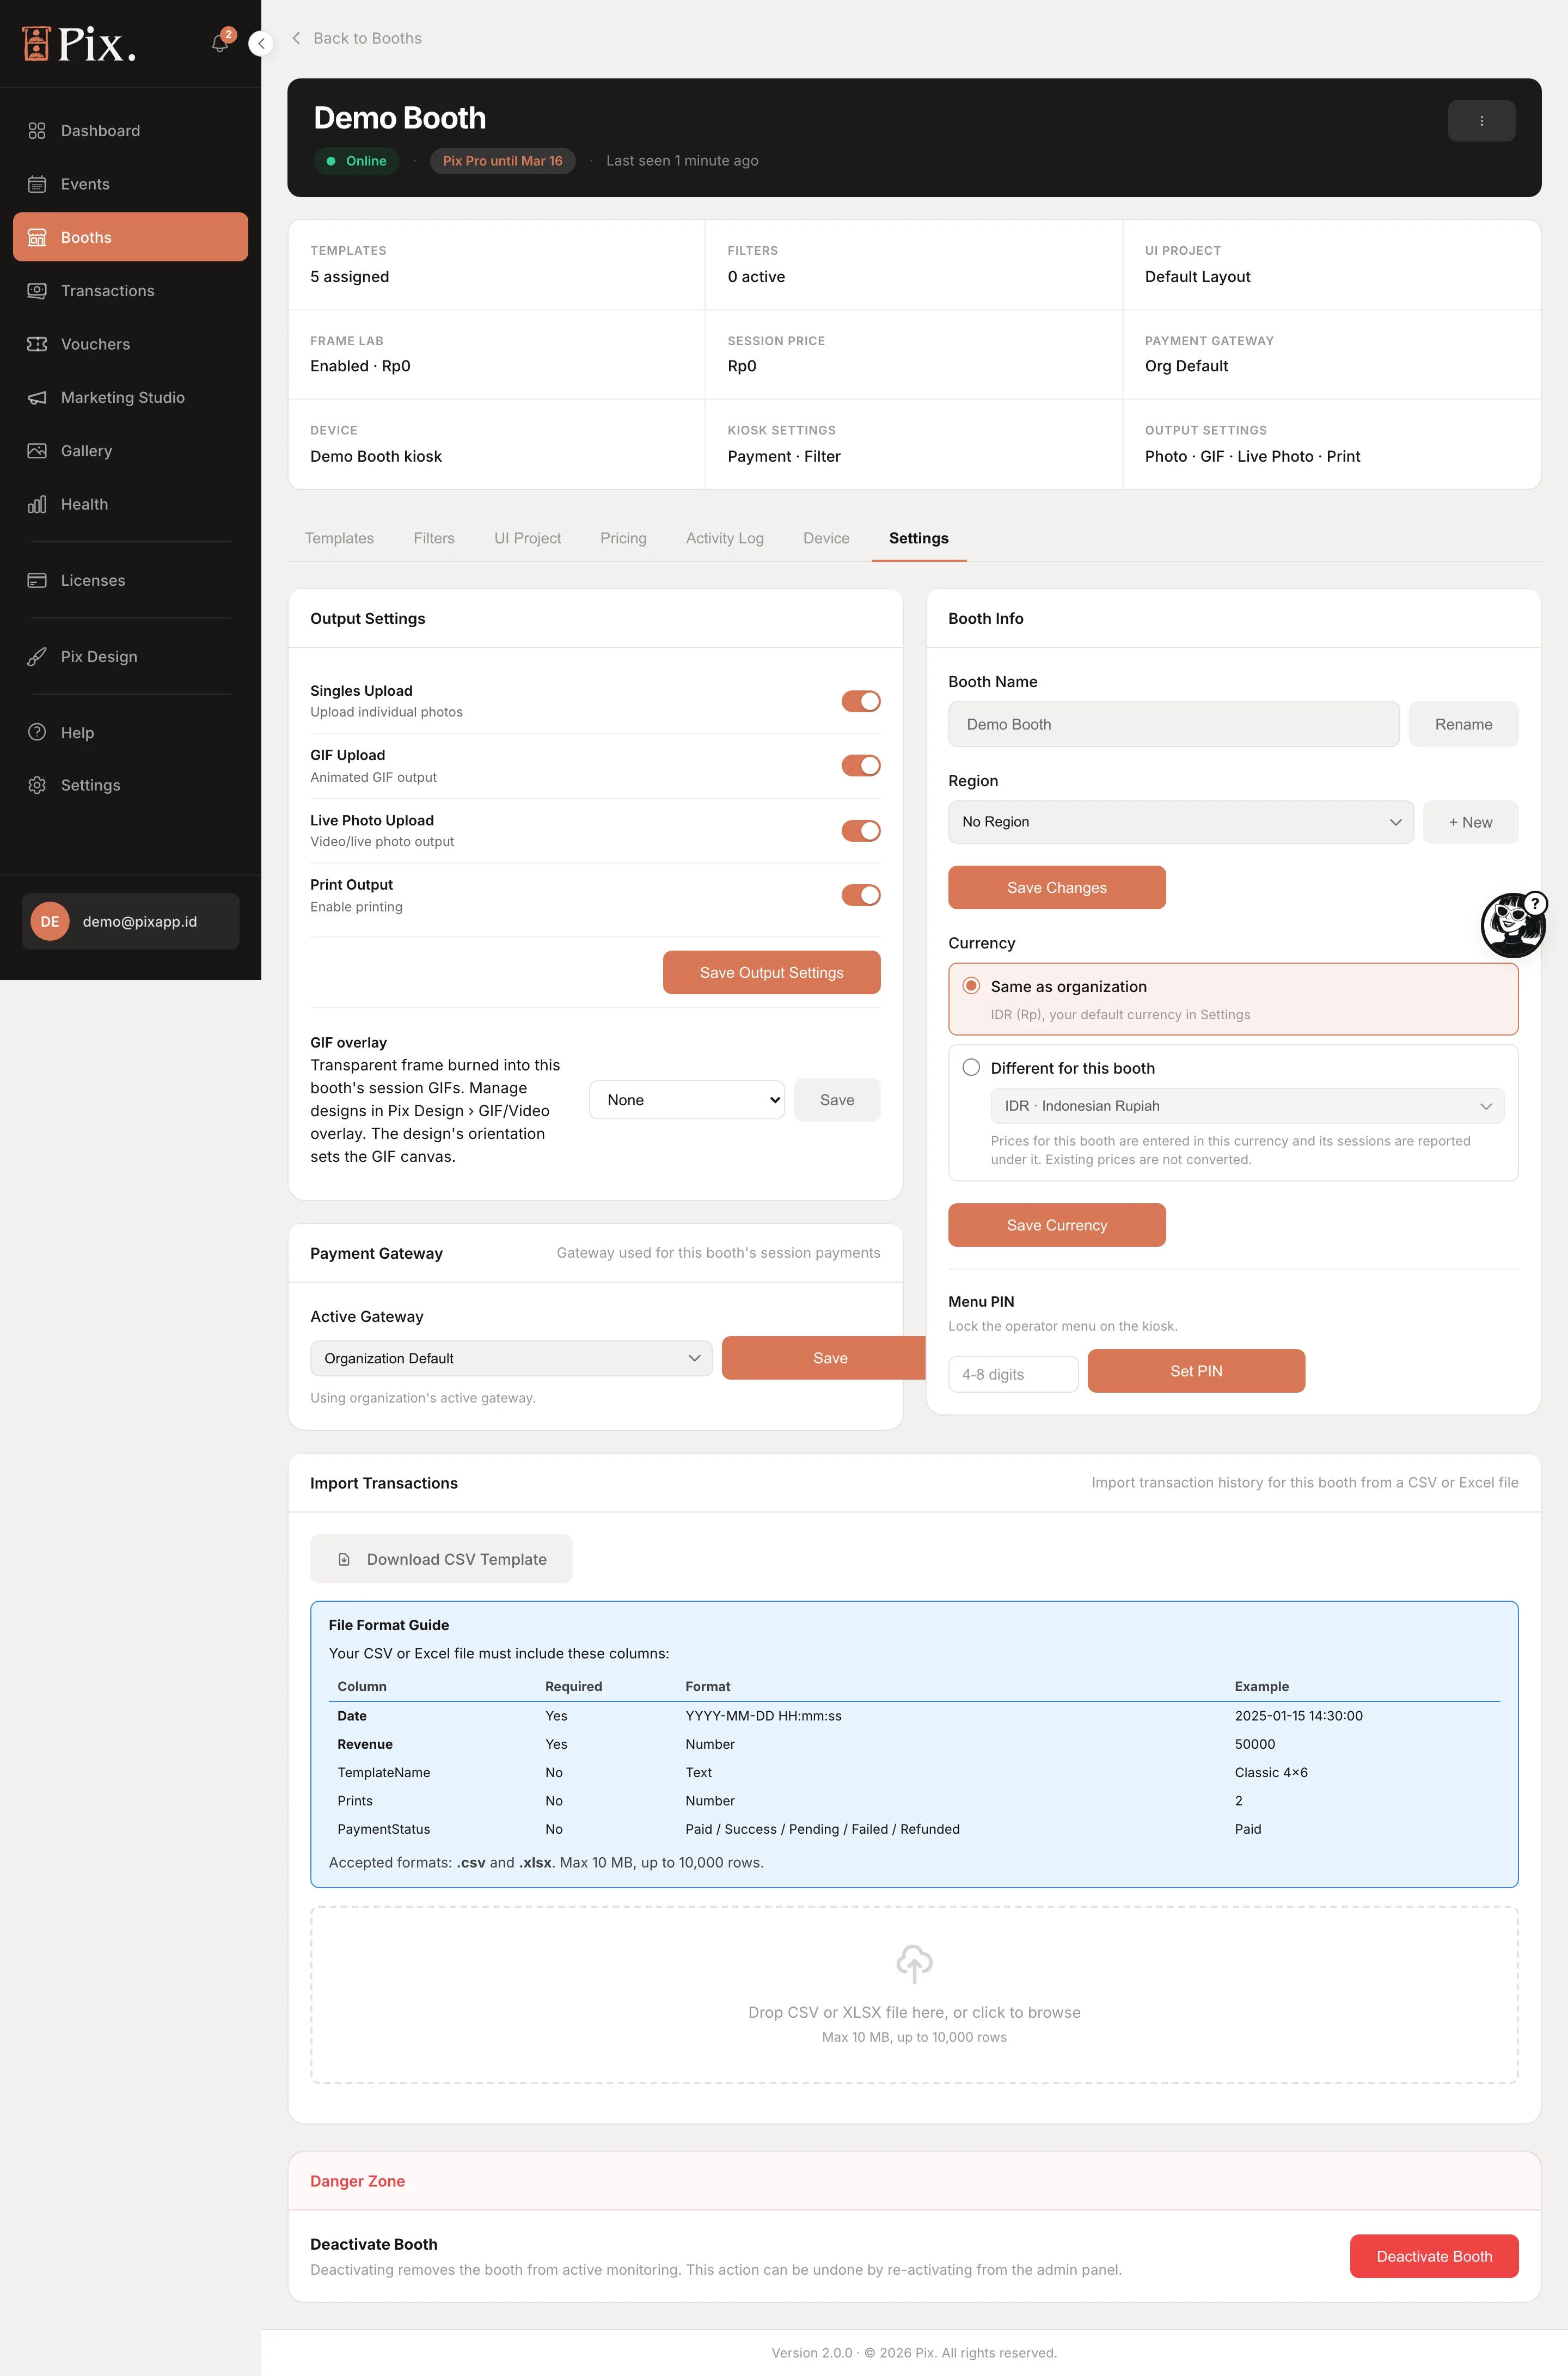
| Section | Controls |
|---|---|
| Output Settings | Singles Upload, GIF Upload, Live Photo Upload, Print Output, then Save Output Settings; a GIF overlay picker with its own Save. Marked Pix Pro on Starter |
| Payment Gateway | Active Gateway: Organization Default or one gateway from Settings, then Save |
| Booth Info | Booth Name with Rename; Region (No Region, or + New to create one), then Save Changes |
| Currency | Same as organization or Different for this booth, then Save Currency. See Booth Pricing |
| Menu PIN | 4 to 8 digits that lock the booth's operator menu: Set PIN, Change, Disable |
| Import Transactions | Download CSV Template, drop a .csv or .xlsx (10 MB, 10,000 rows), Confirm Import. Delete All Imported Data undoes it |
| Danger Zone | Deactivate Booth, the same two-step delete as the list |
Frame Lab
Click the Frame Lab cell in the property grid. The page explains the guest flow (Upload, Pay, Get Voucher, Use at Booth, See Result), has the enable switch (Pix Pro), the guest link with Download QR, page branding with a live preview, and the configuration: Price, Canvas size and Voucher expiry in hours, then Save changes. Recent uploads are listed below. The same settings for every booth at once live in Marketing Studio.