Welcome to Pixture Docs
Pixture is photobooth software. Guests walk up to a booth, take their photos, and leave with a print, a QR code to their photos, a GIF or a live photo. You run the booth from a Mac or Windows computer and manage everything else from a browser.
It is built for booth operators of every size, anywhere in the world: a single self-service booth in a mall, a cafe corner, a rental company that sends booths to weddings, or an event agency running a dozen stations at a festival.
The Two Apps
| App | Where it runs | What it does |
|---|---|---|
| Pix Desktop App | A Mac or Windows computer at the booth | The booth your guests use: start screen, payment, template choice, capture, filters, sharing and printing. Works with Canon, Sony, Nikon and Fujifilm cameras or a webcam, and keeps shooting when the venue internet drops. |
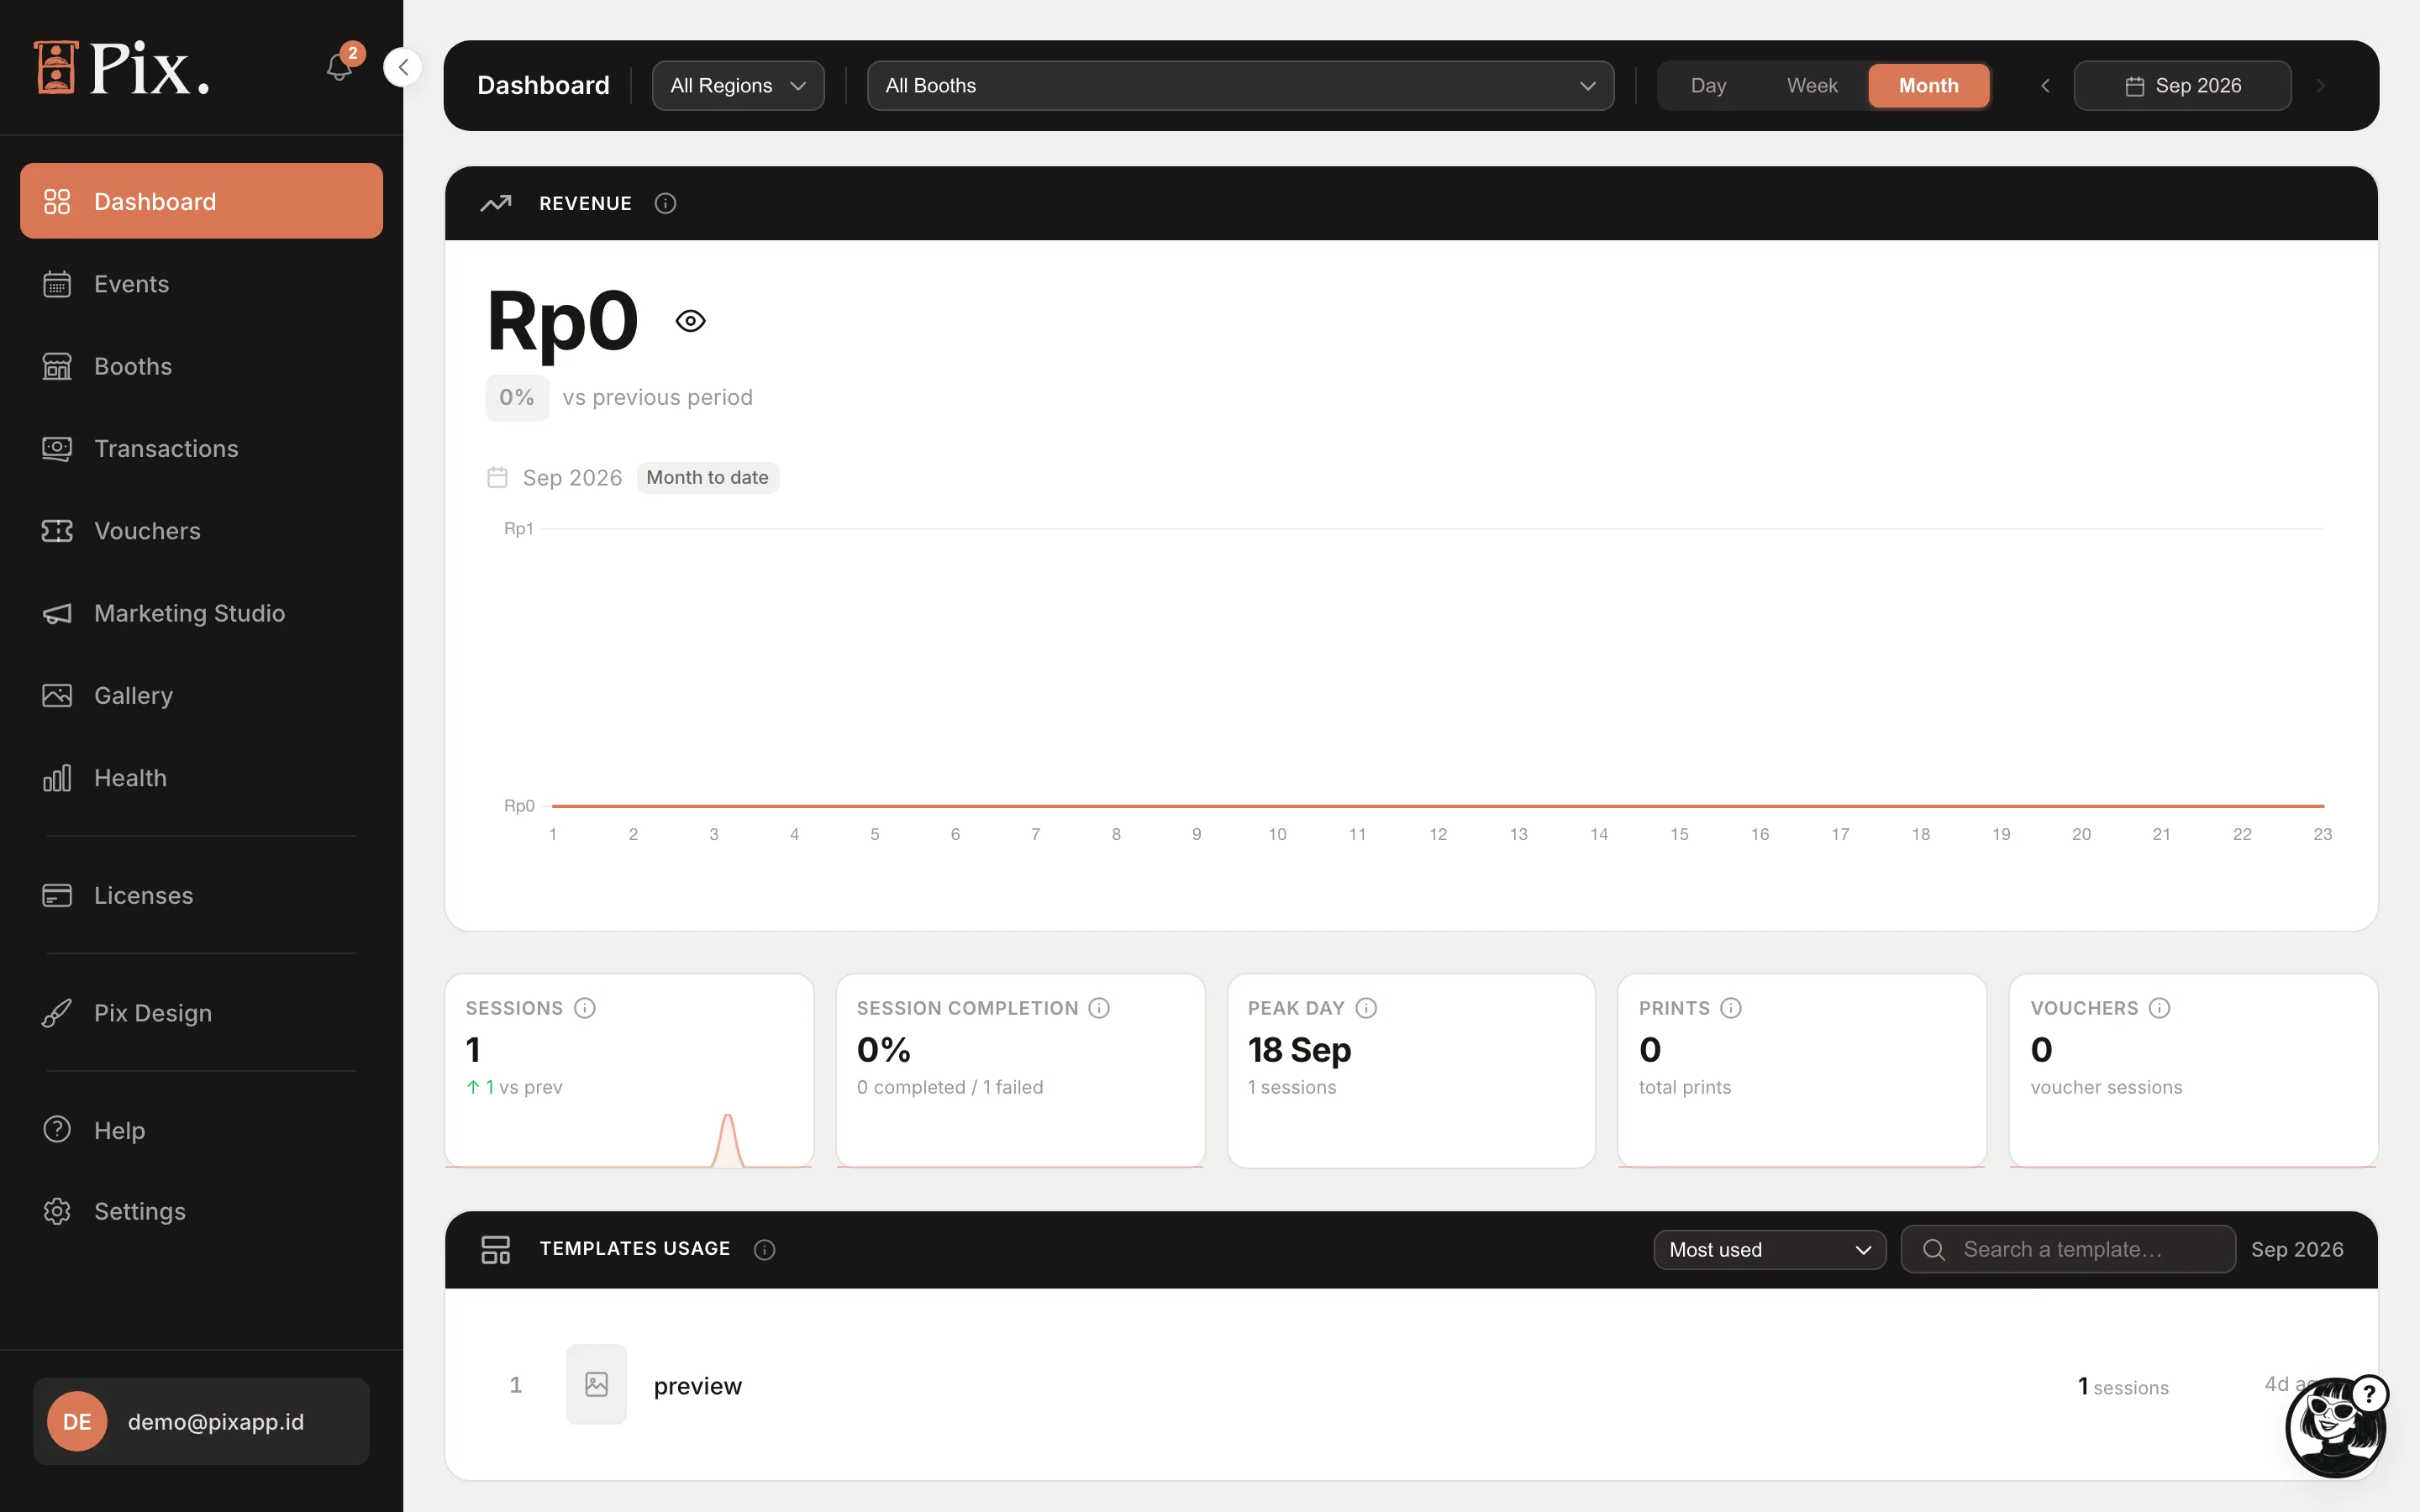
| Pixture dashboard | Any browser at pixture.io | Where you create booths, design print templates and booth screens, set prices, connect a payment gateway, run events, watch health and revenue, and manage your devices and billing. |
One account covers both. Whatever you save in the dashboard reaches the booth the next time it checks in.
Start Here
Five steps take a new account to its first photo session. Most operators finish in about fifteen minutes.
- Create your account at pixture.io and answer the short Quick setup.
- Choose your plan, or stay on the free Pix Starter plan for now.
- Install the Pix Desktop App on the booth computer.
- Pair your first booth with a 6-digit code from the dashboard.
- Run your first photo session and check the result in the dashboard.
Find Your Way
| Section | What is in it |
|---|---|
| How Pixture Works | The words and pieces of Pixture in one page: booth, booth, dashboard, template, UI project, share page |
| Getting Started | Account, plan, install, pairing, the dashboard tour and your first photo session |
| Use Cases | How to run a self-service booth, event rentals, a multi-booth studio or a pop-up box with Pixture |
| Tutorials | Step-by-step jobs: set up a booth, design a template, accept payments, run an event, and more |
| Dashboard | Every page of the Pixture dashboard, from Booths and Pricing to Devices and Settings |
| Desktop App | The booth: installation, cameras, printers, the session flow, the operator menu and troubleshooting |
| Plans & Billing | Pix Starter, Pix Pro, the Event Pass, the free trial and billing questions |
| Guides | Longer reads for running a booth well: operations checklist, multi-booth, payment gateways, branding |
| Reference | System requirements, supported cameras and printers, public links and the glossary |
| Release notes | What changed in each version of the Pix Desktop App and the dashboard |
What's New
- Studio mode. A timed session where guests take free shots and then place their favourites into the template slots. Needs Pix Desktop App 1.1.98 or newer. See Studio Sessions.
- Events that run themselves. Give an event its dates and it is ongoing right away, then ends on its own the day after the last date. Each event can shoot photos or video (360 slow-mo is marked Soon) and can start from a free template pack. See Events.
- Pix Pro per computer. Pix Pro lives on the computer, not the booth. Buy an Event Pass, 24 hours of Pix Pro for $5, on the Devices page, or claim the free 3-day trial from the popup in the dashboard. See Plans & Pricing.
- Online session shop. Every booth has a link where customers pick a package on their phone, pay, and receive a code the booth accepts even offline. Needs 1.1.101 or newer. See Sell Sessions Online.
- AI portraits on the share page. Guests can buy an AI portrait from their share page, digital or with a print picked up at the booth. Available to beta accounts. See Pix AI.
- Every currency and country. Set any timezone and any ISO currency for your organisation, and a different currency per booth if you need it. Needs 1.1.106 or newer.