Your First Photo Session
By the end of this page you have run one photo session on your paired booth, seen every screen a guest sees, and found the result in the dashboard. Do this before you open to real customers.
Before You Start
- The booth is paired and showing its start screen.
- A camera is connected. Open the operator menu on the booth (tap the top-right corner twice within three seconds), then Camera Settings, and check the STATUS section shows your camera. A webcam works for a first test.
- Optional: a printer is selected under Printer Settings. Until one is, the booth says "Guest printing is disabled until a printer is selected." and guests share by QR code only.
- The booth has at least one template. Open the booth in the dashboard and check its Templates tab. A new account ships with two ready-made 4x6 templates.
The Guest Flow
There are no screenshots of the booth in these docs. This is what each screen does, in the order the guest meets it. Screens marked "if on" are turned on or off per screen design in the UI Editor.
- Start. The booth idles on your start screen. The guest taps the screen, or presses the start button or a key if you set those up as session triggers.
- Tutorial (if on). A short how-it-works screen.
- Payment (if on). The guest pays by scanning a QR code, typing a voucher code, inserting coins or tapping a card, depending on what the booth accepts. A Pix Starter or watermarked computer skips this screen, and so does a booth whose Payment on this booth switch is off: every session is free. A paid session ends on a short success screen before moving on.
- Template. The guest picks a print layout from the templates assigned to the booth. The template decides how many shots are taken.
- Capture. A countdown runs and the camera fires, once per slot. After each shot the guest reviews it, keeps it or retakes it, and can tap the photo to adjust the crop, scale it or mirror it before the next shot.
- Filter (if on). The guest picks a colour filter. It is applied to the print, the GIF and the live photo.
- Sharing. The finished print appears with a QR code to the guest's share page. From here the guest prints, and gets the singles, a GIF and a live photo on their phone, depending on the booth's output settings. Done, or the idle timer, returns the booth to the start screen.
Studio mode and event video modes change the middle of this flow; see Studio Sessions and Event Video Modes.
Check the Result in the Dashboard
-
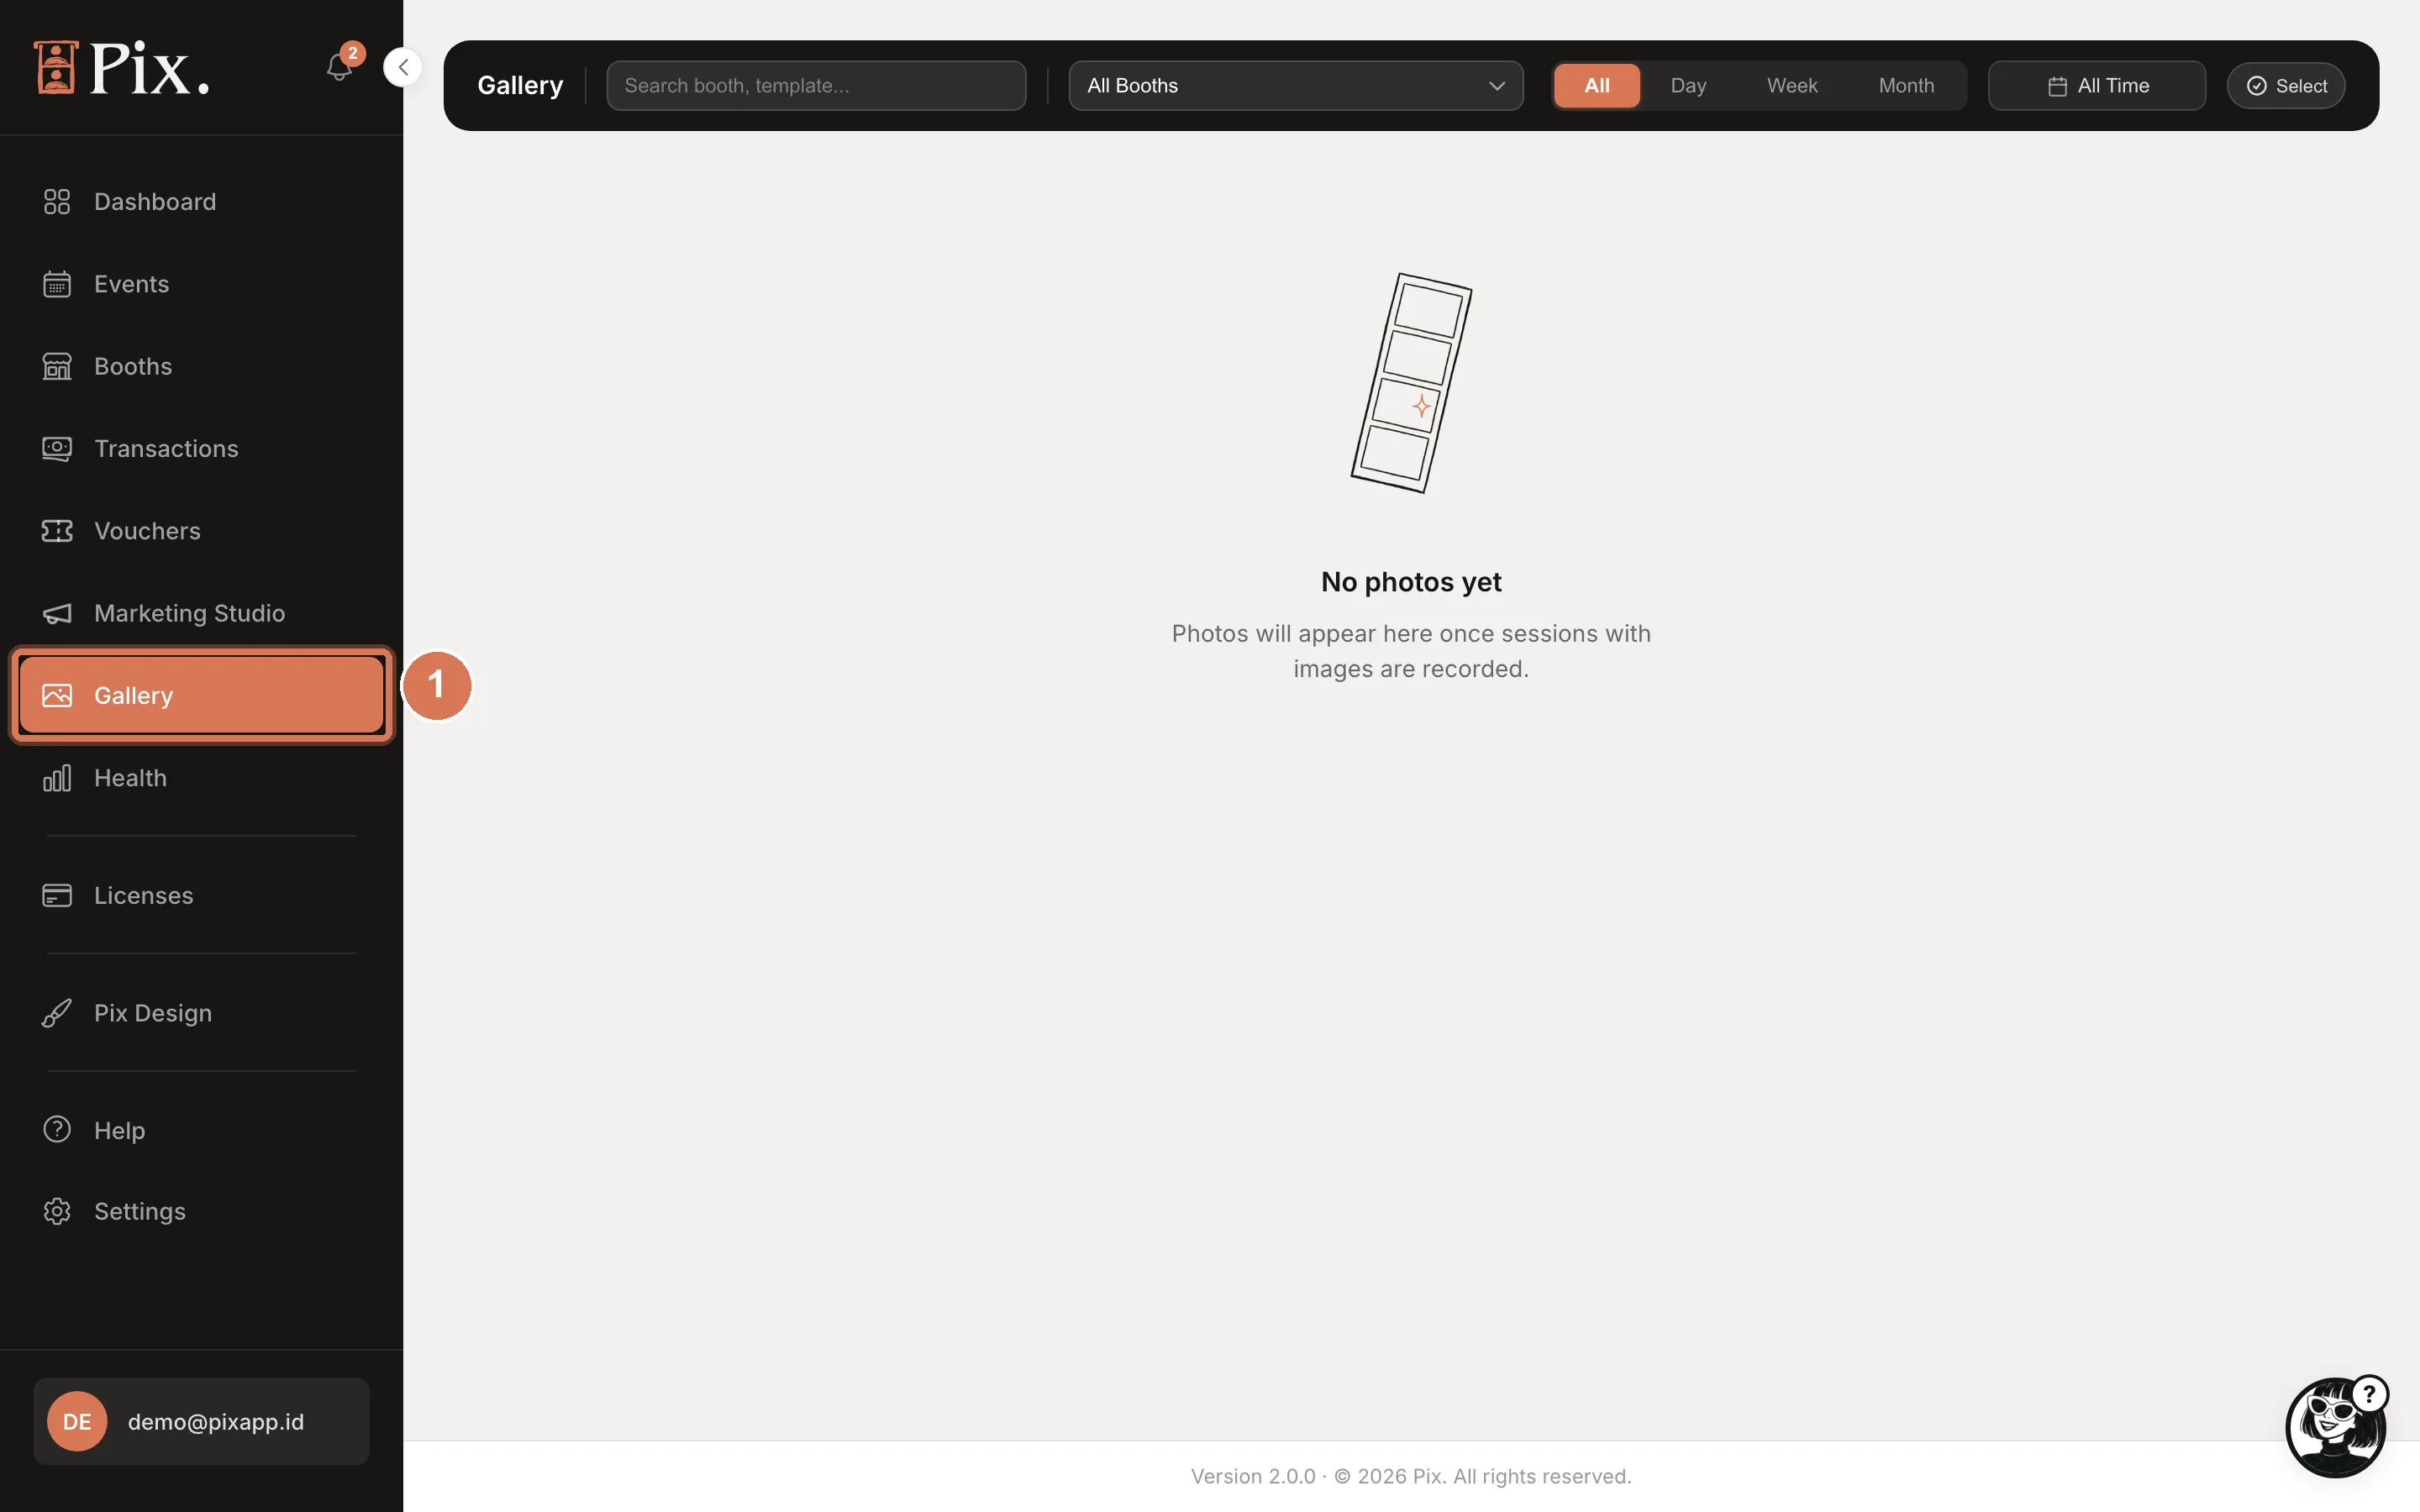
Open Gallery. Your session's photos are there, with the booth and template names. Use the booth filter and the Day / Week / Month pills to narrow the list, Download on a photo to save it, and Select to delete several at once. Photos can take a moment to appear while the booth uploads.
-
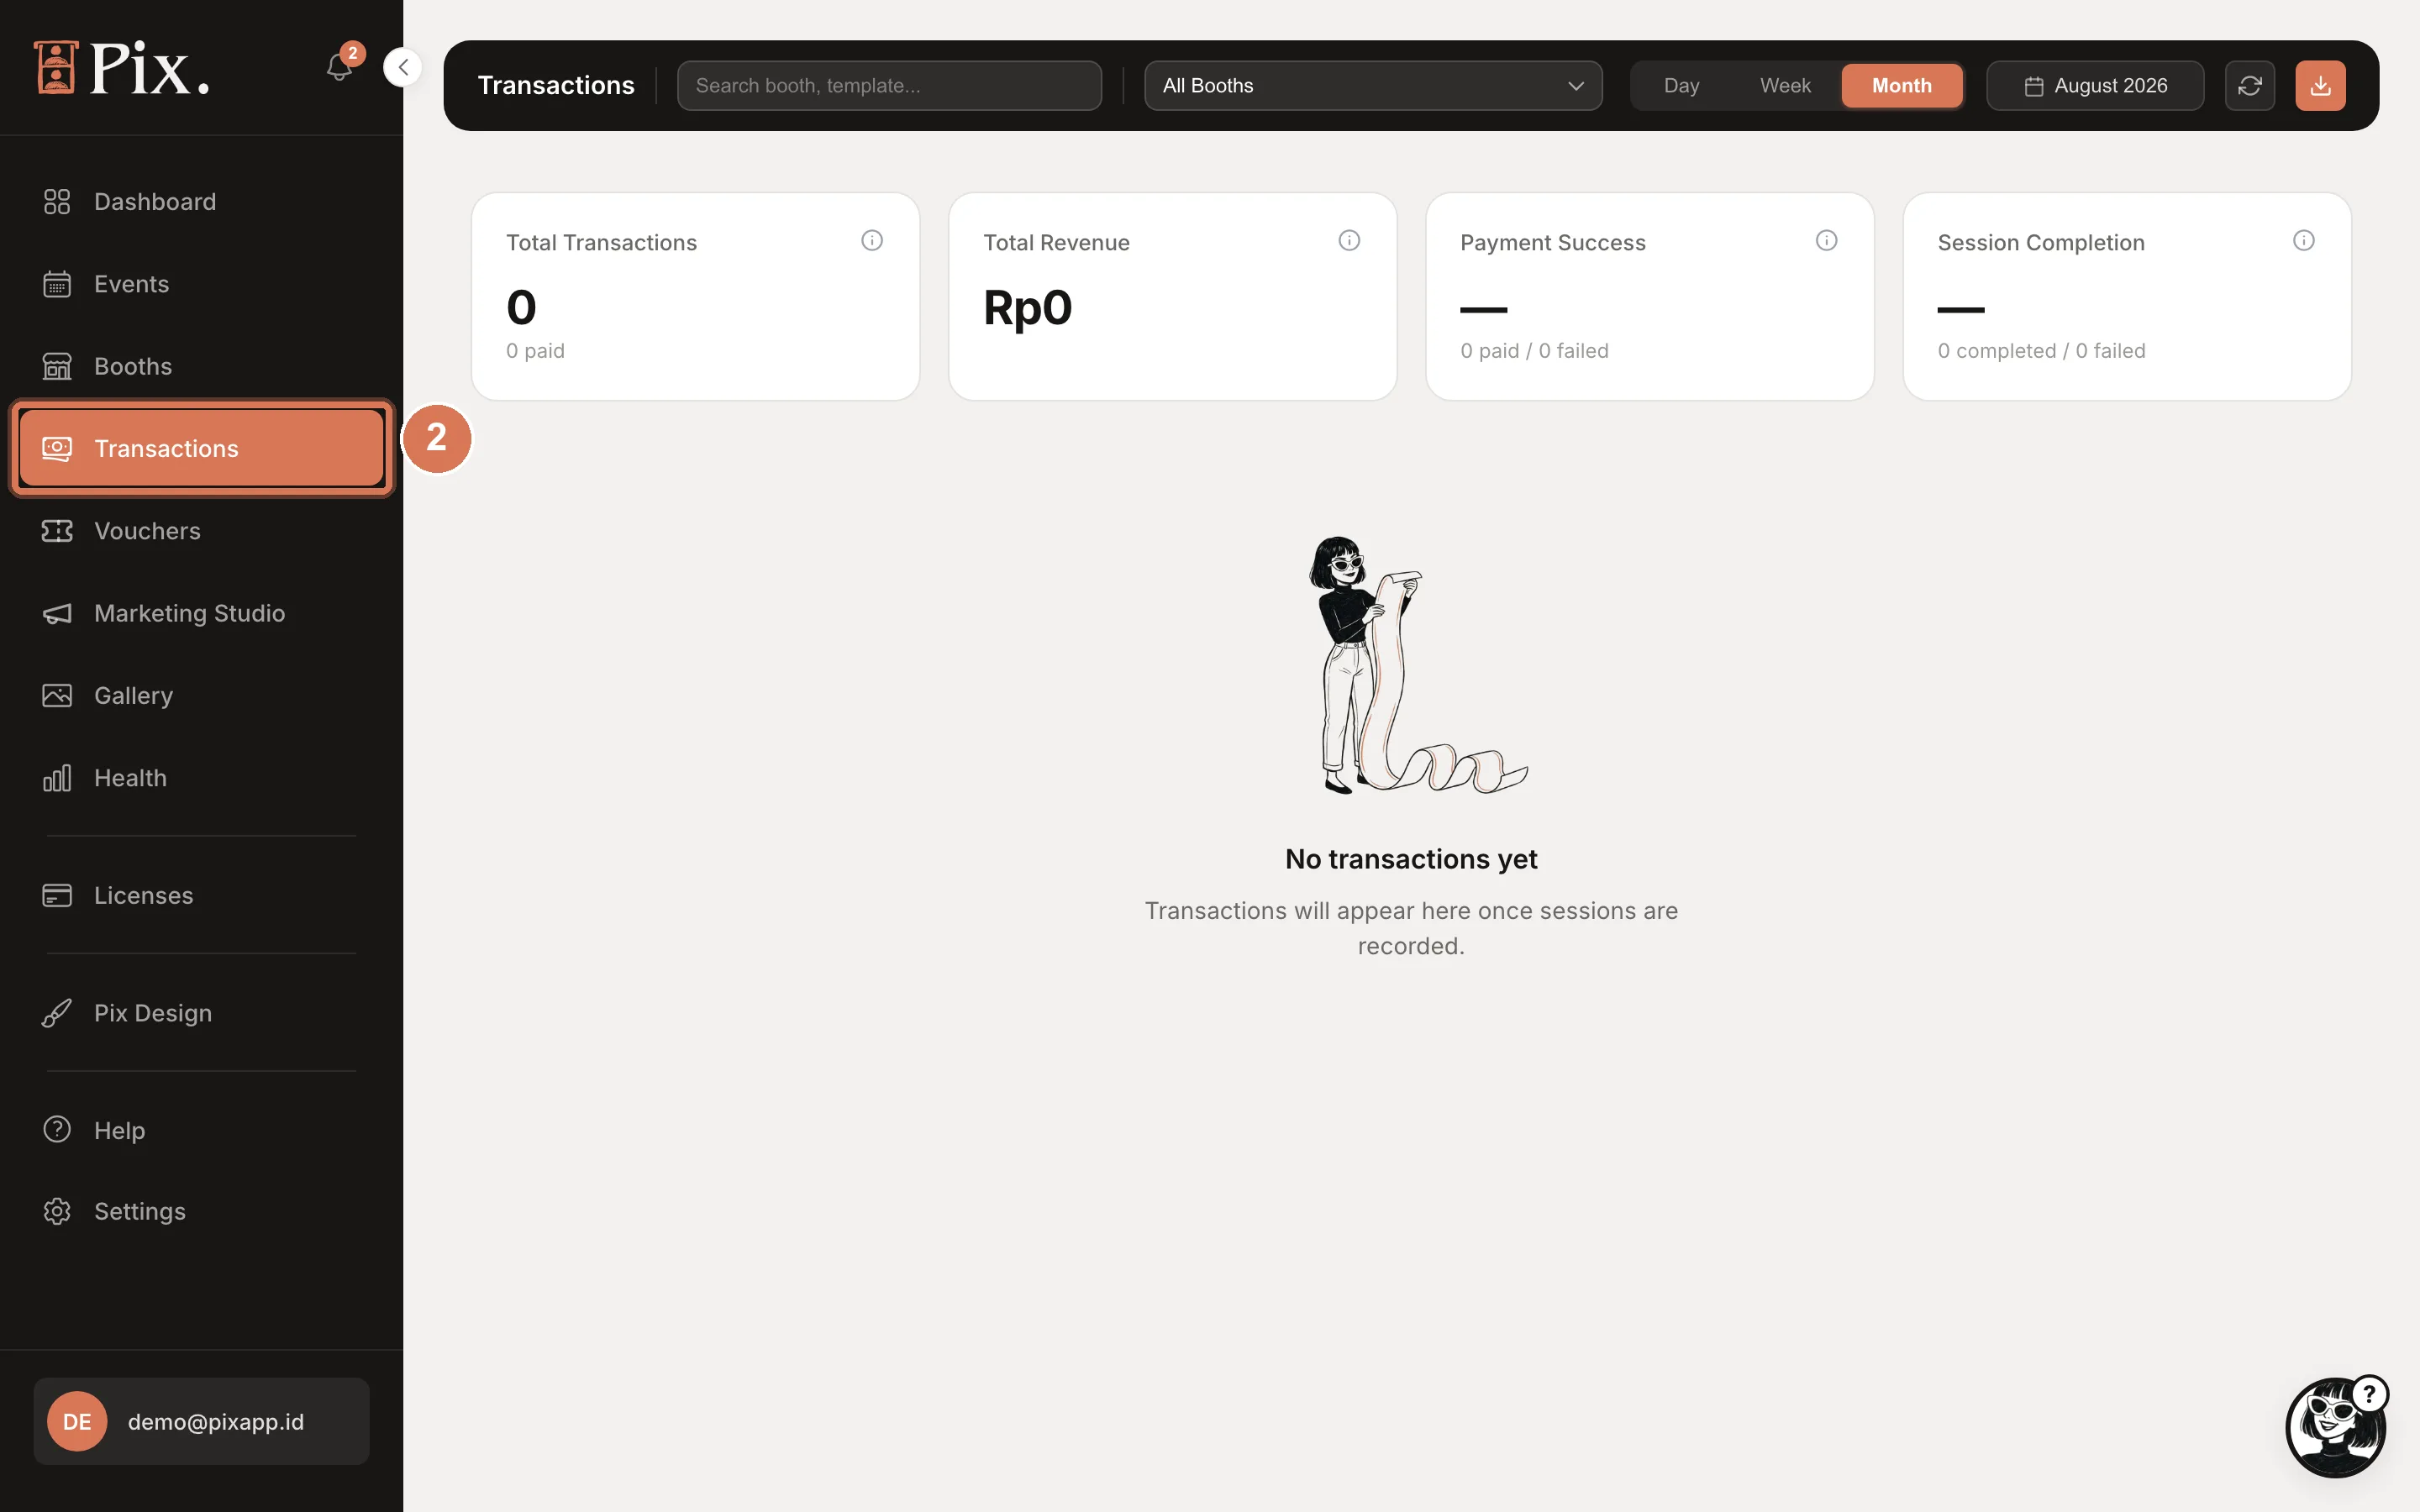
Open Transactions. A paid session shows up as a row with its amount and payment status.
-
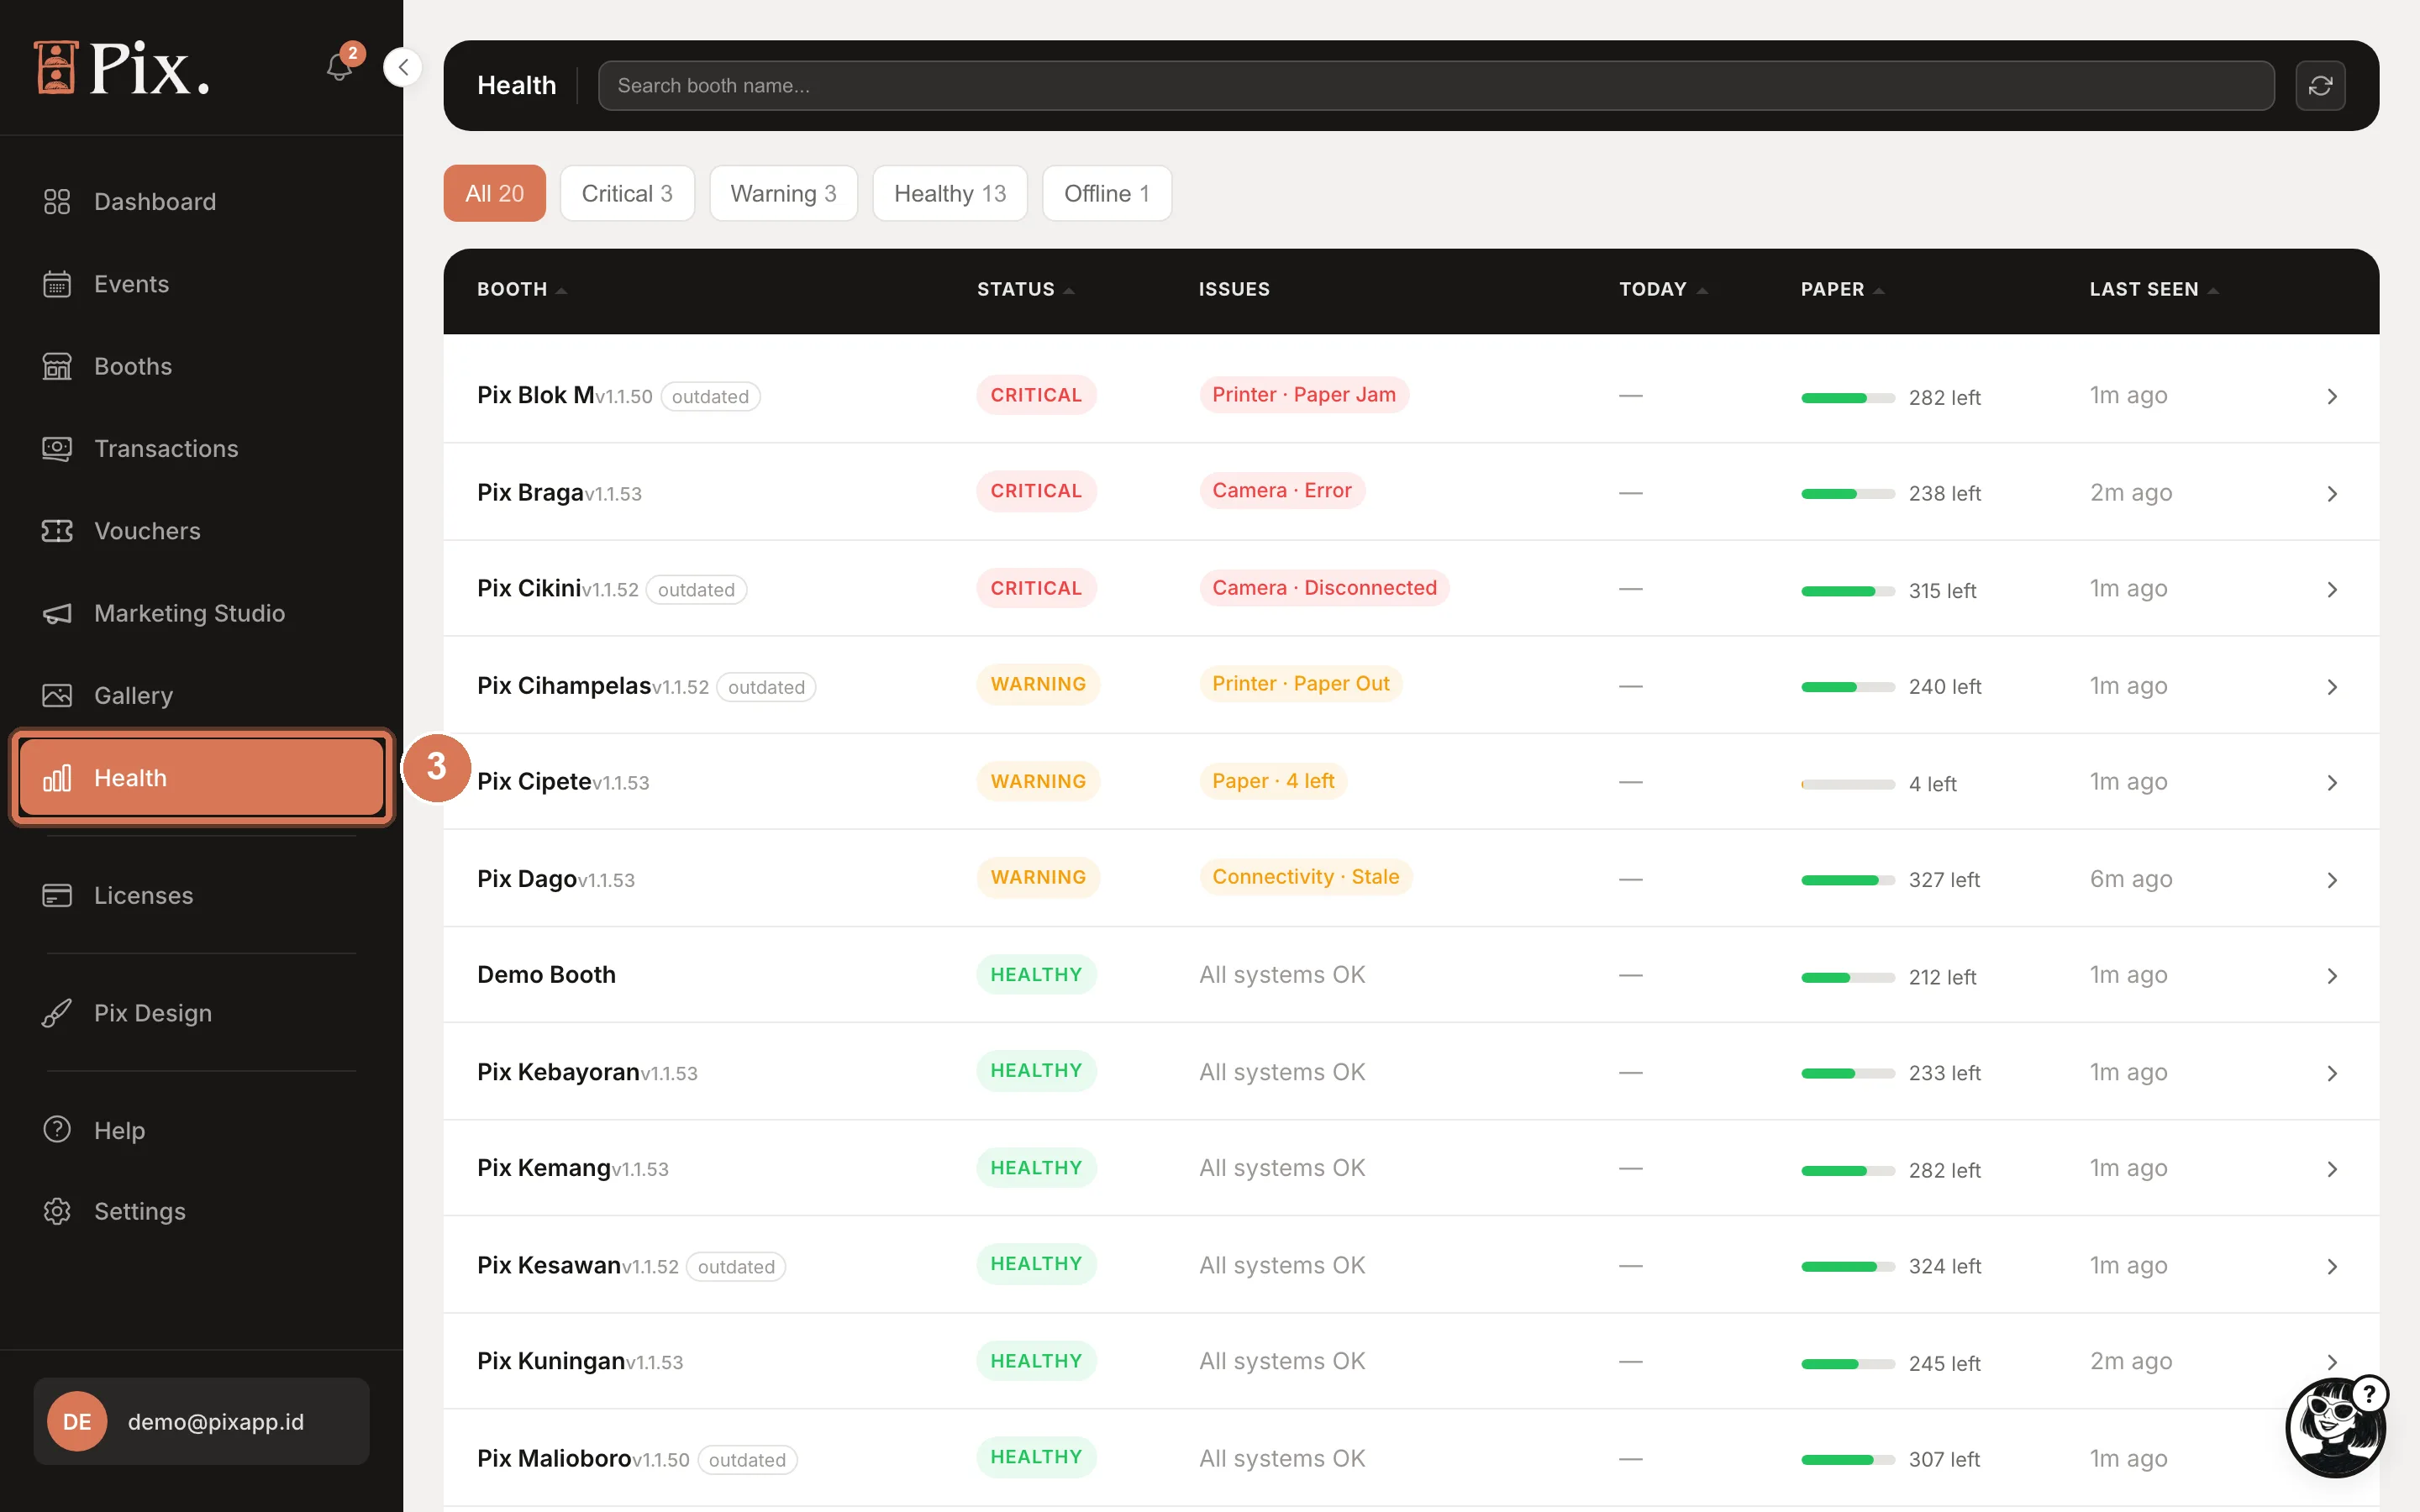
Open Health. Your booth's row shows its status, any issues, today's session count, the paper level and when it was last seen. Errors from the booth land under Error records.
The dashboard home also shows a "Your booth is live" banner with a View gallery button after the first session, and the setup banner goes away.
Tips
- Run a few test sessions before opening. Watch the countdown length, the filter step and the sharing screen, and change what you do not like in the UI Editor.
- Expect the watermark on Pix Starter. Every photo, print, GIF and video carries the Pixture watermark until the computer holds Pix Pro, an Event Pass or the free trial.
- Free sessions skip Payment. If you want to rehearse the payment step, put Pix Pro on the computer, turn Payment on this booth on under the booth's Pricing tab, and connect a gateway under Settings > Payment Gateway.
- Lock the operator menu before guests arrive: set a PIN under the booth's Settings tab (Menu PIN). Guests then cannot reach Camera Settings, Printer Settings or Logout.