Folders and Categories
Folders and categories do different jobs. Folders are for you: they group template projects in the dashboard and never reach the booth. Categories are for guests: a template's category becomes a button on the booth's Templates screen, so a booth with many designs stays easy to browse. Both live on the Template Projects list under Pix Design > Template Editor.
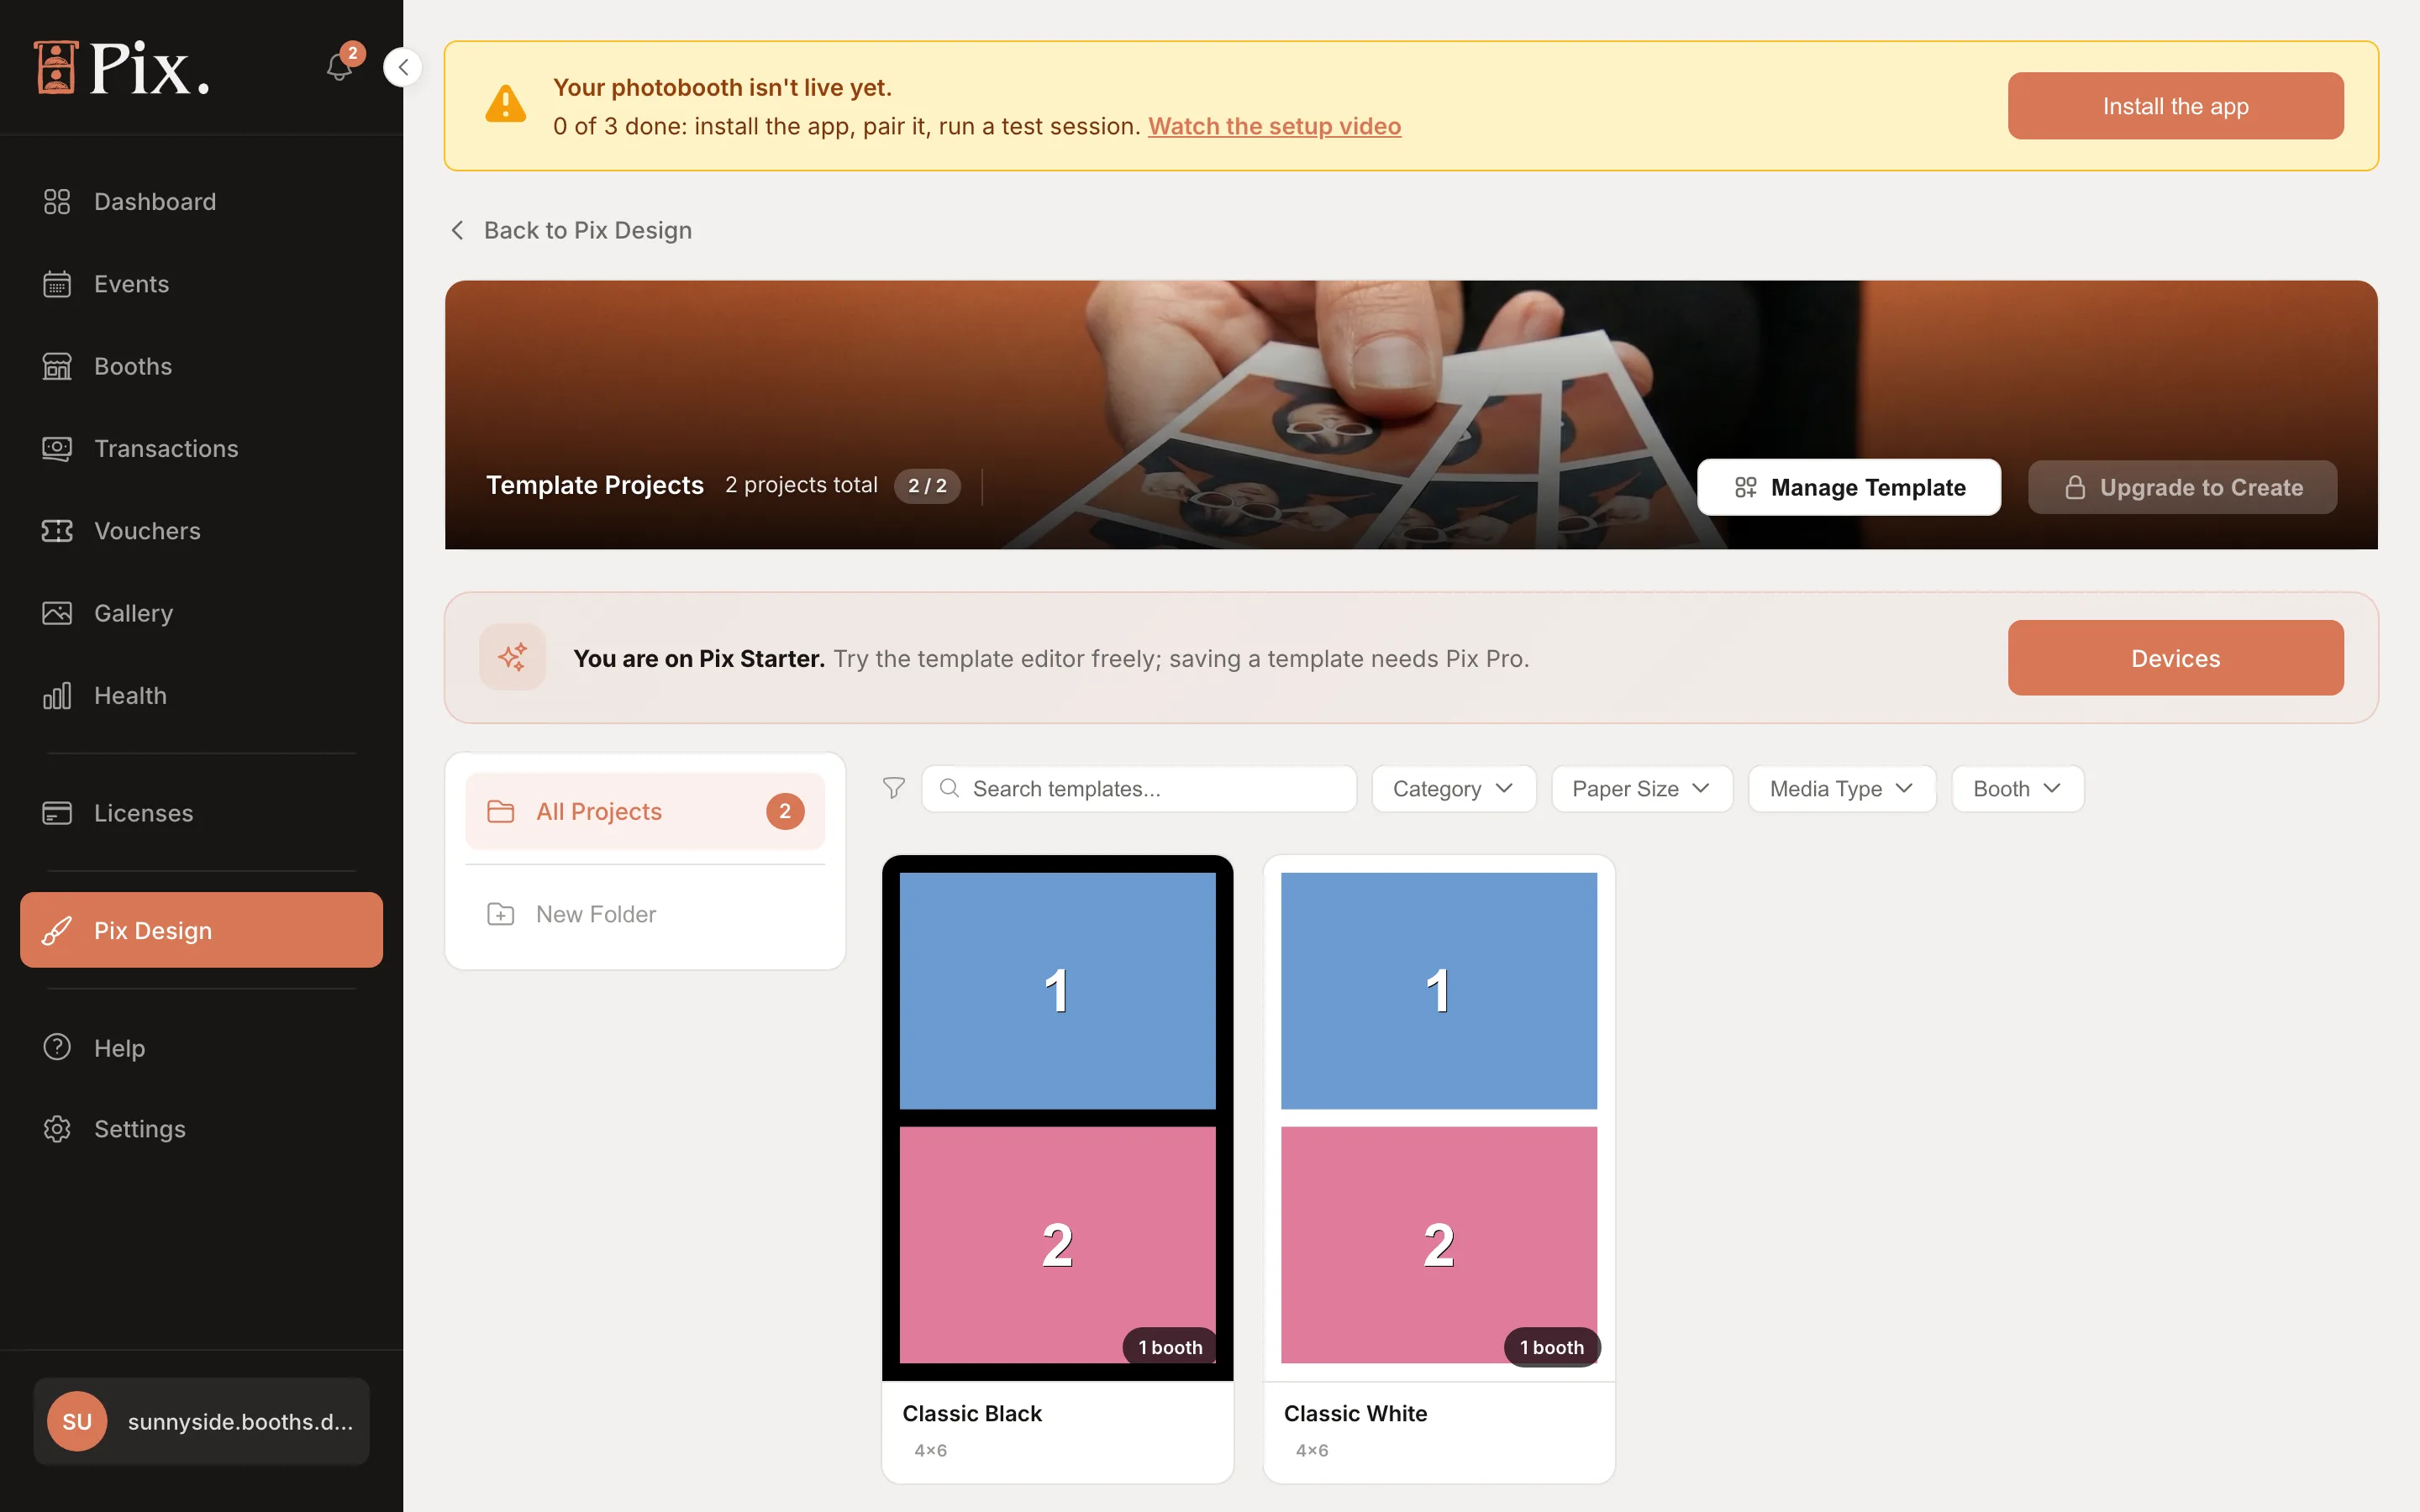
Folders
The folder column on the left of the list starts with All Projects, which shows every template project regardless of folder.
Create a folder
- Click New Folder.
- Type a name that matches how you work, for example a venue ("City Mall kiosk"), a season ("Christmas 2026") or a client.
- Confirm. The folder appears in the column and stays empty until you move projects into it.
Move projects into a folder
- Tick the projects you want to move. Select All ticks every project in the current view, which is handy after filtering.
- Click Move to and choose the destination folder.
Moving a project never changes its booth assignments. A template in any folder can be assigned to any booth.
Rename or delete a folder
Open the folder's menu to Rename or Delete it.
The card menu
Every project card has a menu with Rename, Assign to booths and Delete. Rename changes the project's name in the list. Delete removes the project; use it only for designs no booth still needs, and check the booth count badge on the card first.
Categories
A category is a label on a template project, such as "Birthday", "Wedding" or "Minimal". Categories matter in three places:
- On the booth. The Templates screen shows a row of category buttons above the template cards. Guests tap one to see only that group. The row scrolls when there are many categories.
- On the booth's Templates tab. The All Categories filter and the Manage Templates modal filter by category, which speeds up assigning a themed set to one booth.
- On the Template Projects list. The Category filter narrows the grid to one category.
Use a small, stable set of category names. Two spellings of the same word ("Wedding" and "Weddings") show as two buttons on the booth.
Paper Size and Media Type Filters
Three more filters sit next to Category on the list:
| Filter | What it matches |
|---|---|
| Paper Size | The print size chosen when the project was created: 2x6", 4x6", 6x8", A4, A3 or a custom size |
| Media Type | Normal, 2" Cut, Perforated, Triple Strip, Sticker or a custom media name |
| Booth | The templates assigned to one booth, counted the same way as the card's booth badge. Picking a booth also shows Manage templates for it |
They are most useful before assigning: a booth loaded with 4x6" photo paper should only get 4x6" Normal templates, and a strip printer should only get 2" Cut or Triple Strip designs. The same All Sizes and All Media filters appear in the booth's Manage Templates modal. See Assigning Templates.
Search
The search box on the list finds projects across every folder. With a large library this is faster than browsing folders, and it combines with the other filters. Clear filters resets them all.
Filter first, then Select All, then Move to. Filtering by Paper Size and selecting everything is the quickest way to sort an imported batch of PNGs into folders.