Settings
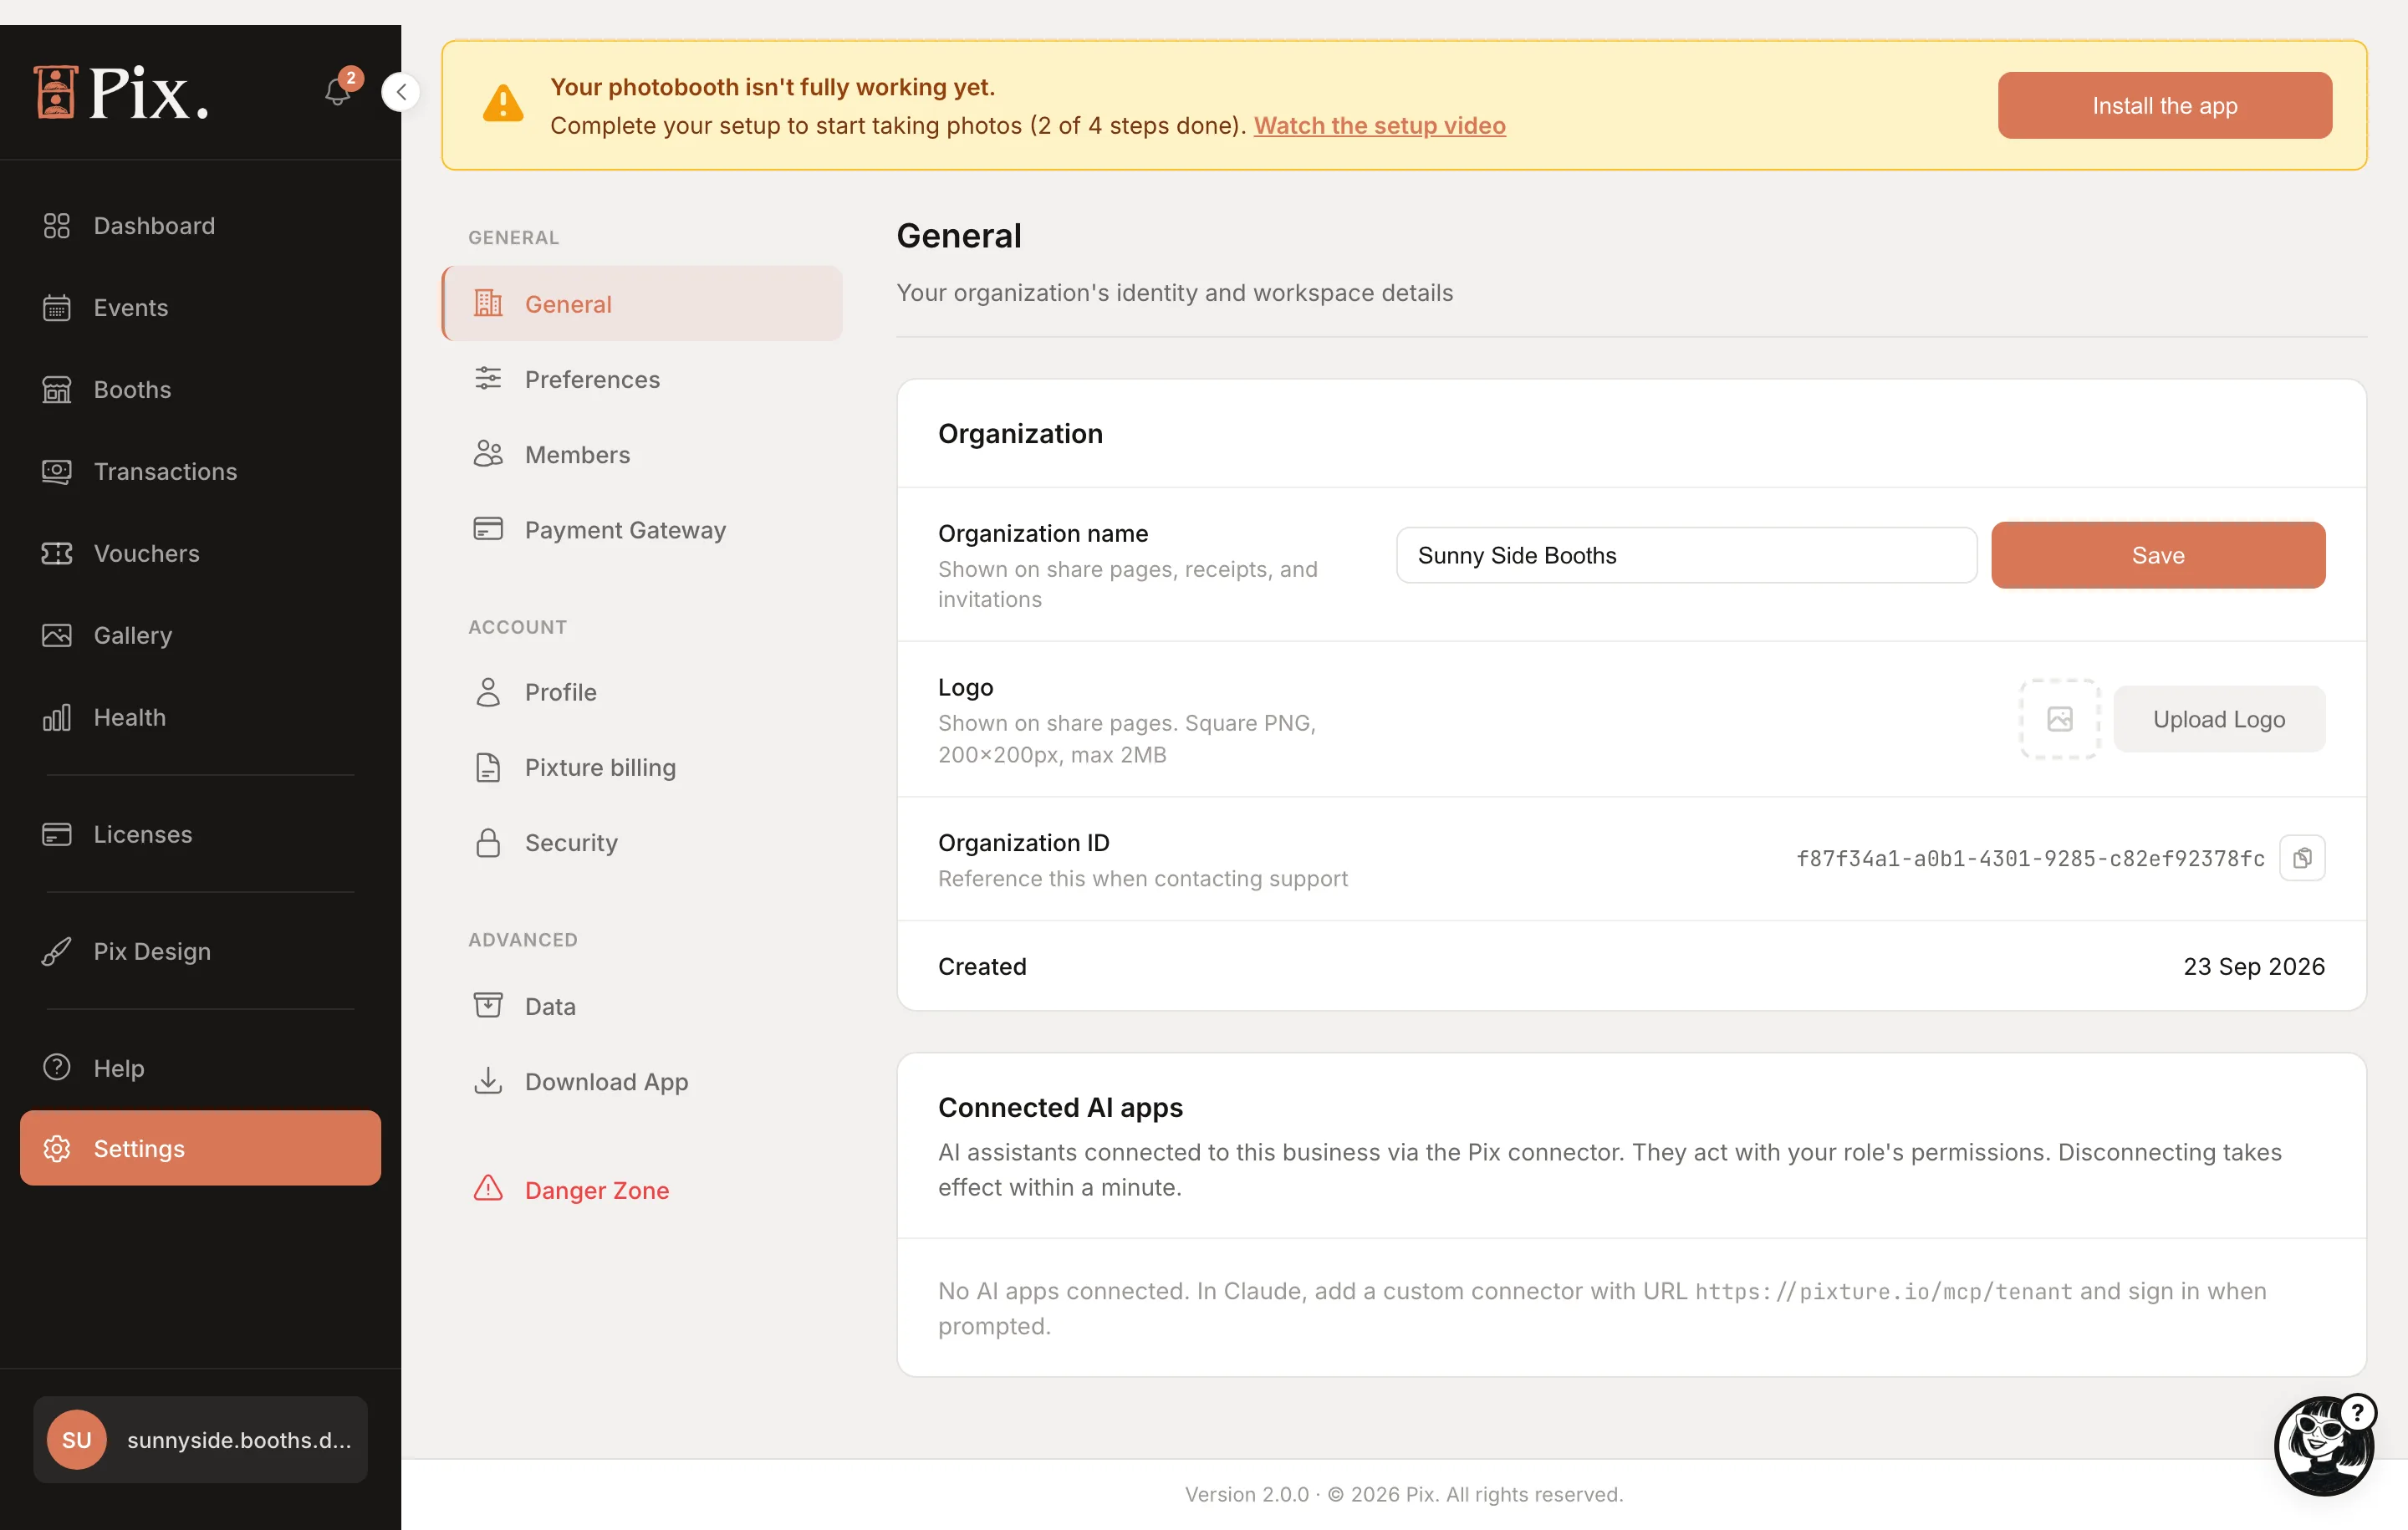
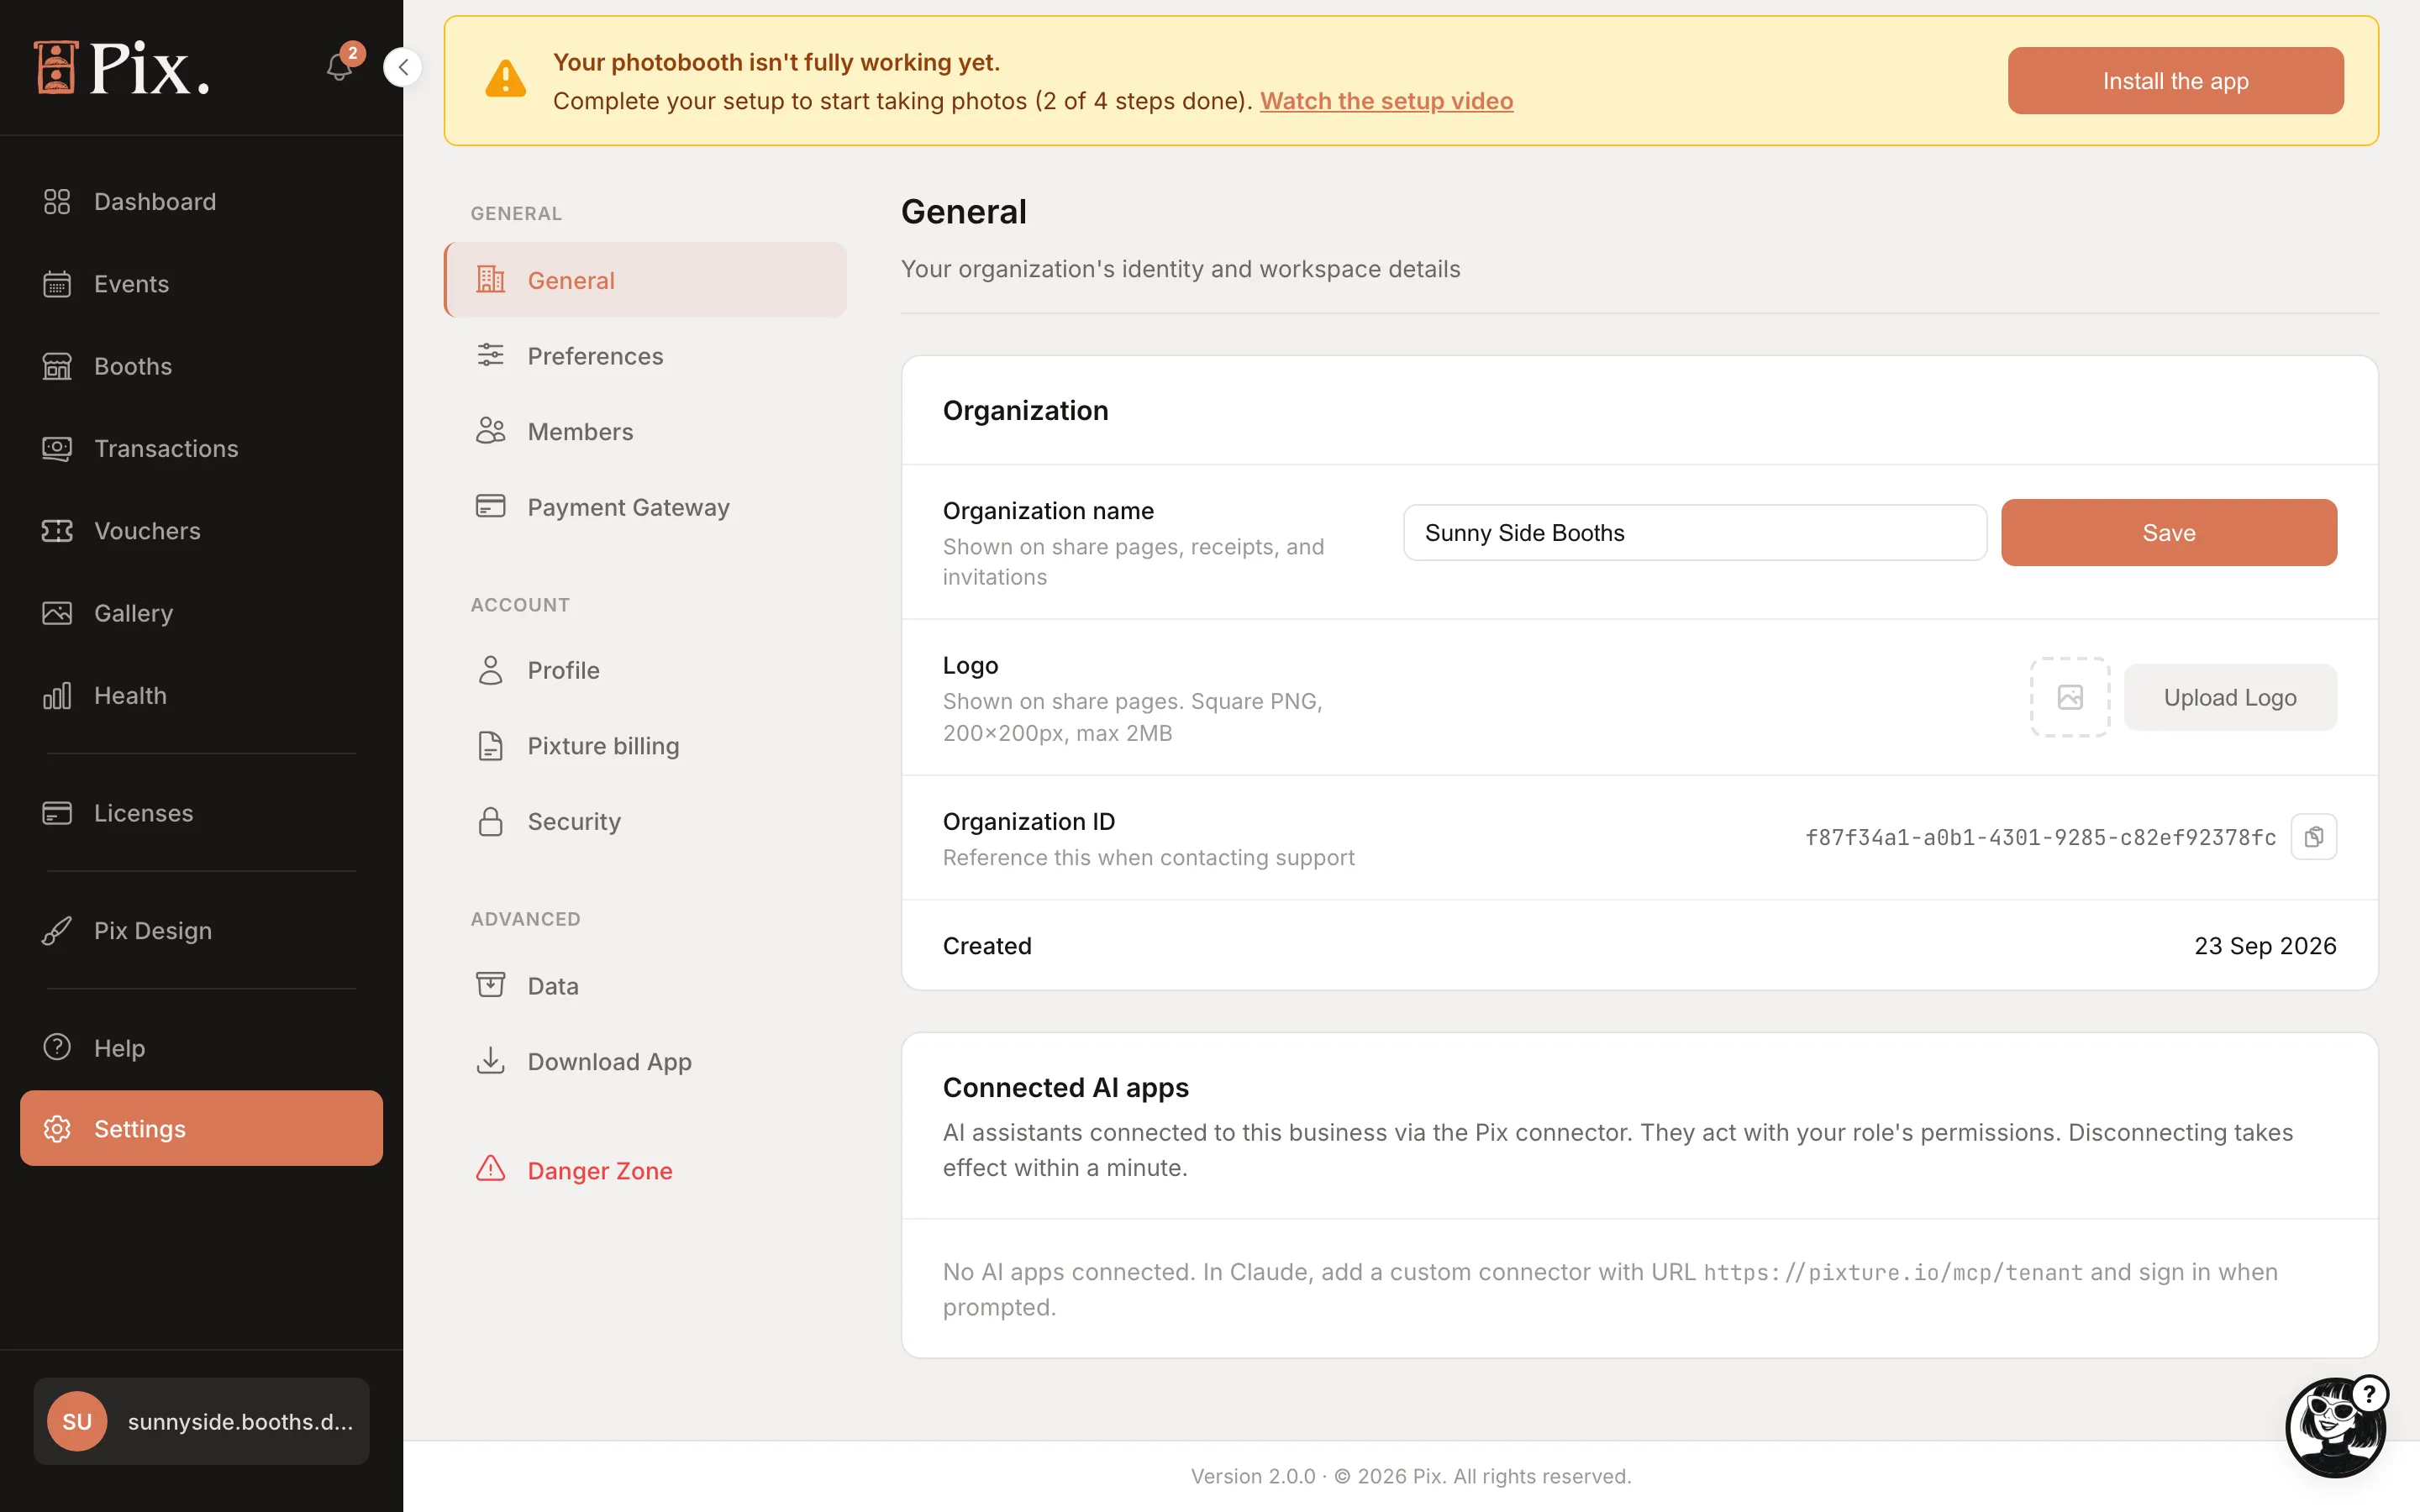
Settings is one page with a left-hand list of sections: General, Preferences, Members and Payment Gateway under General; Profile, Pixture billing and Security under Account; Data and Download App under Advanced; and Danger Zone, which only the owner sees.
General
The Organization card: the name with Save, the logo (Upload Logo or Remove Logo; a square PNG, 200 x 200, up to 2 MB), your Organization ID with a copy button, and the creation date. Connected AI apps lists any AI assistant you have connected to your account, with when it last connected and Disconnect.
Preferences
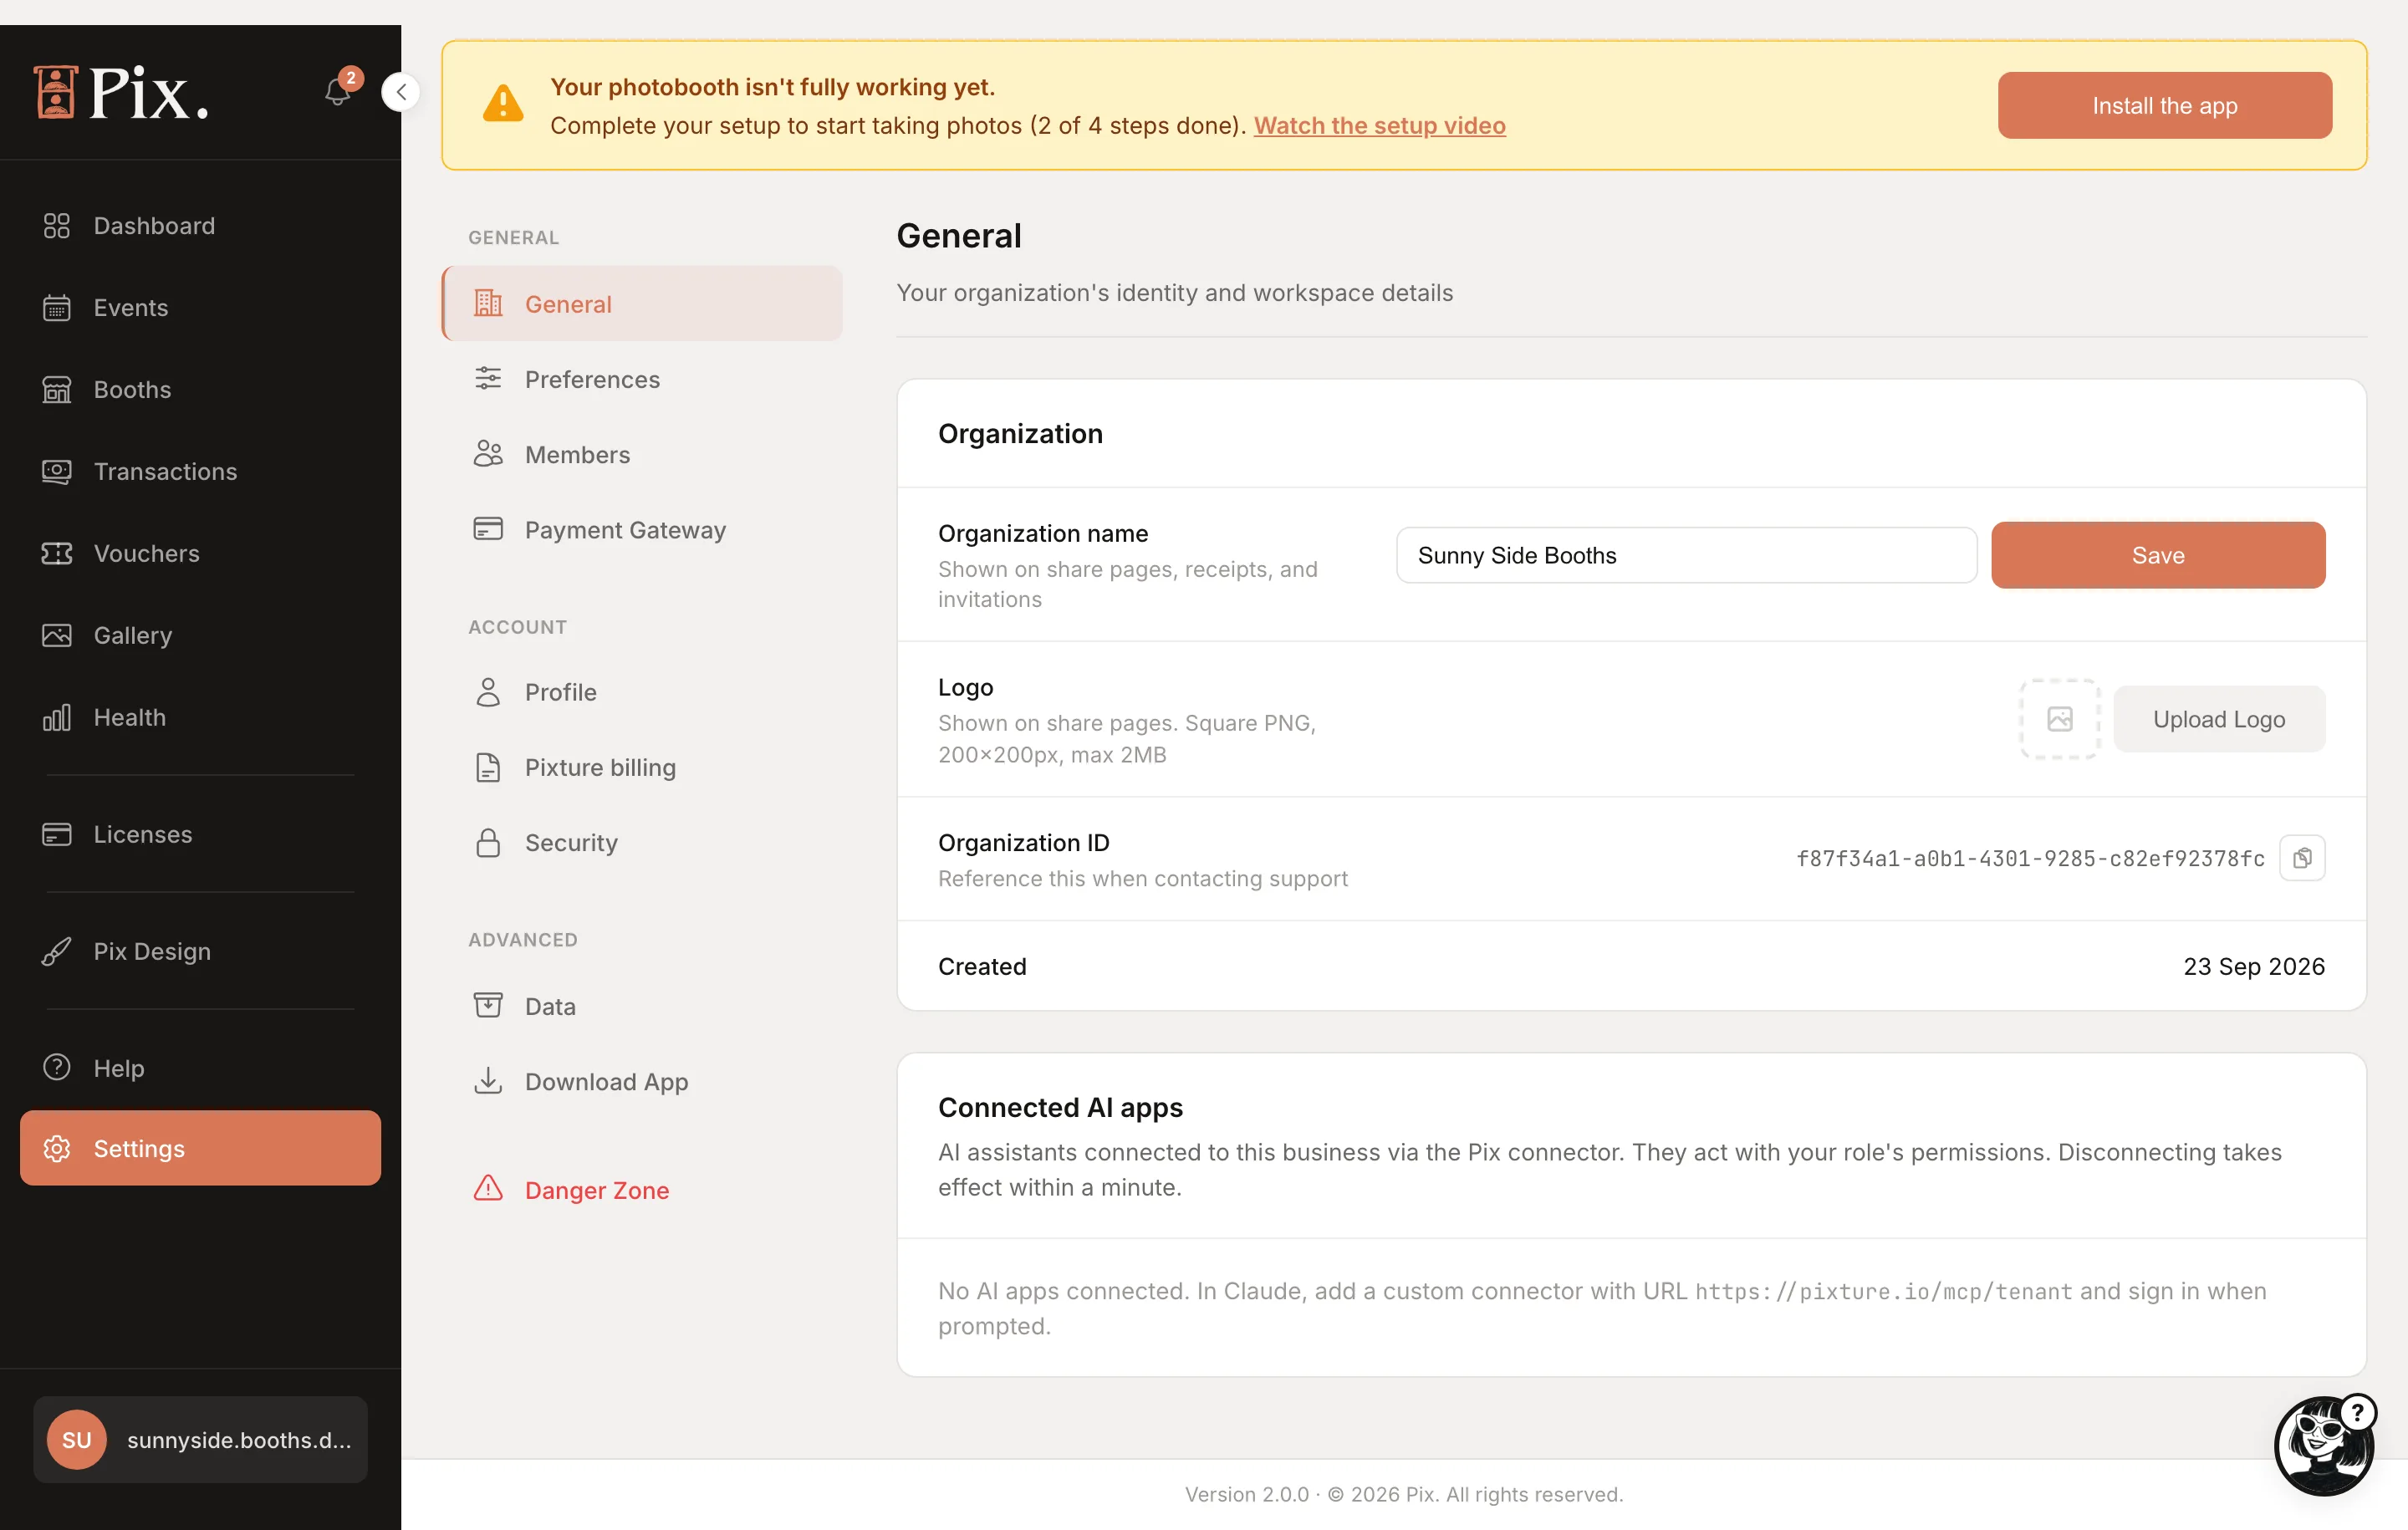
| Setting | What it does |
|---|---|
| Dashboard language | English or Bahasa Indonesia, for you only |
| Booth language | The language of the guest-facing prompts on every booth, such as the consent question. One setting for the whole organization |
| Timezone | Any timezone. Reports, daily limits and event dates follow it |
| Default currency | Any currency. Booths inherit it unless they set their own |
| Tour & Onboarding | Replay Tour and Show Checklist bring back the first-run guidance |
Members
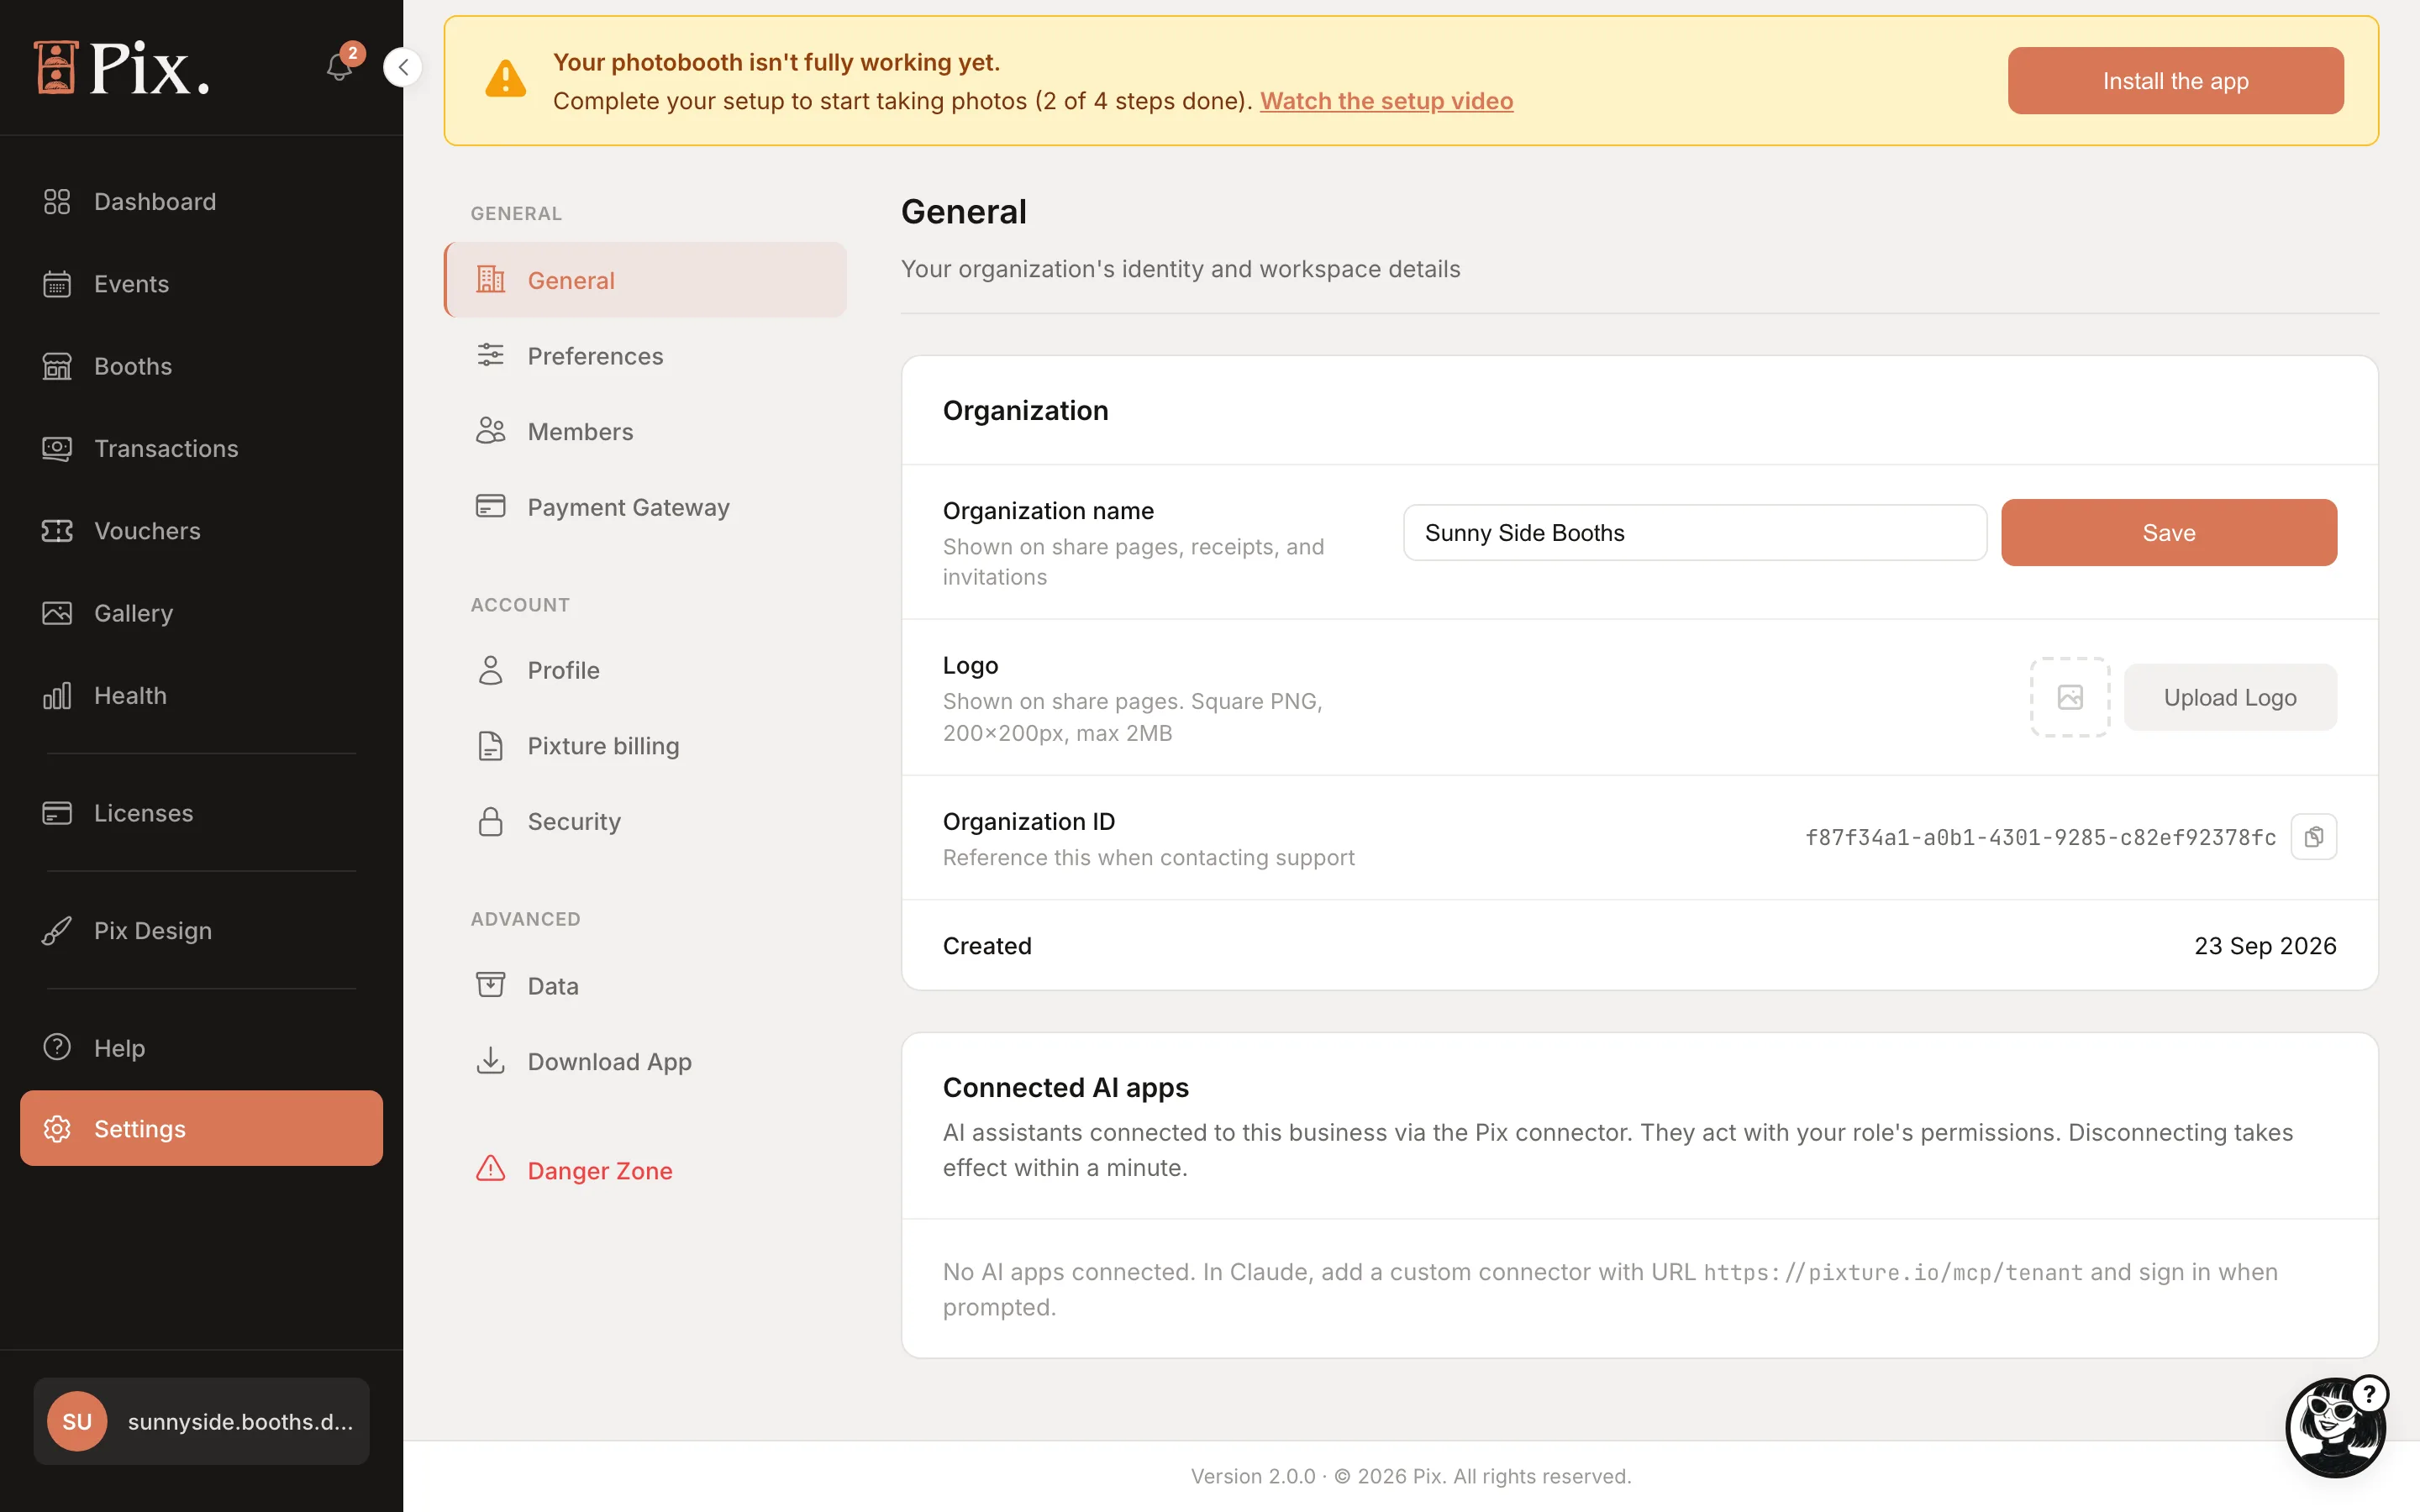
Three sub-tabs: Active Members, Pending invitations and Activity. The table shows Member, Role, Booth Access, Status and Last Active; a row's menu has Change Role, Suspend, Reactivate and Remove. Pending rows have Resend and Revoke.
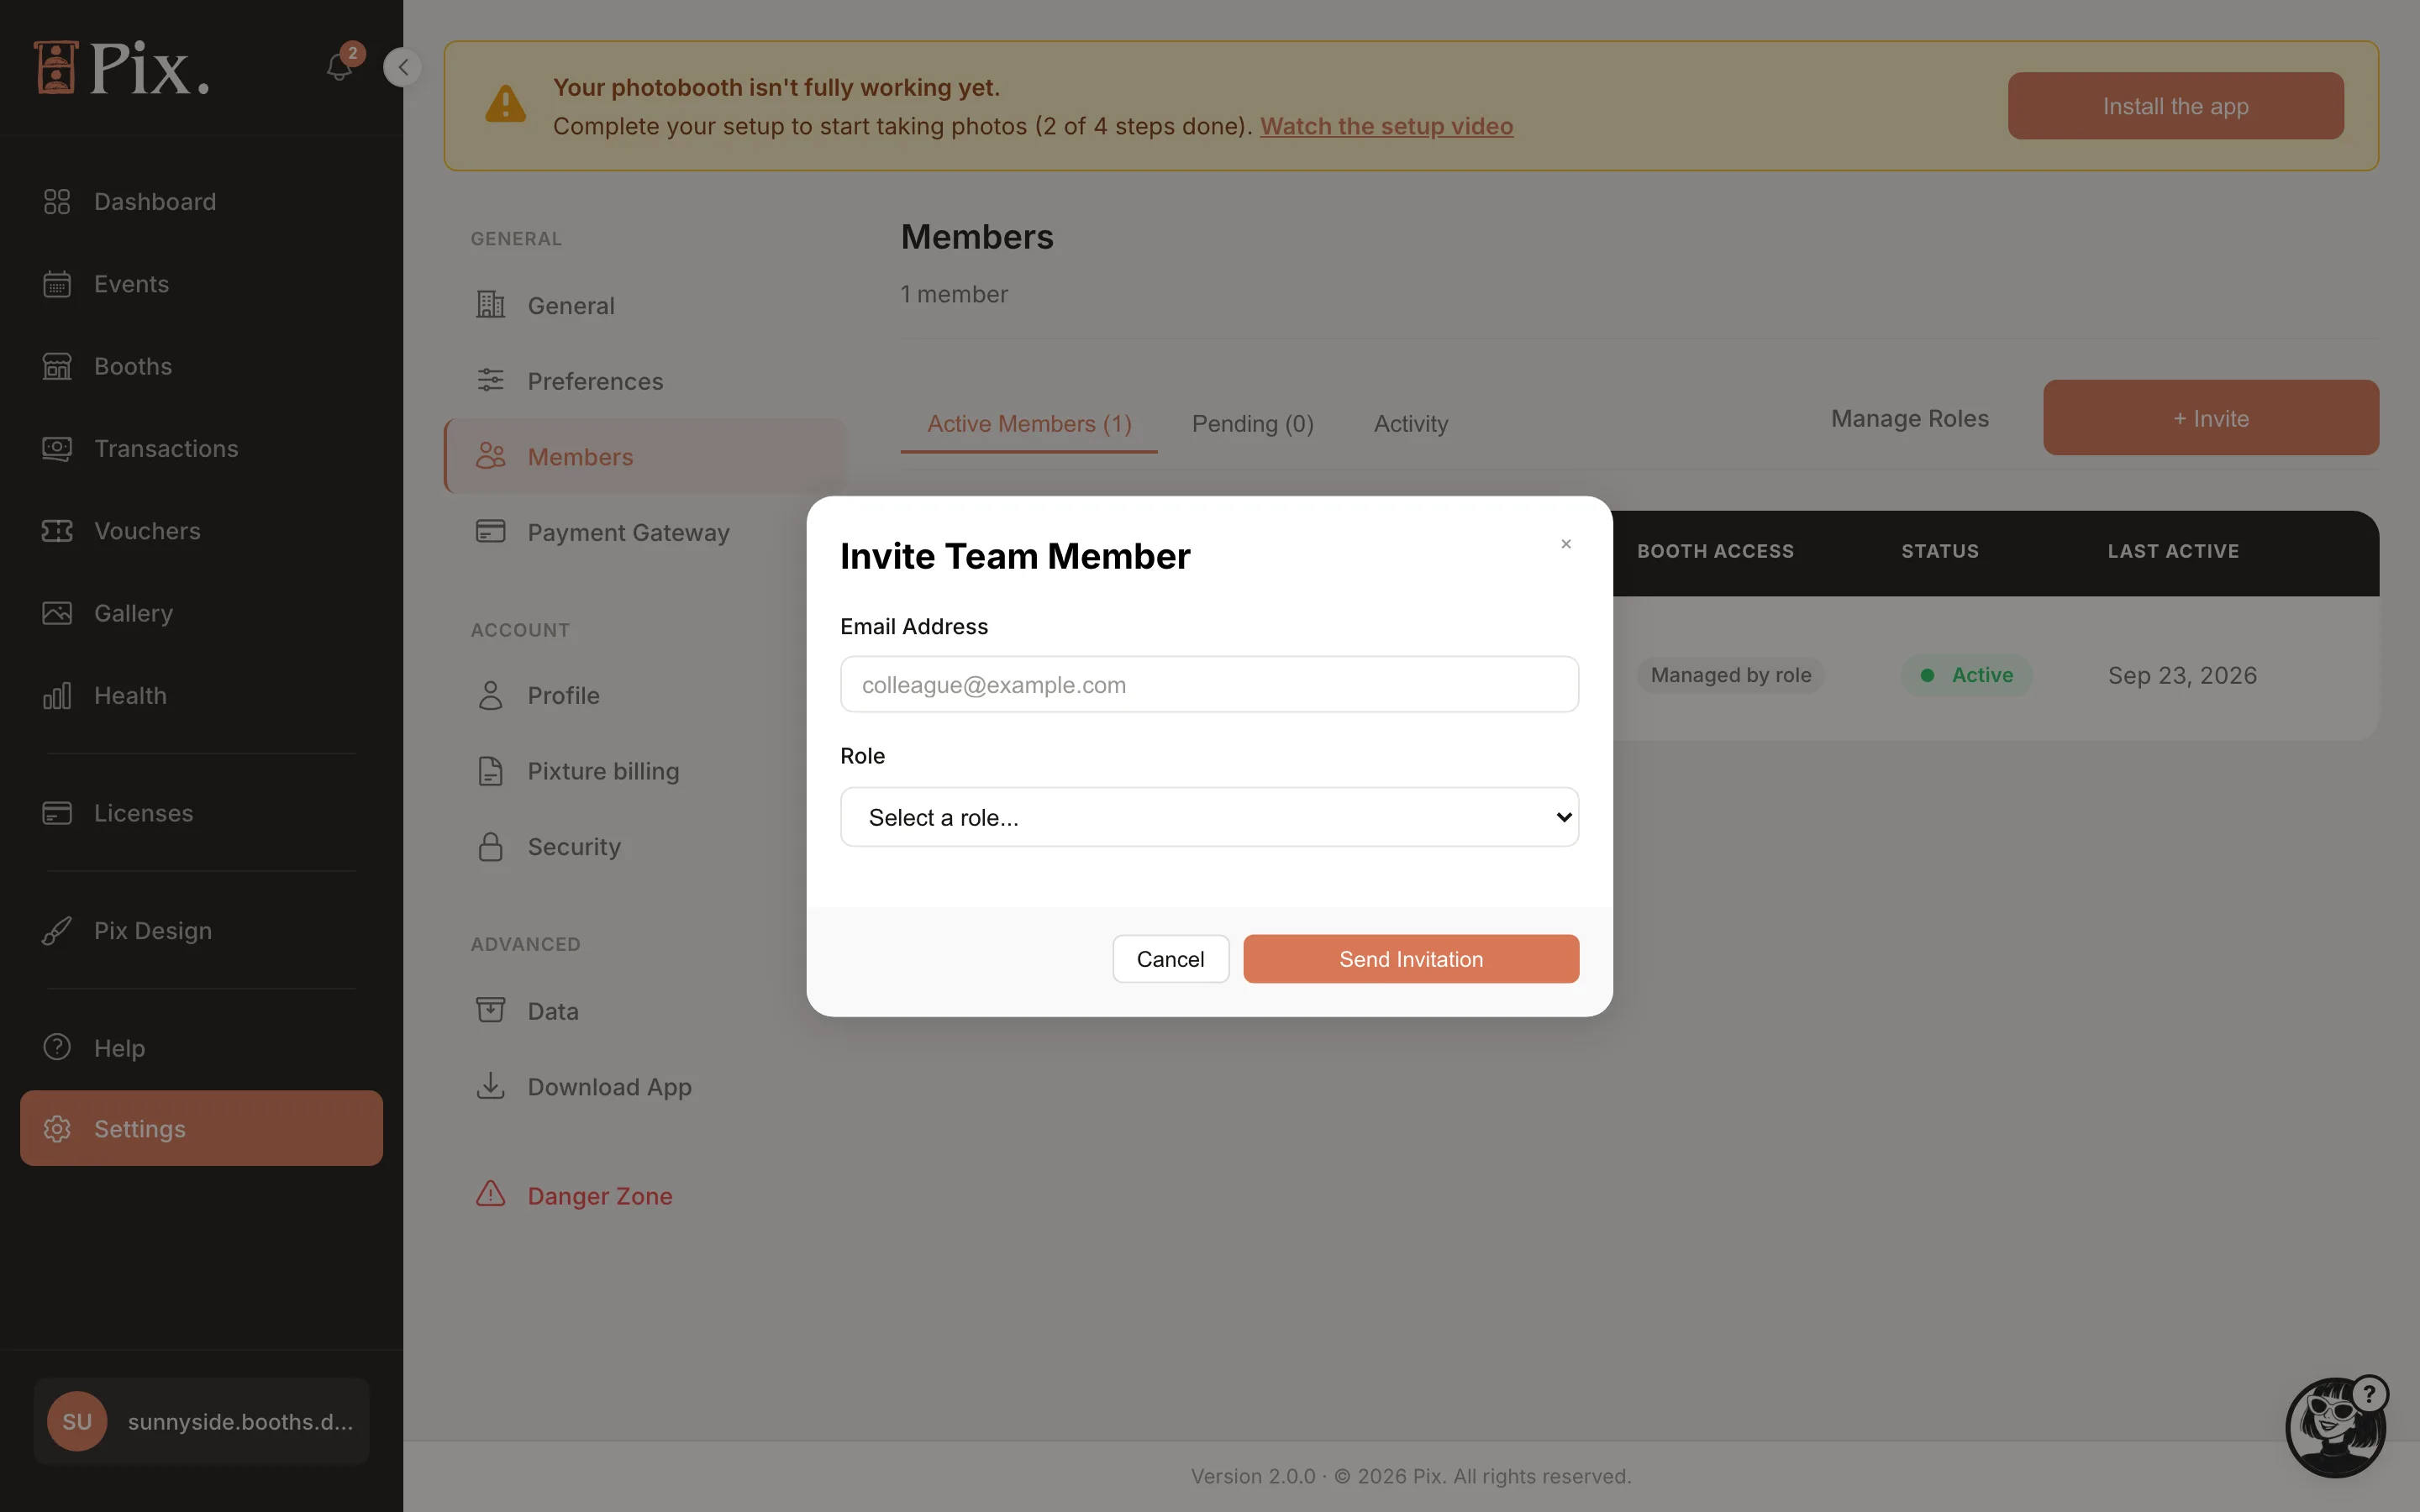
To invite someone:
- Click + Invite.
- Enter the Email Address and pick a Role.
- Click Send Invitation.
Activity is a feed of what members changed across the dashboard: booths, templates, vouchers, pricing, events, roles, the payment gateway and organization settings, with who did it and when.
Roles
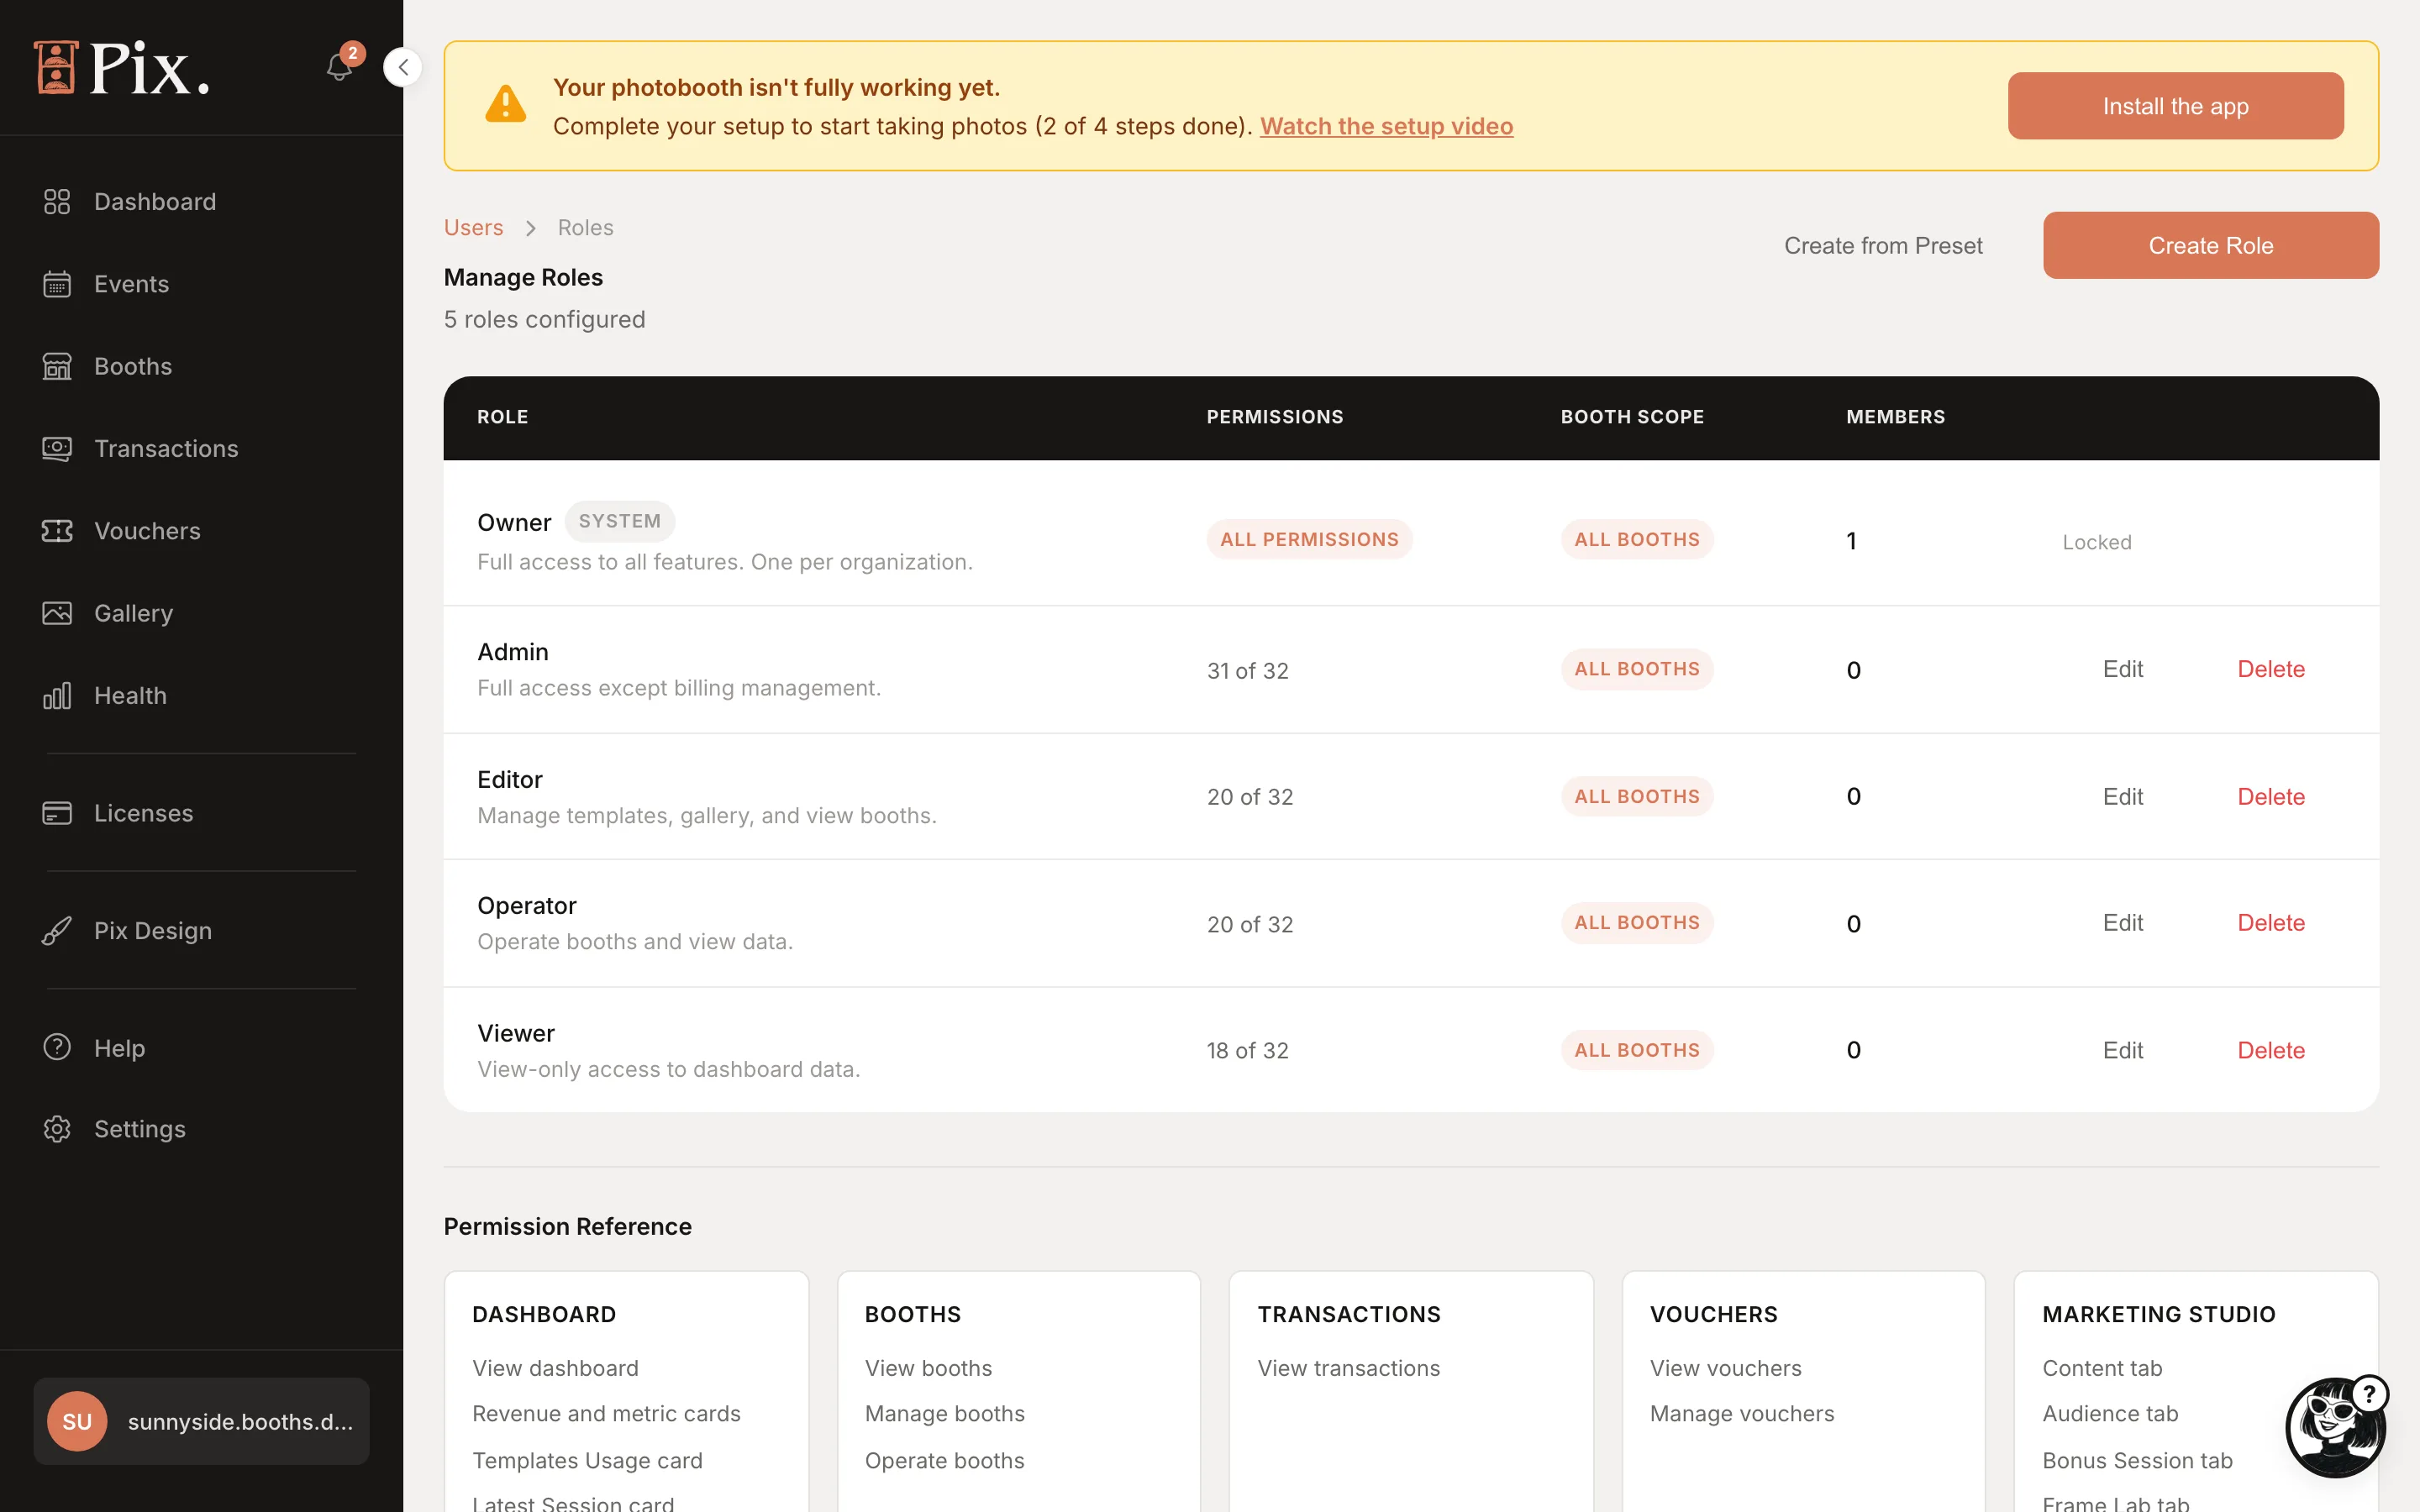
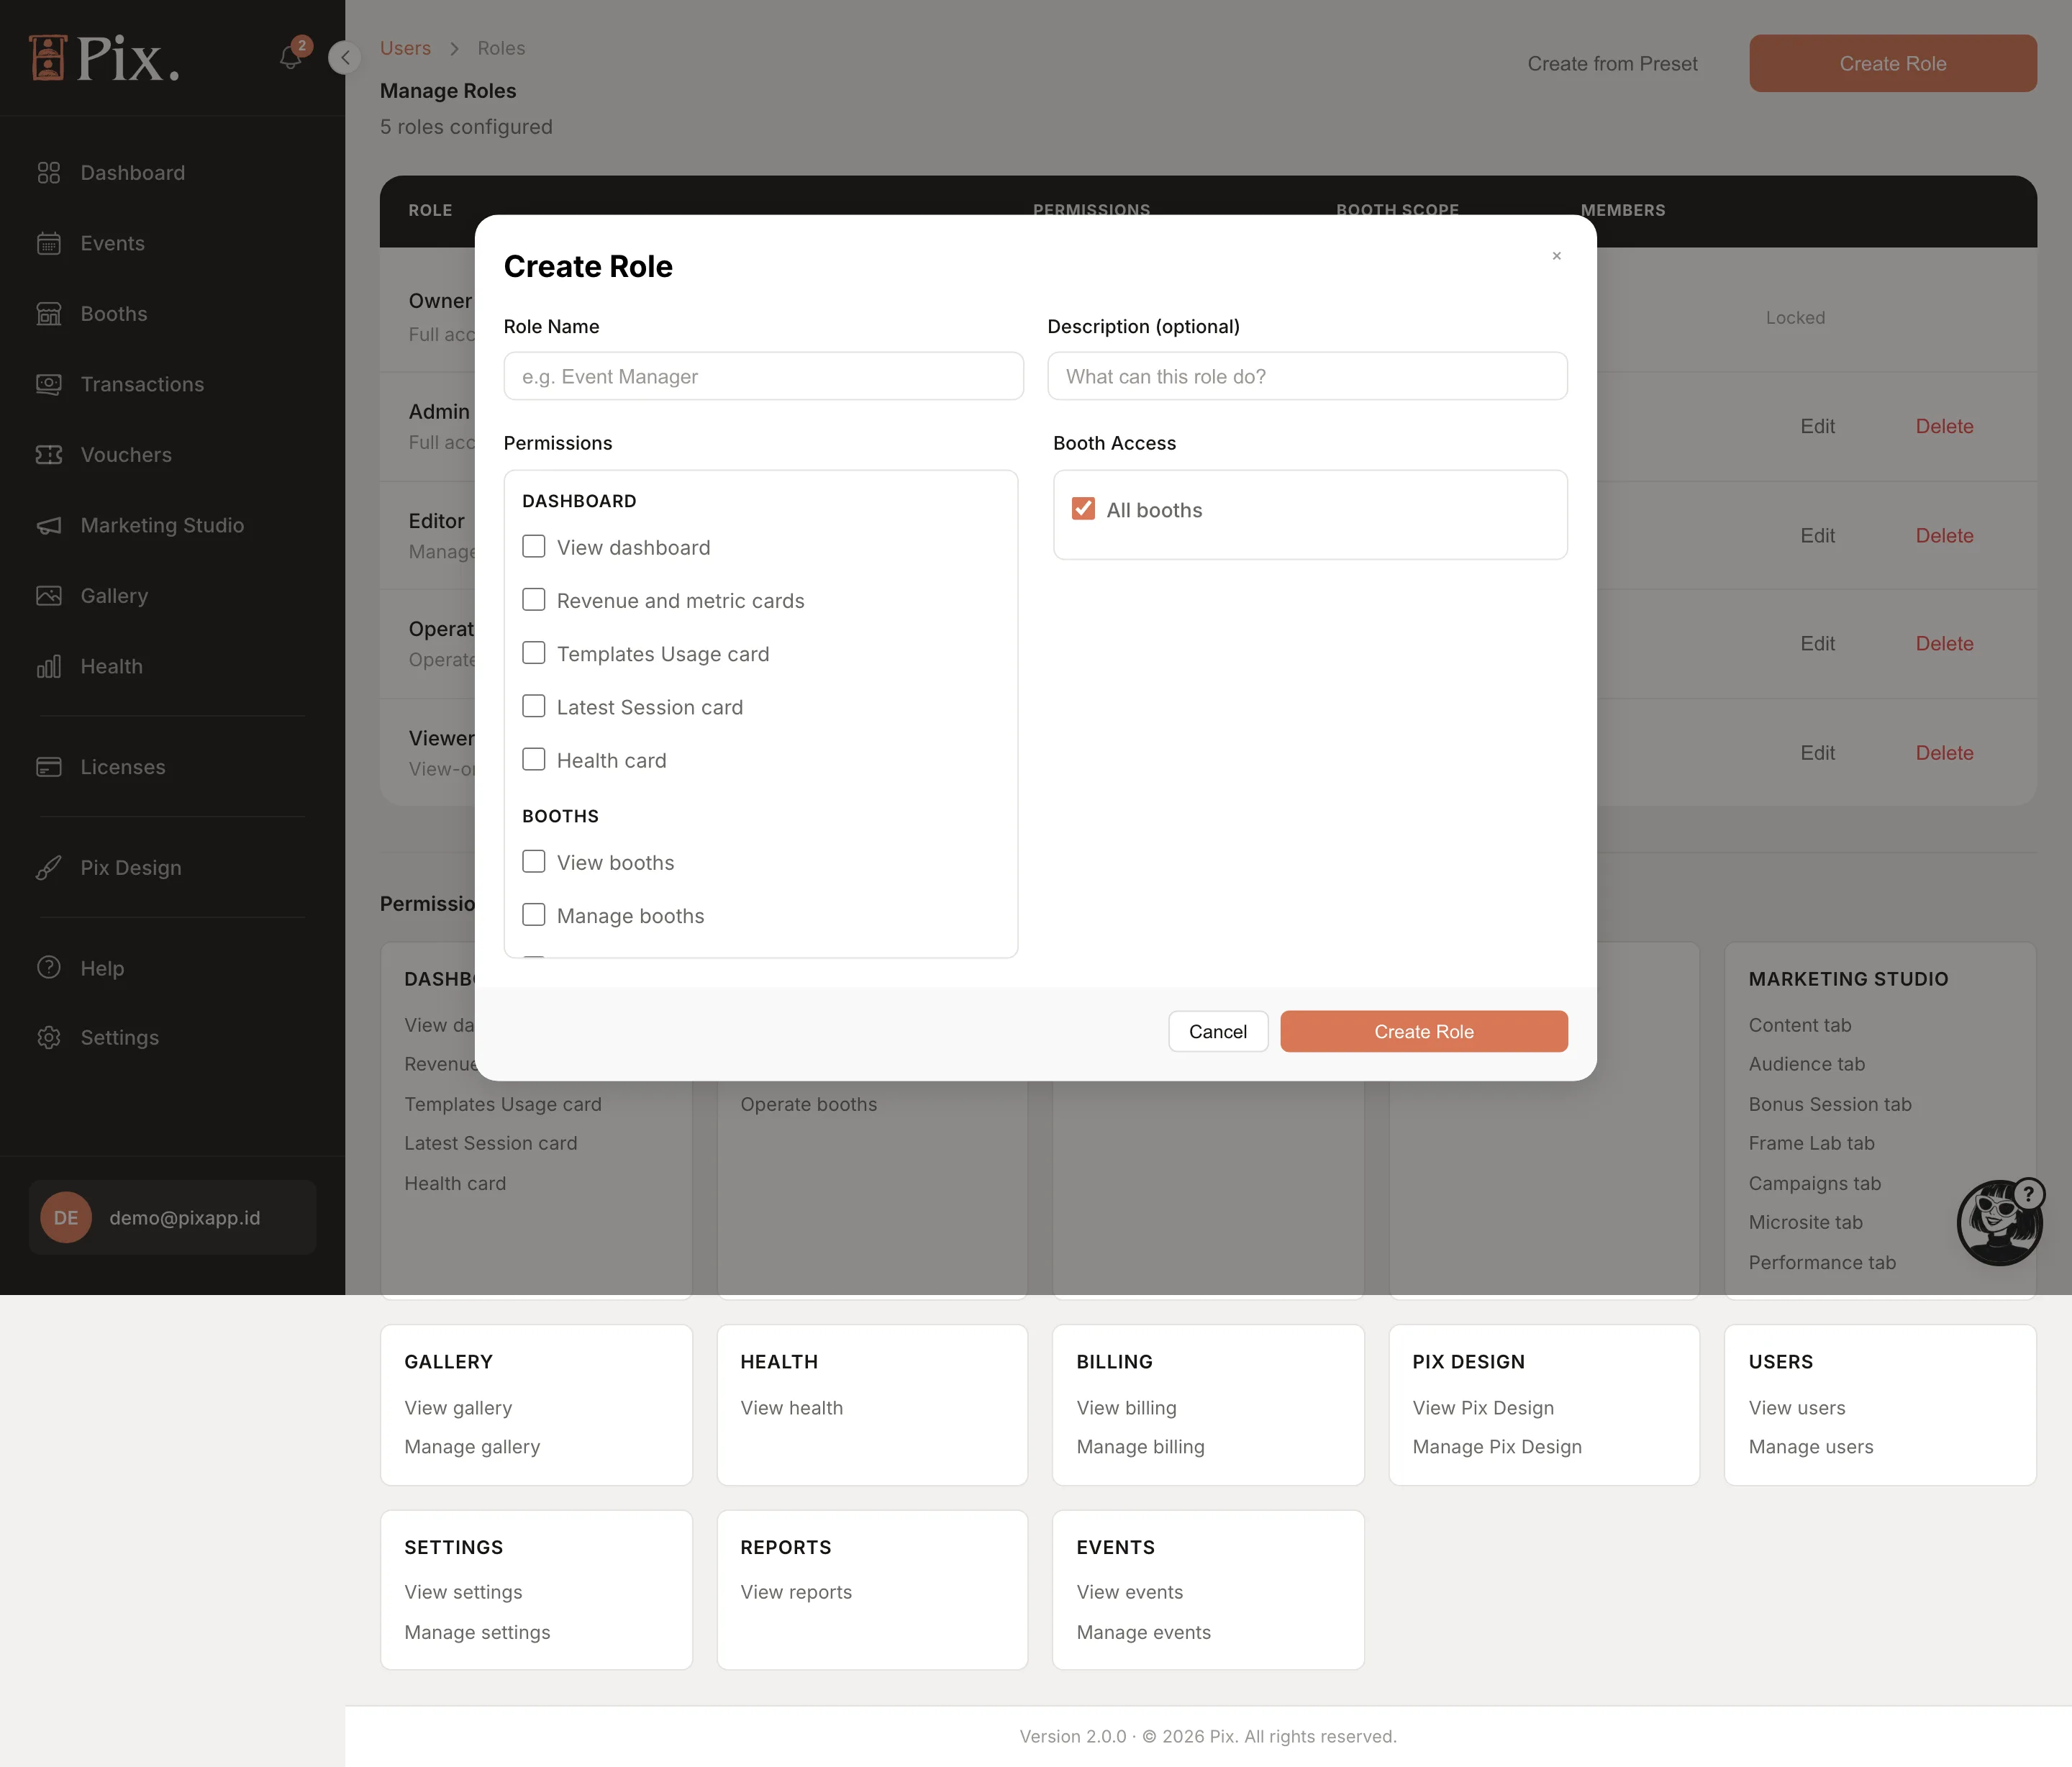
Manage Roles opens the Roles page. Create from Preset starts from a ready-made role; Create Role starts blank with a Role Name, Description, Booth Access (All or None) and the permission groups, one per part of the dashboard. Permission Reference explains each one. A role decides which sidebar entries a member sees and what they may change.
Payment Gateway
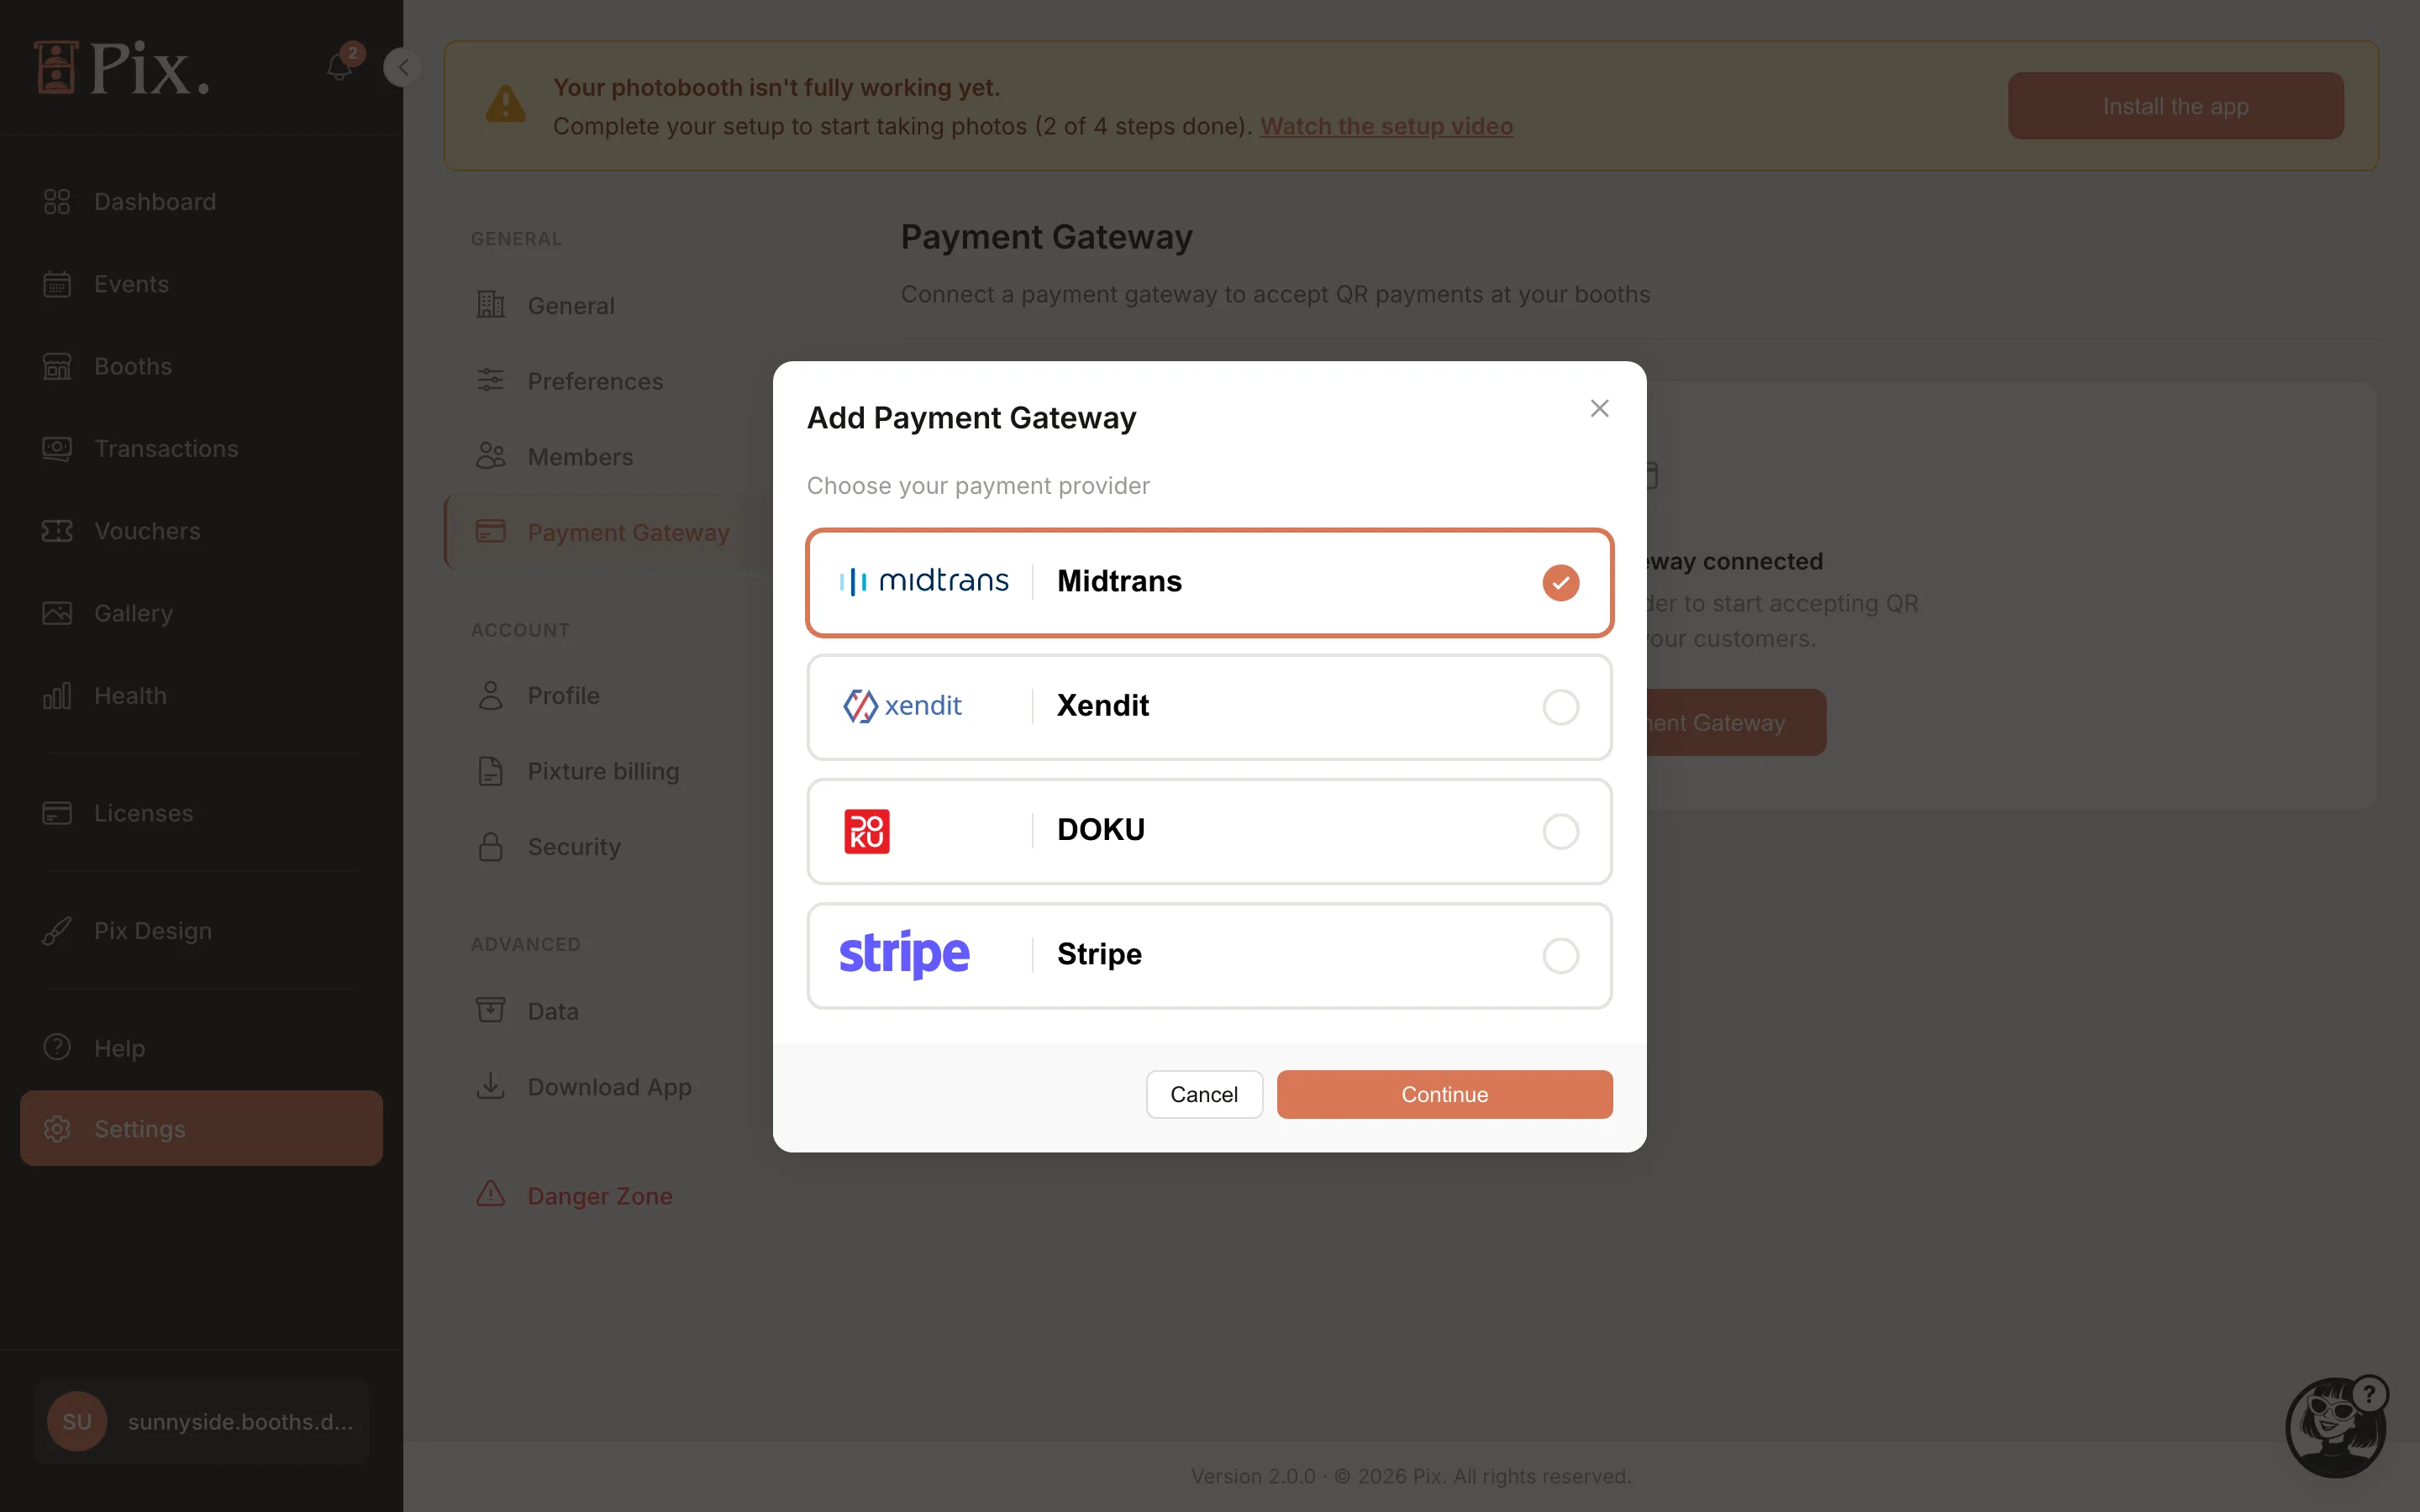
Connect the gateway that takes QR payments at your booths. Click Add Payment Gateway and pick a provider: Midtrans, Xendit or DOKU for QRIS in Indonesia, Stripe everywhere else and for any currency other than rupiah. The next step asks for that provider's keys (for DOKU: Secret Key, Client ID, Merchant ID and a Merchant Private Key you can create with Generate for me), an optional webhook and the currency, with a Sandbox Mode switch for test credentials (not shown for Stripe). Click Continue, then Connect Gateway. A connected gateway shows Edit, a Test charge and its webhook URL. A booth or an event can pick a different gateway from the organization's. The step by step is in Payment Gateway Setup.
Profile
Your photo (Upload Photo, Remove Photo), Display name with Save, your email, and your role.
Pixture Billing
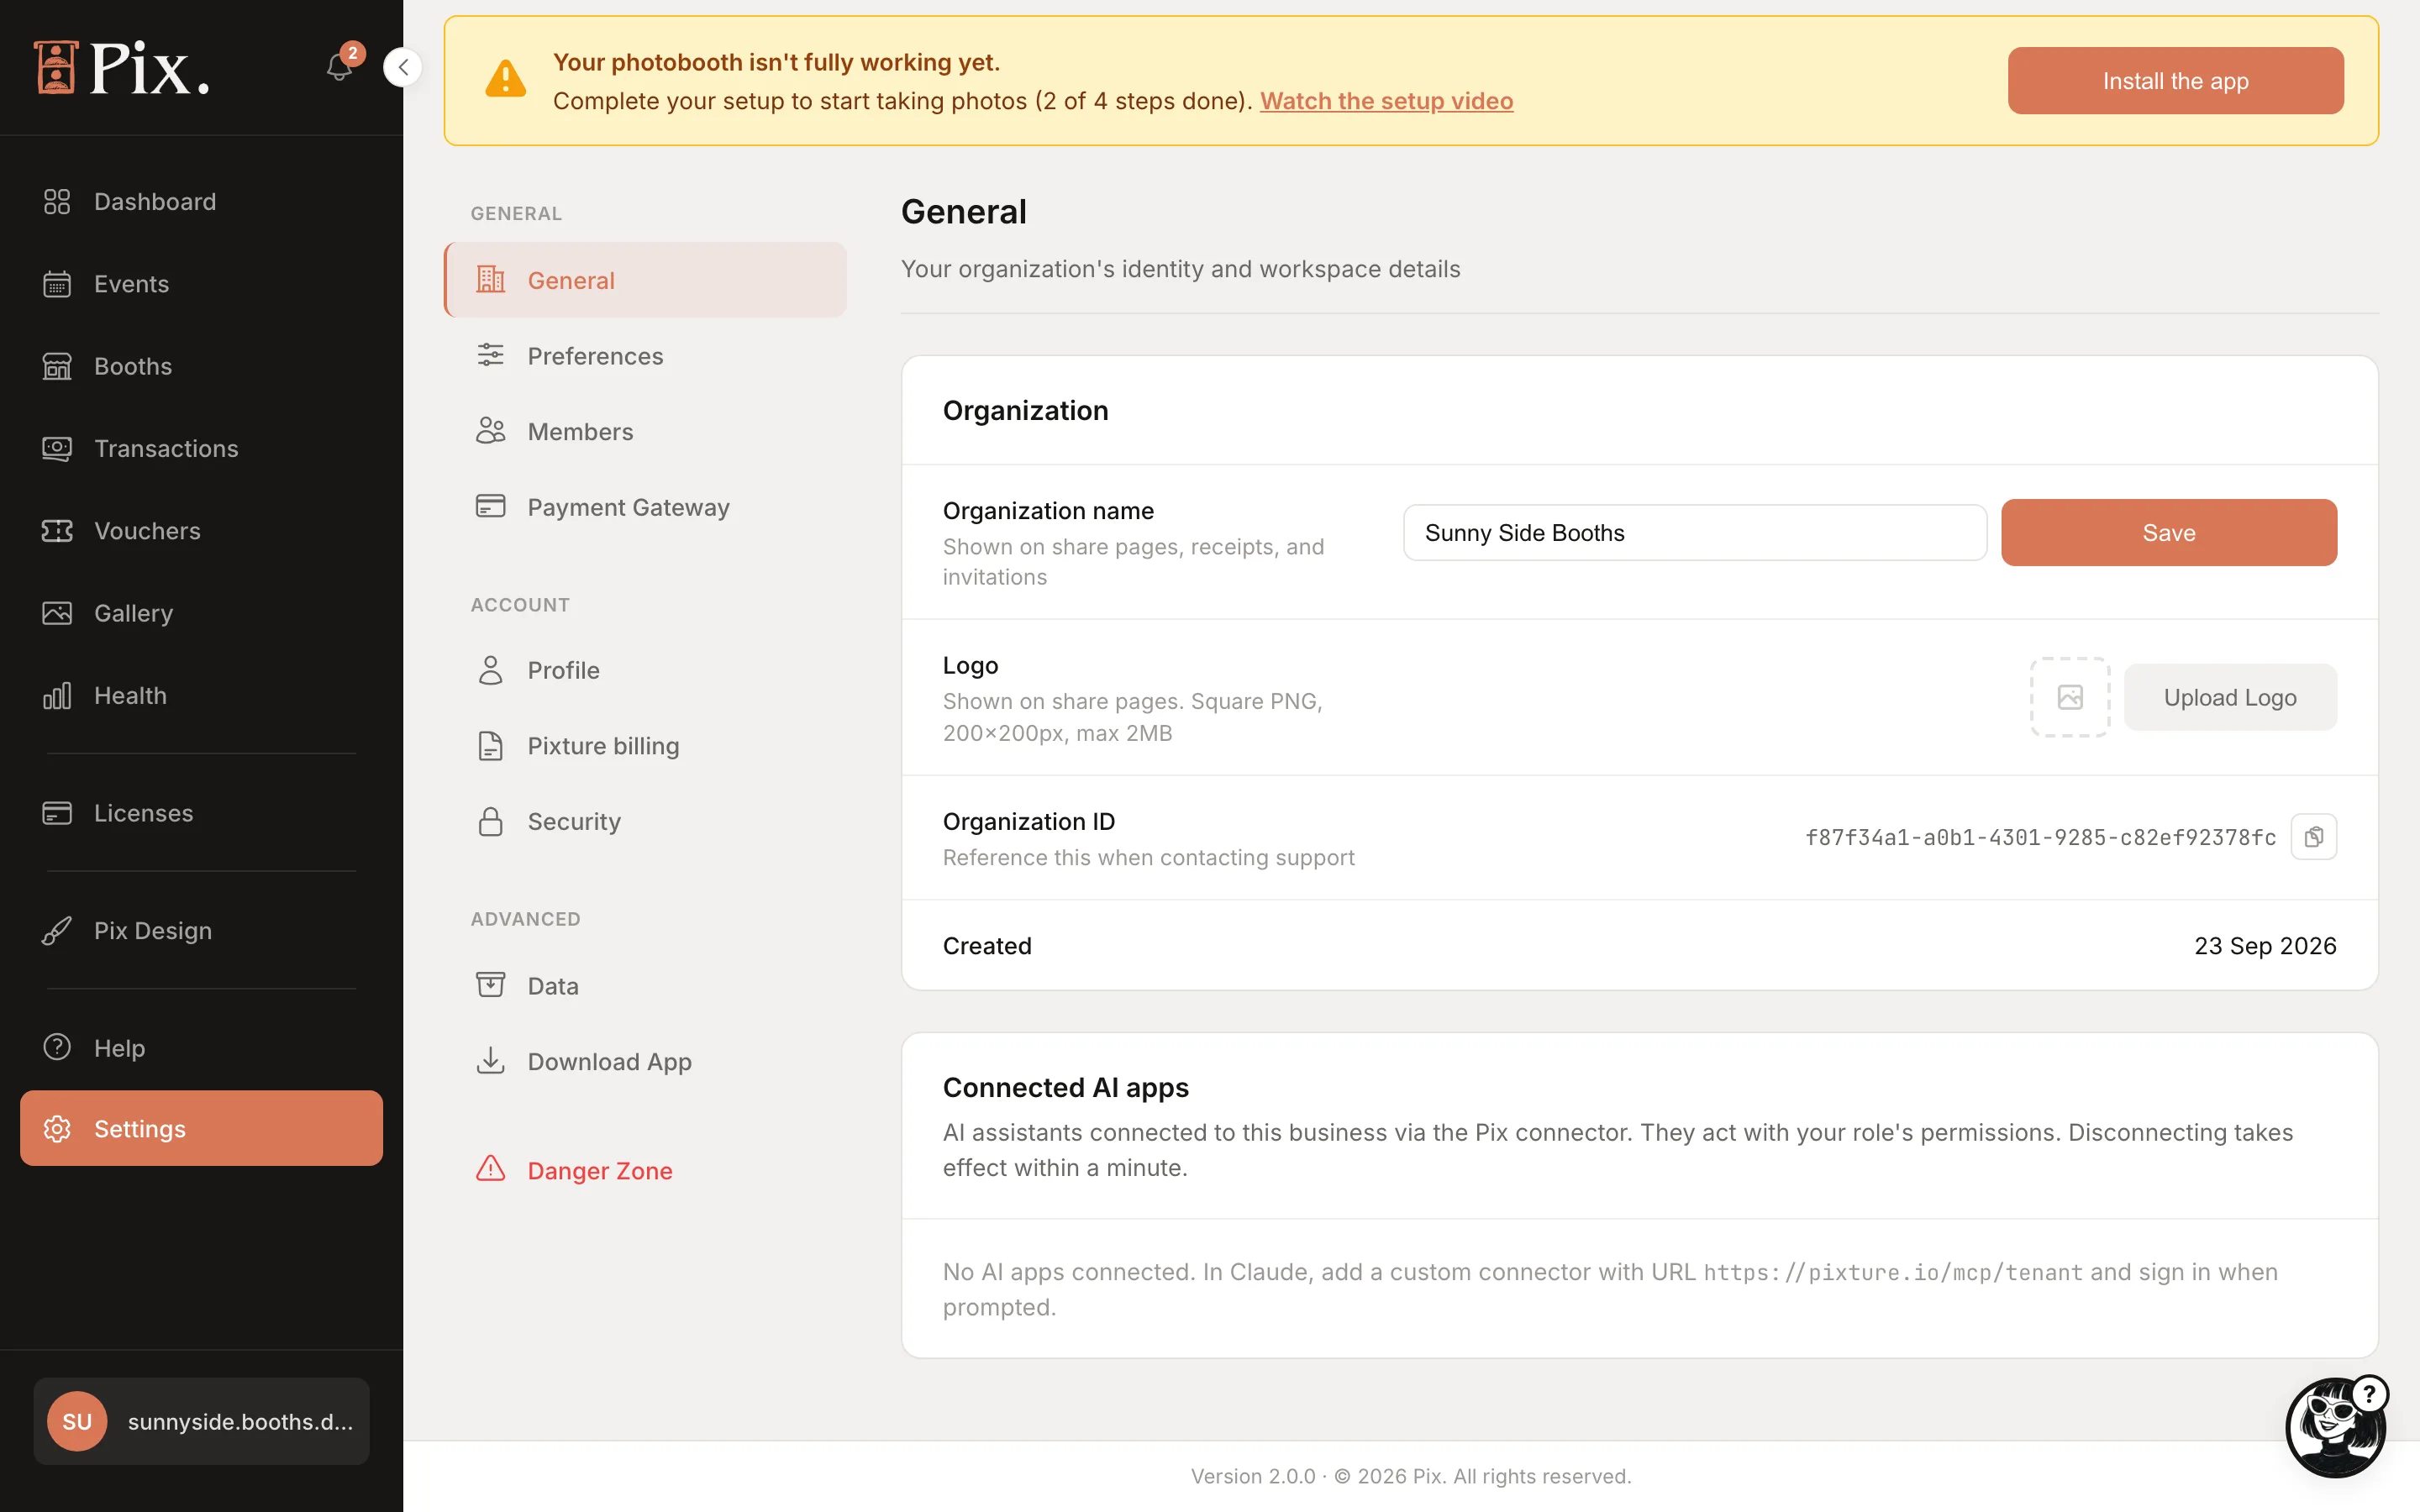
Titled Billing & Payment, in three blocks: the subscription state ("Subscription active", "Subscription ends", "Event Pass running" or "No subscription") with Manage subscription or Add devices; the payment method, Update card for card subscriptions or "Paid at checkout with QRIS, bank transfer or a card. Nothing is stored." for rupiah purchases; and Invoice history with View and Download. Cancelling a card subscription happens behind Manage subscription. See Devices.
Security
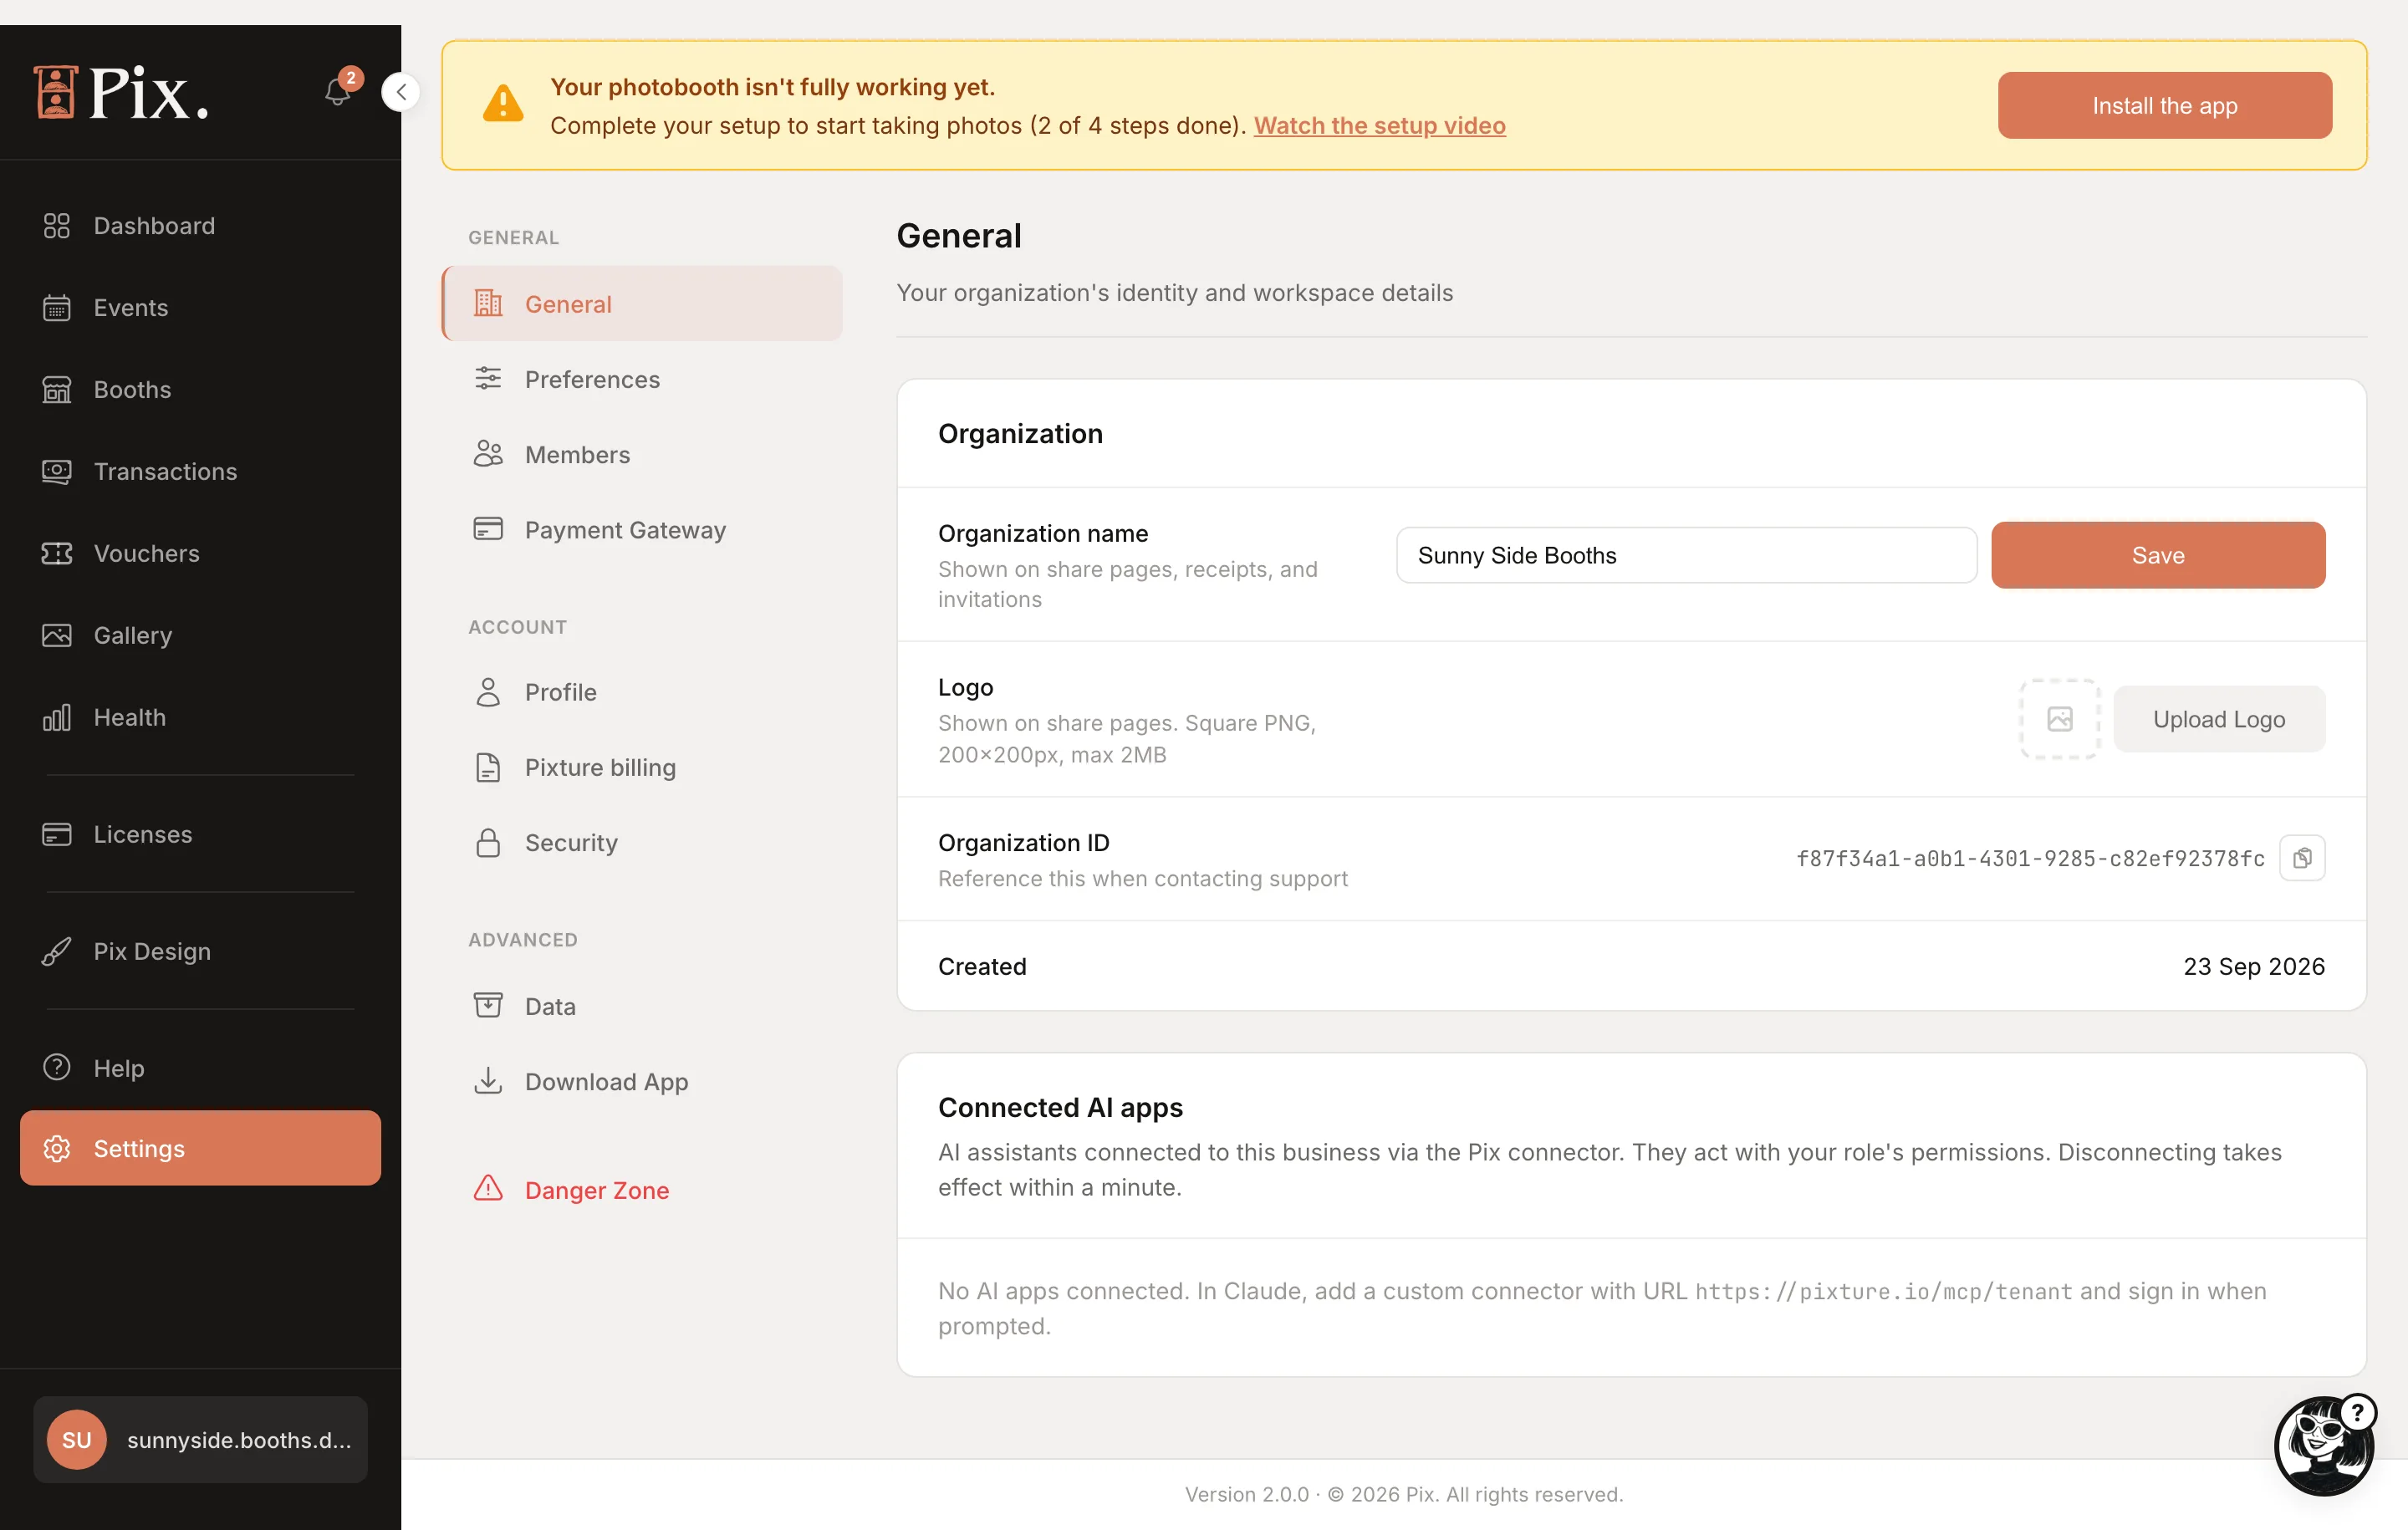
| Section | What it does |
|---|---|
| Change Password | Current, new and confirm |
| Two-Factor Authentication | Enable Two-Factor Authentication shows a QR code and a manual entry key for your authenticator app; enter the 6-digit code and click Verify & Enable. Copy the recovery codes with Copy Codes and keep them somewhere safe before Done |
| Menu Access PIN | 4 to 8 digits that lock the operator menu on every booth: Set PIN or Disable PIN. A single booth can override it on its Settings tab |
| Session | Sign Out |
Data
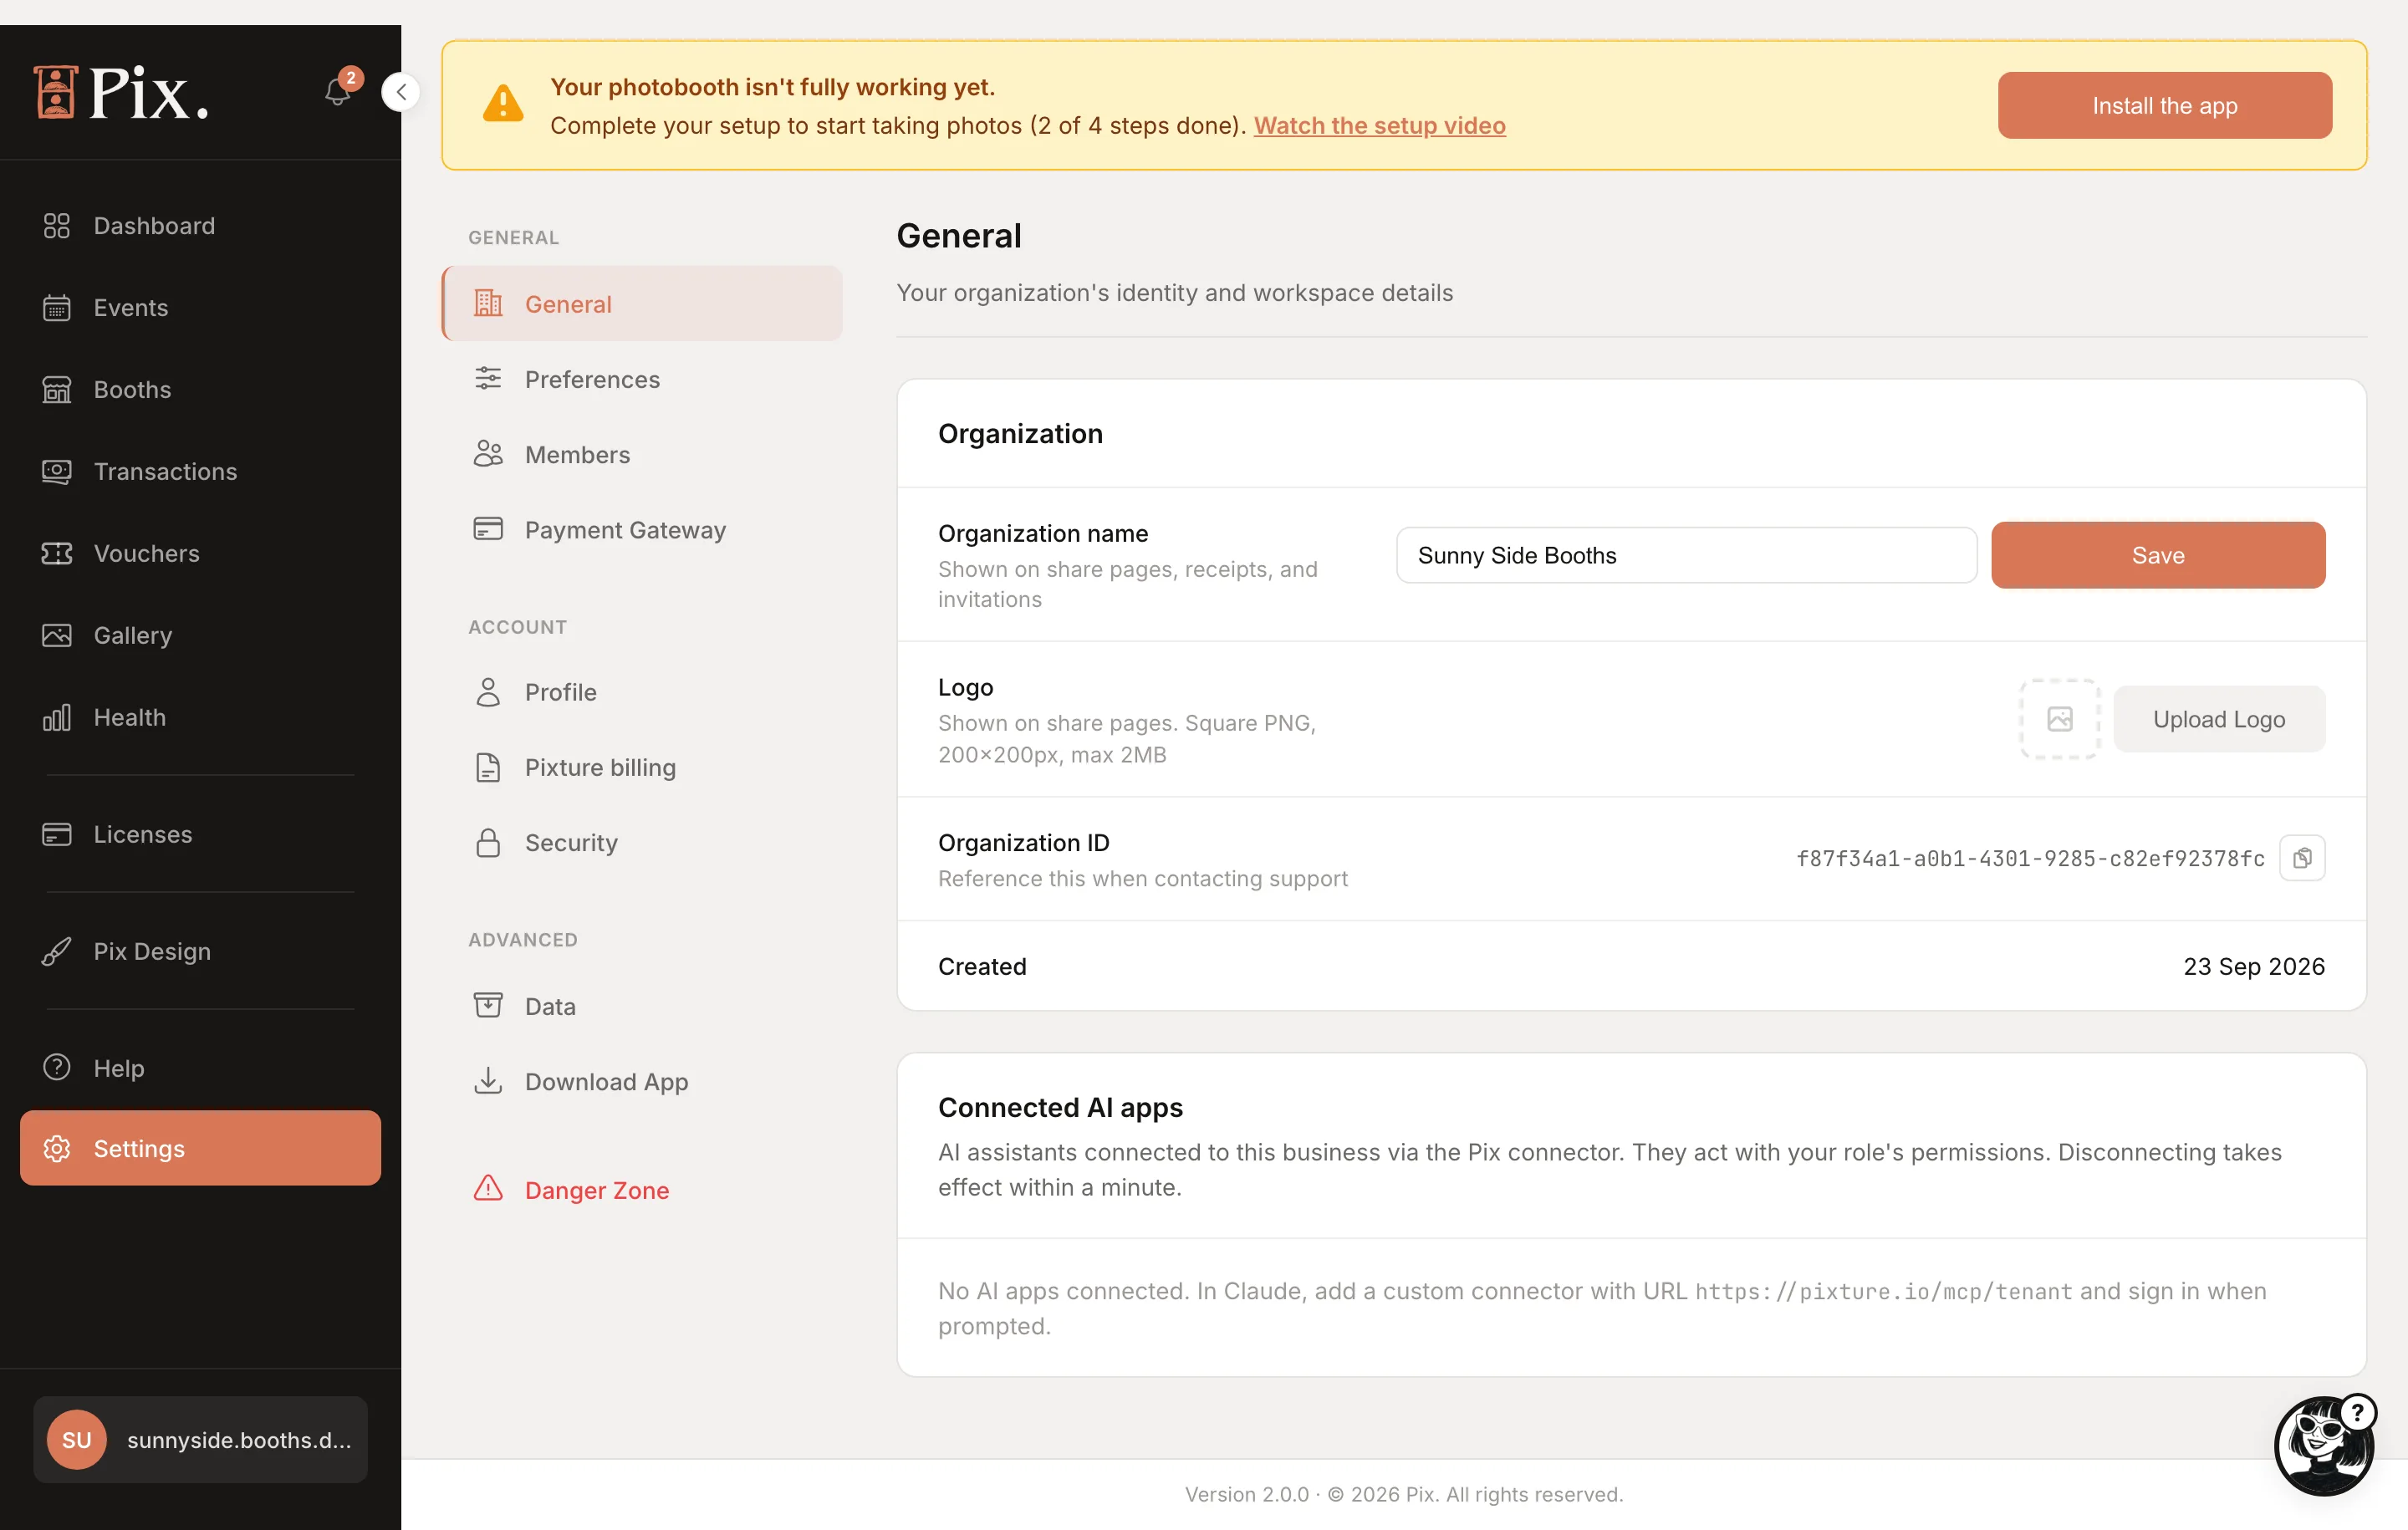
- Import Templates. Pick a Template Size (2x6, 3x6, 4x6, A2 to A5), drop a ZIP of up to 200 MB holding up to 50 PNGs, and click Import Selected. Each PNG becomes a template.
- Reset Booth Data. Per booth, Reset Data removes that booth's photo sessions (soft-deleted, gone for good after 30 days), daily statistics, activity logs and payment transactions. The booth's settings, templates and screen design stay. Type the booth name to confirm, then Reset Booth Data.
Download App
Links to the Pix Desktop App installers. See Download the Desktop App.
Danger Zone
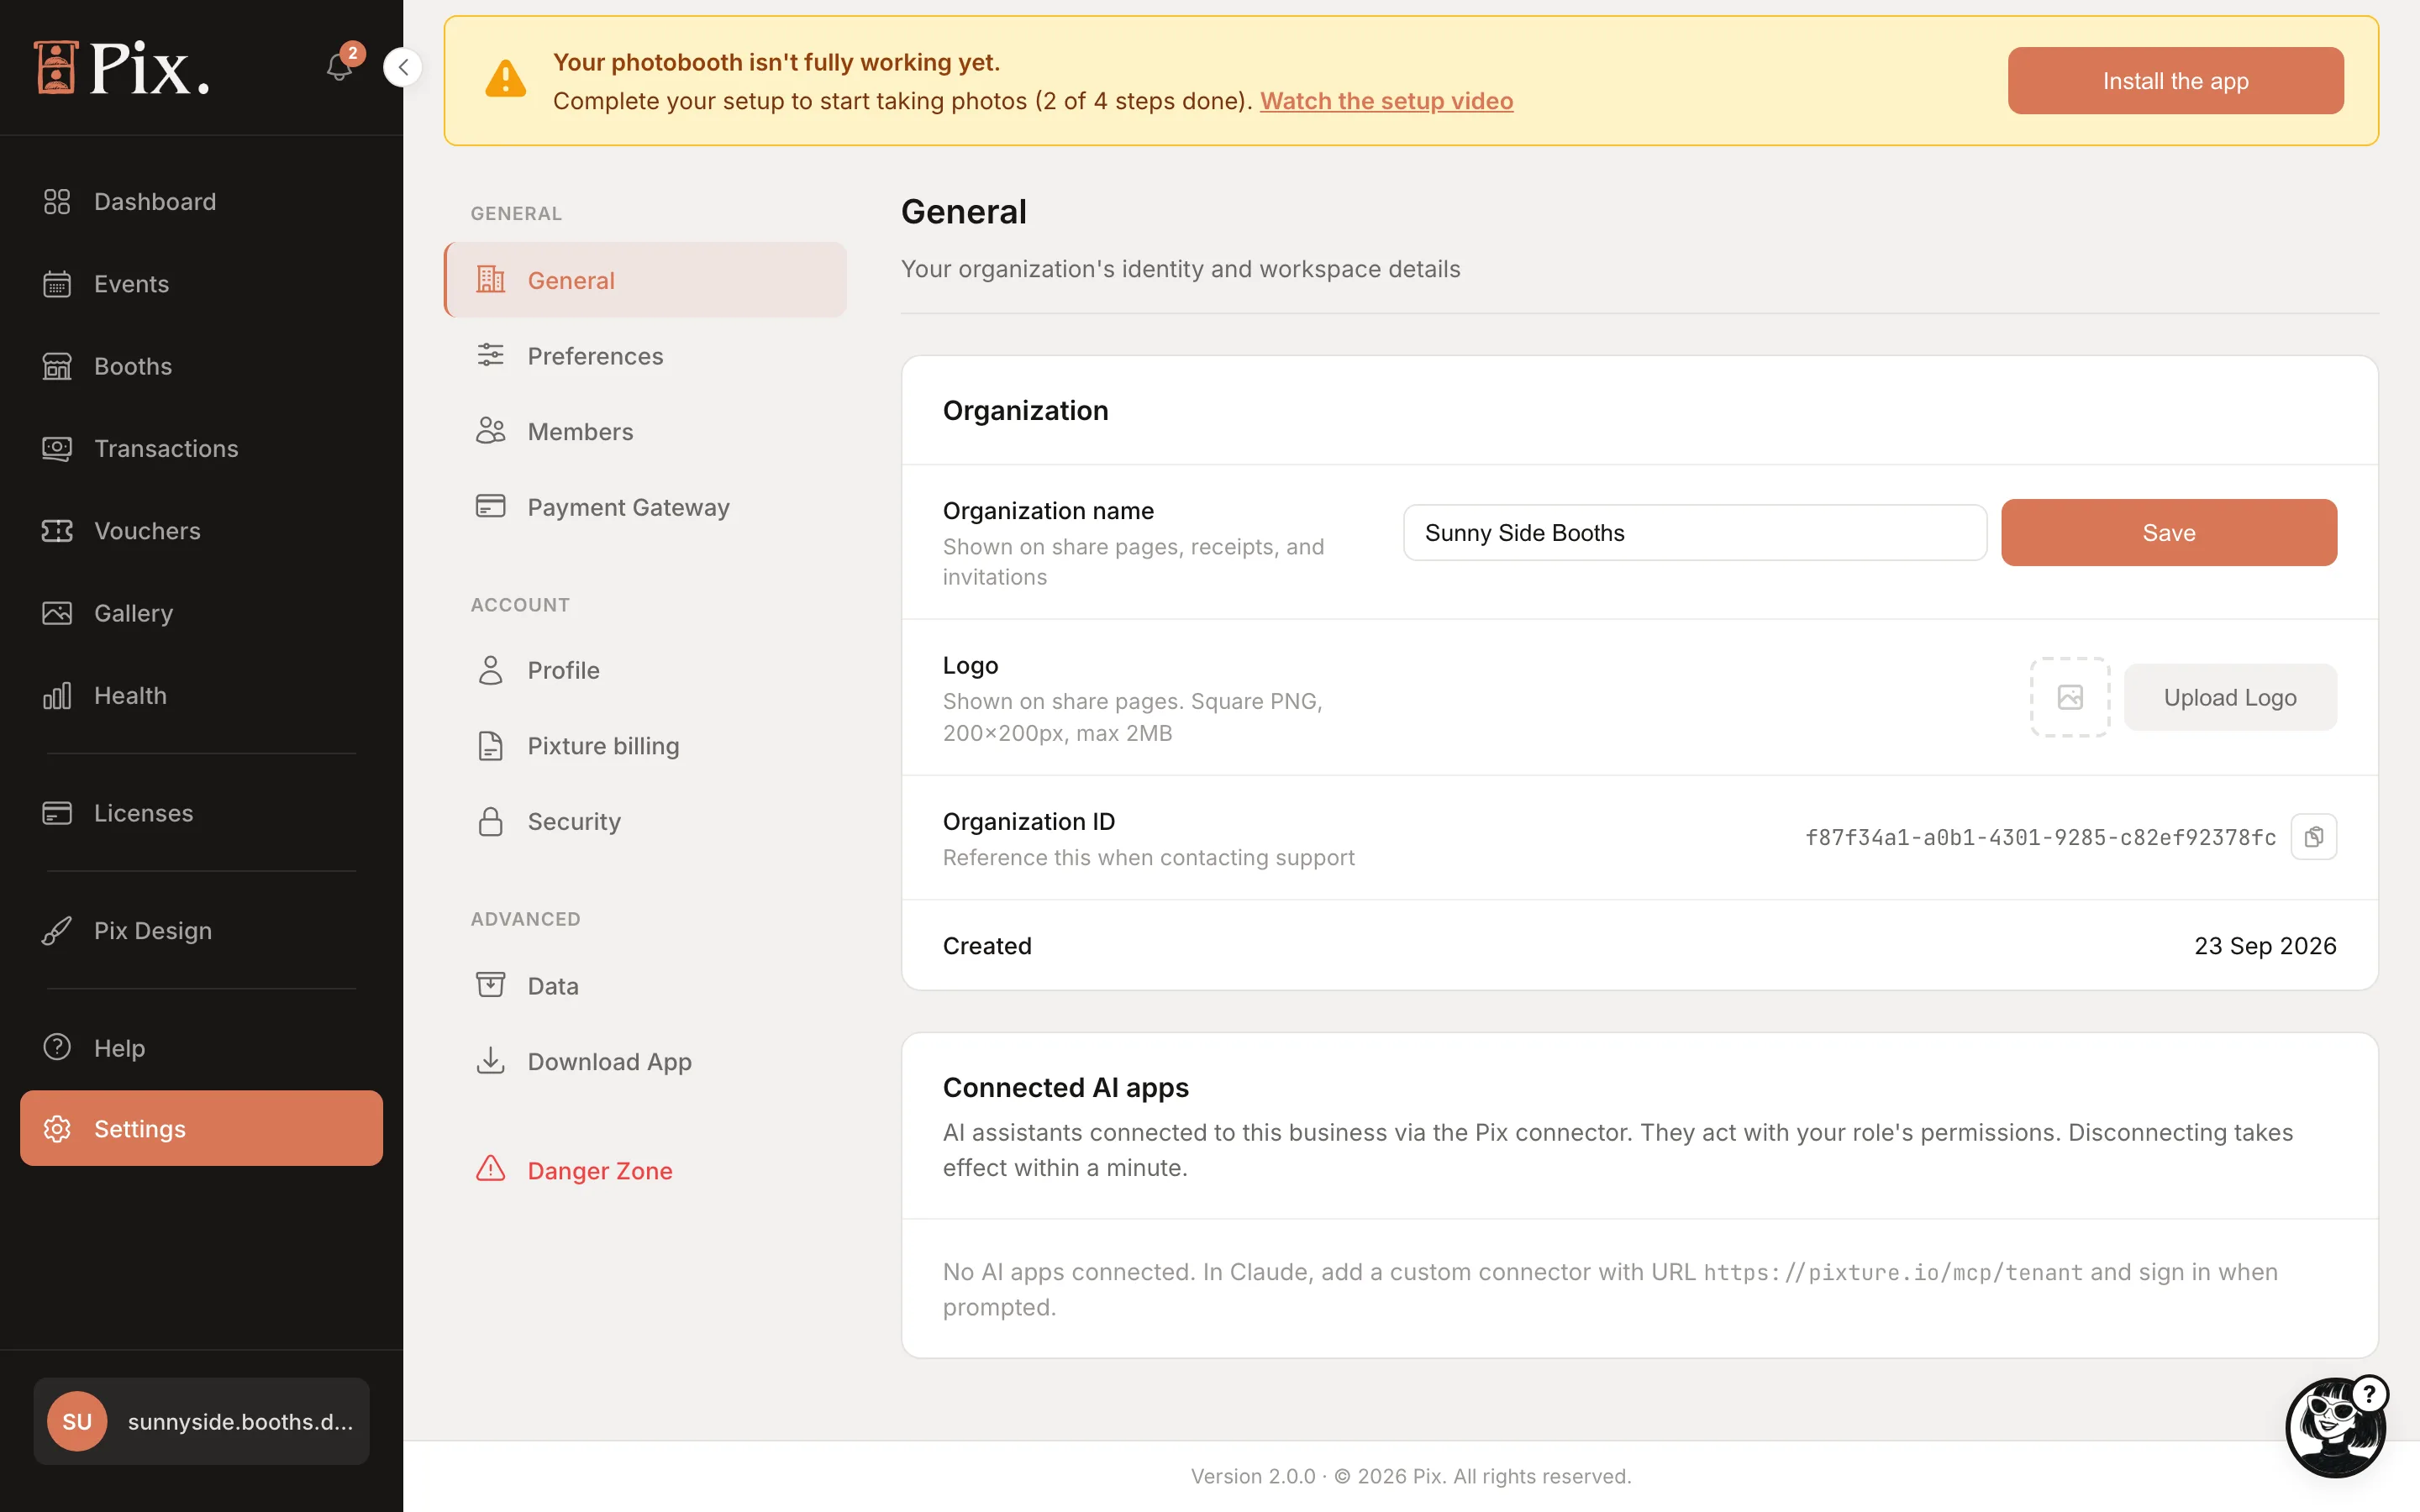
Delete Account removes the organization and everything in it. It takes two steps: enter the organization name and your password and click Send verification code, then enter the emailed code and click Schedule Deletion. Deletion runs 24 hours later, and a countdown banner shows on every page with Cancel Deletion until then.
Add a second owner or admin so the business is not locked out if one phone or password is lost.